Overview
This article explains how an accountant can create a Receipt/Acknowledgement for a unit directly from the Accounting module within a property group. This feature allows you to record full or partial payments against service charge invoices, add advanced receipts, and notify the owner — all from the unit ledger.
Prerequisites
Before making any changes, please contact your admin to ensure you have the required edit access rights to the Accounting module.
Step 1: Access the Accounting Module
From the Global View, select the property group where you want to create a receipt or acknowledgement.
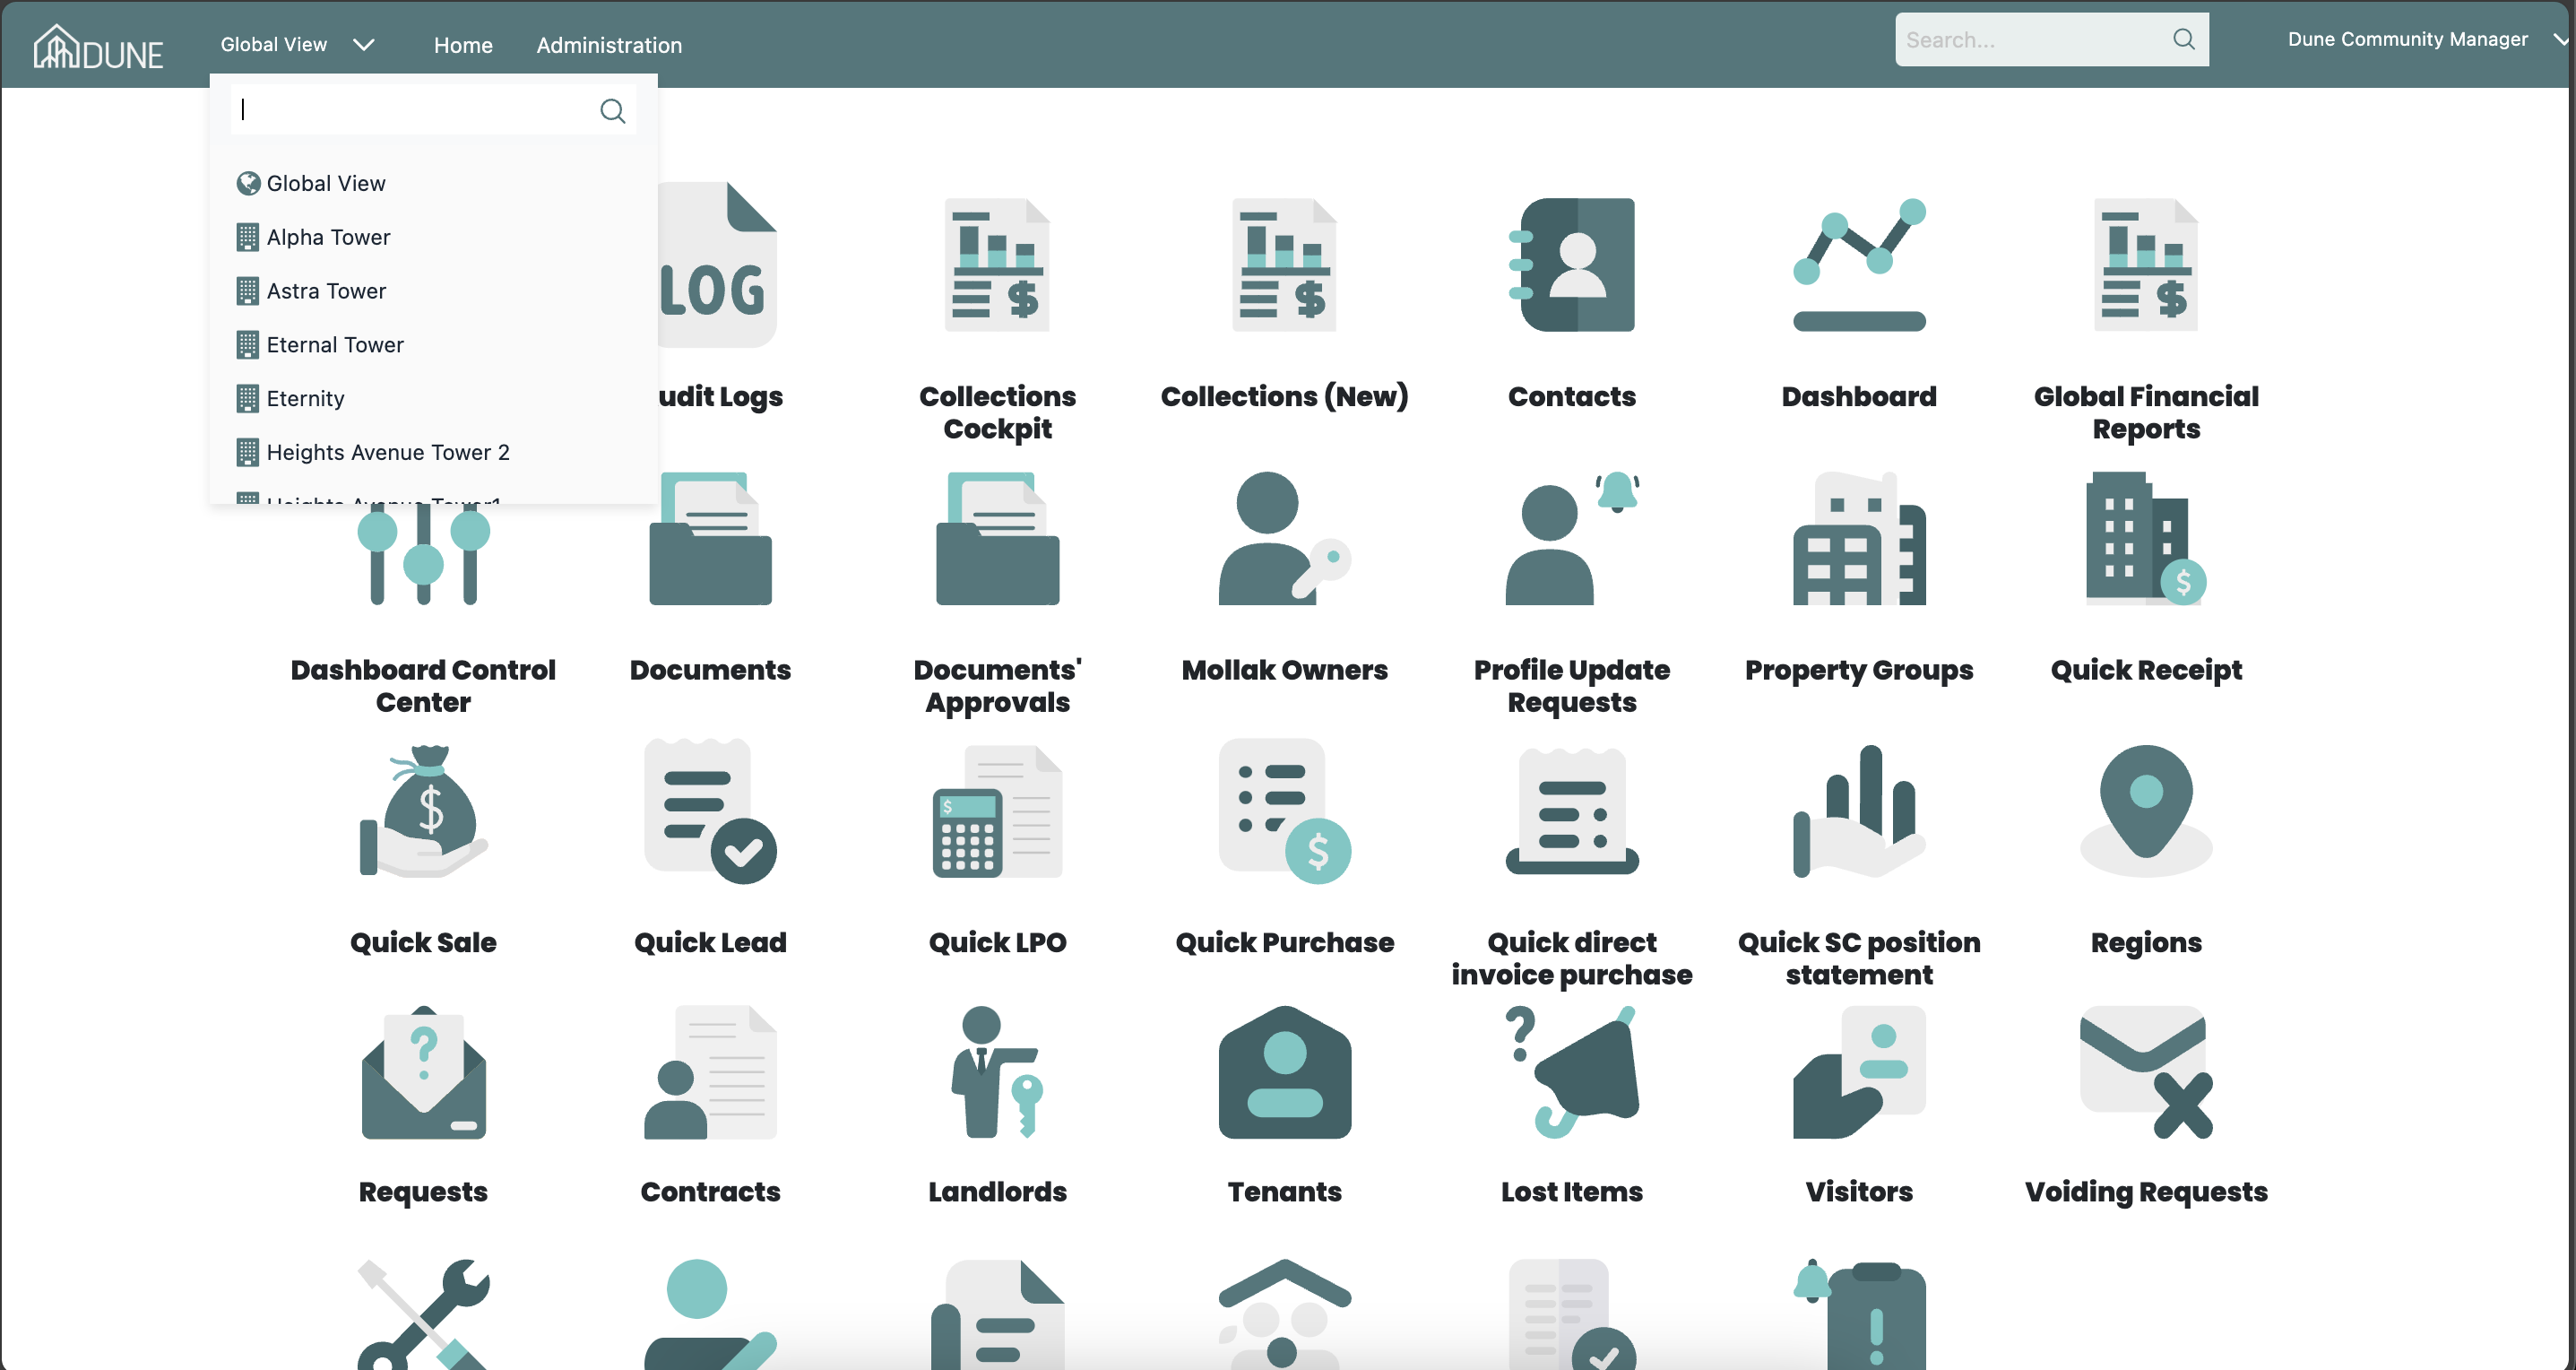
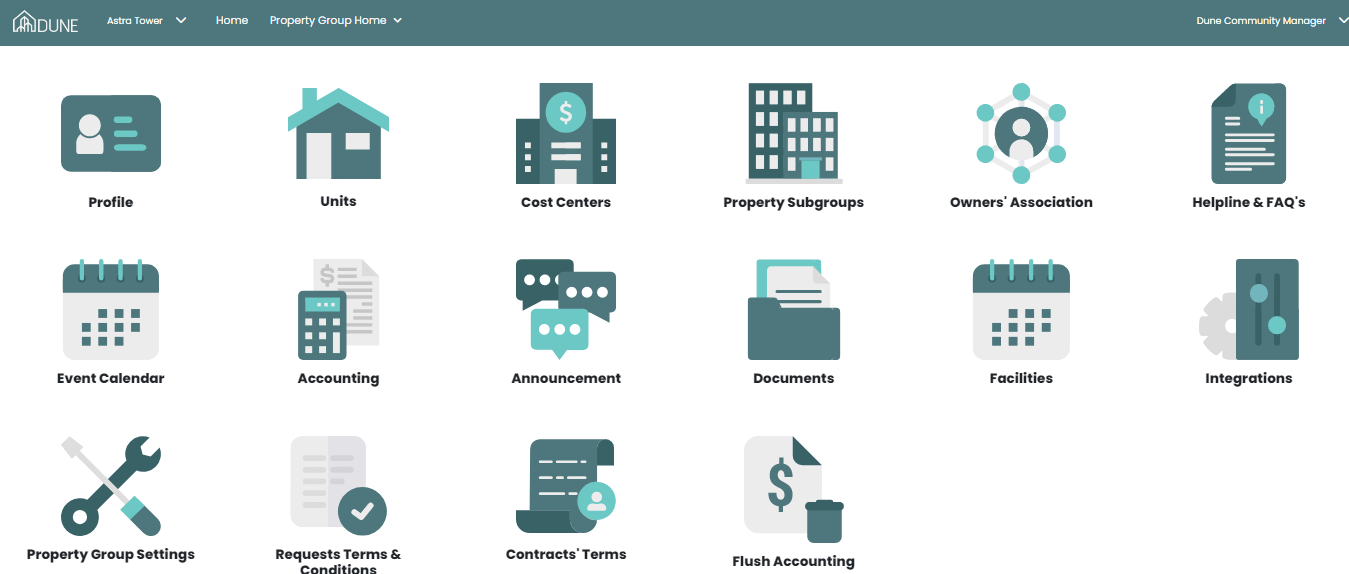
Click Accounting to enter the accounting section of the selected property group.
Step 2: Navigate to Units Financials
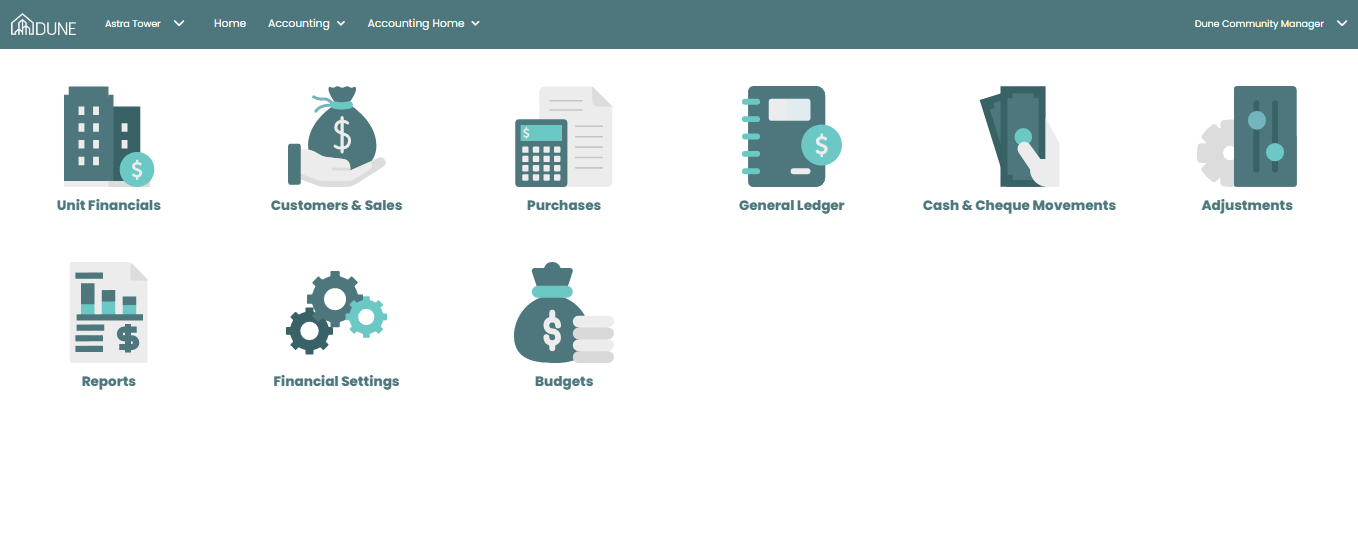
Within the Accounting module, go to Unit Financials.
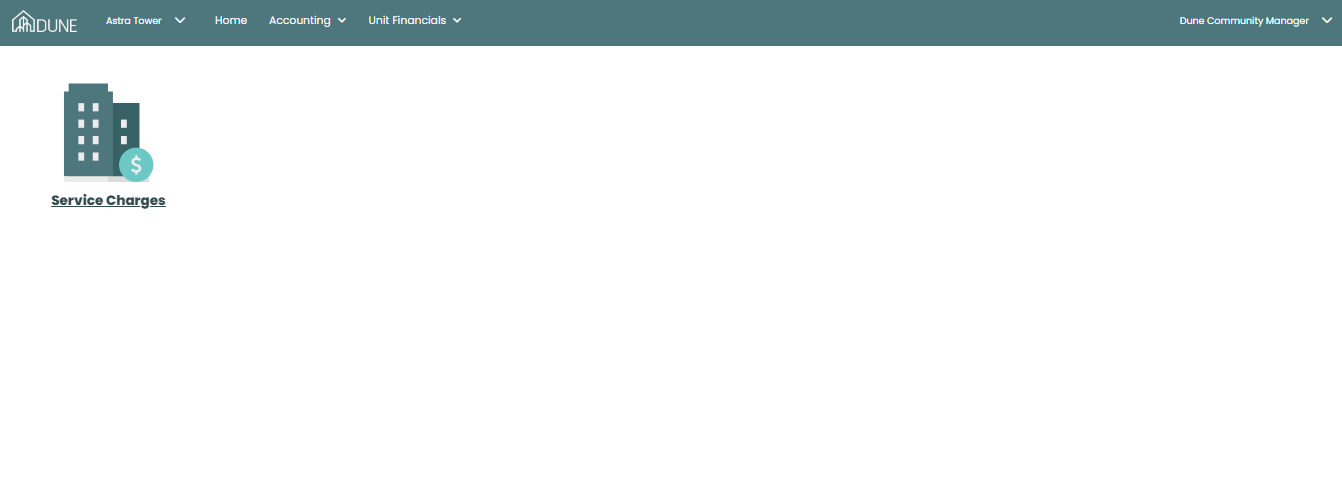
Click on Service Charges to view all units and their service charge details.
Step 3: Open the Unit Ledger
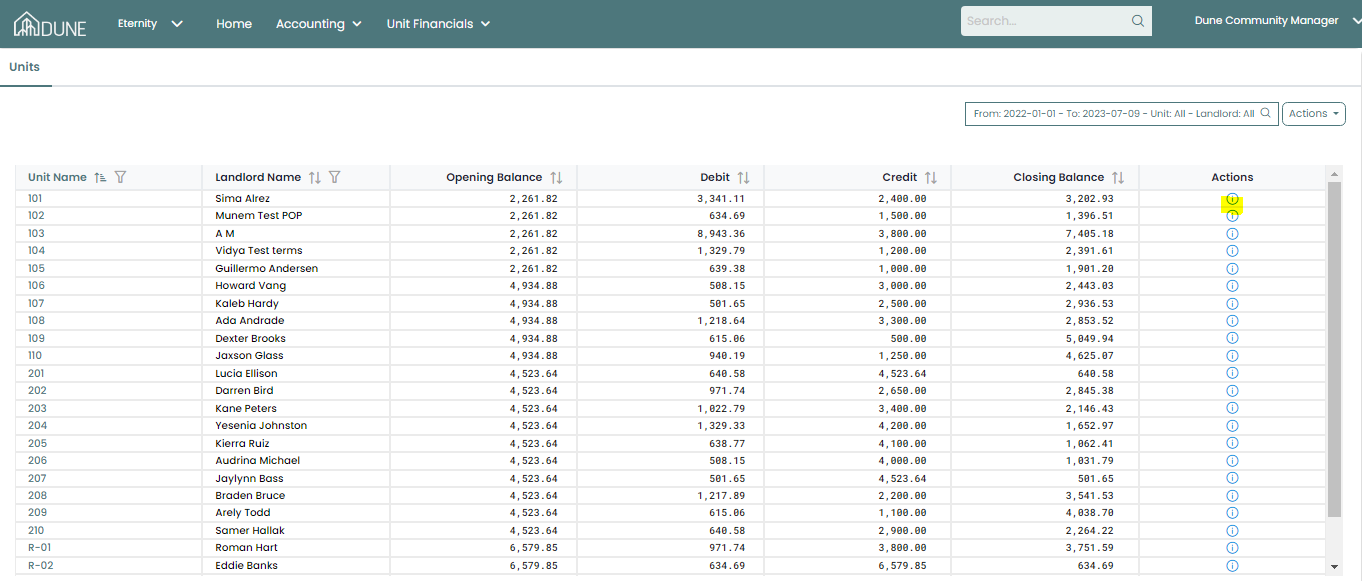
On the Service Charges screen, locate the unit you want to work on.
Click the information icon under the Action column for that unit. This will open the unit ledger for the selected unit.
Step 4: Create the Receipt/Acknowledgement
From inside the unit ledger, click the Actions button.
Select Create Receipt/Acknowledgement from the dropdown menu.
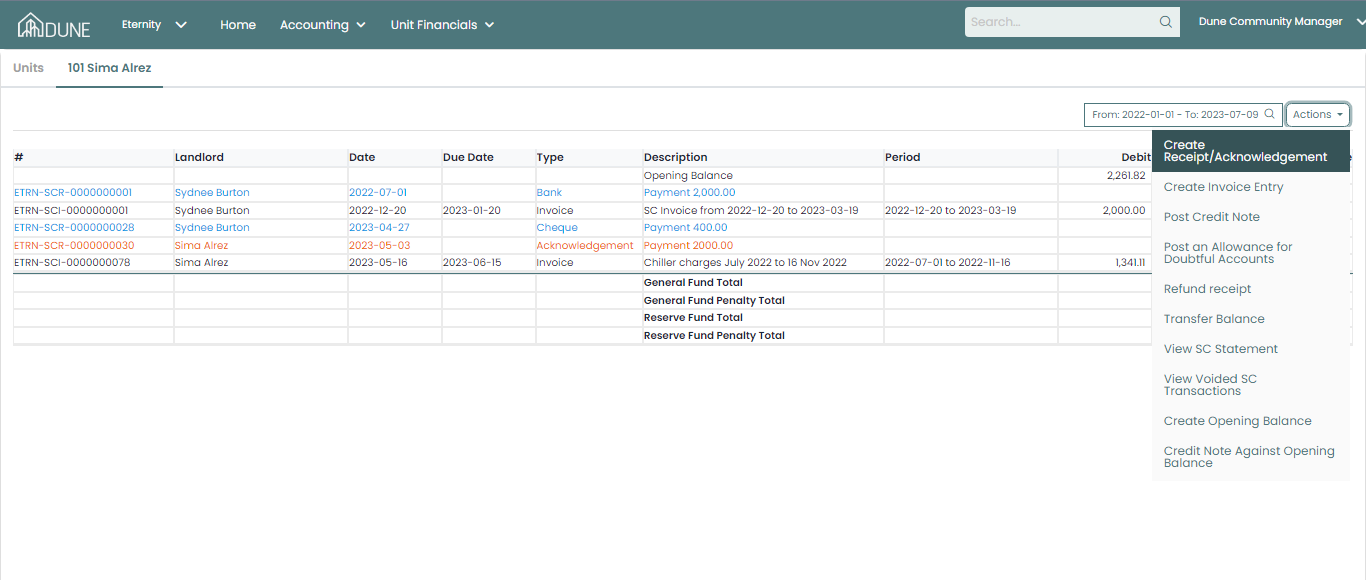
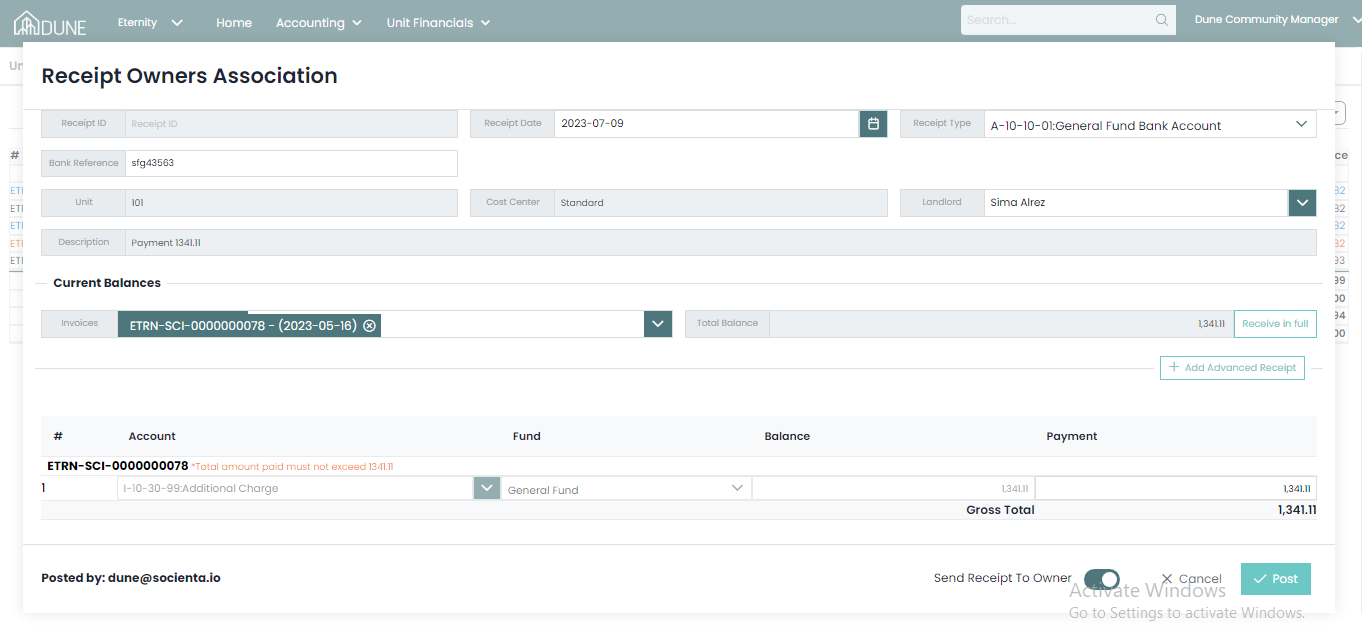
A new screen will appear with the following fields to fill in:
- Receipt Date — select the date of the receipt
- Receipt Type — choose the appropriate receipt type from the dropdown
- Unit — auto-filled with the selected unit
- Landlord — select or confirm the landlord associated with the unit
Step 5: Select the Invoice (Optional)
If you want to apply the receipt to a specific invoice, use the Invoices dropdown in the Current Balances section to select the relevant invoice. You can also select multiple invoices within a single receipt by adding them from the Invoices dropdown — this allows you to record one consolidated payment that applies across several invoices at once.
The total balance fields will update to reflect the selected invoice's outstanding amounts.
To record a full payment in one click, use the Receive in Full button. This will automatically populate the total payment amount to match the total balance.
To record a partial payment, manually enter the amount in the Payment field.
Step 6: Add an Advanced Receipt (Optional)
If you need to record a payment in advance — before an invoice has been issued — click + Add Advanced Receipt.
This allows you to maintain accurate accounting records for prepaid or advance payments.

Tips & Best Practices
- Always remember to click Post whenever you are ready to save your receipt, as unposted entries will not be recorded in the system.
- Use the Receive in Full button when recording a complete payment to avoid manual entry errors.
- If you need to apply a receipt to a specific invoice only, always select the invoice from the Invoices dropdown before entering the payment amount.
- If a receipt was posted by mistake, do not attempt to edit it directly — contact your senior to handle any reversal or void it.
- It is recommended to upload a receipt image as proof of payment for future reference. This helps maintain a clear audit trail.
Was this article helpful?
That’s Great!
Thank you for your feedback
Sorry! We couldn't be helpful
Thank you for your feedback
Feedback sent
We appreciate your effort and will try to fix the article