In order to apply the approval flow for your purchase follow these steps:
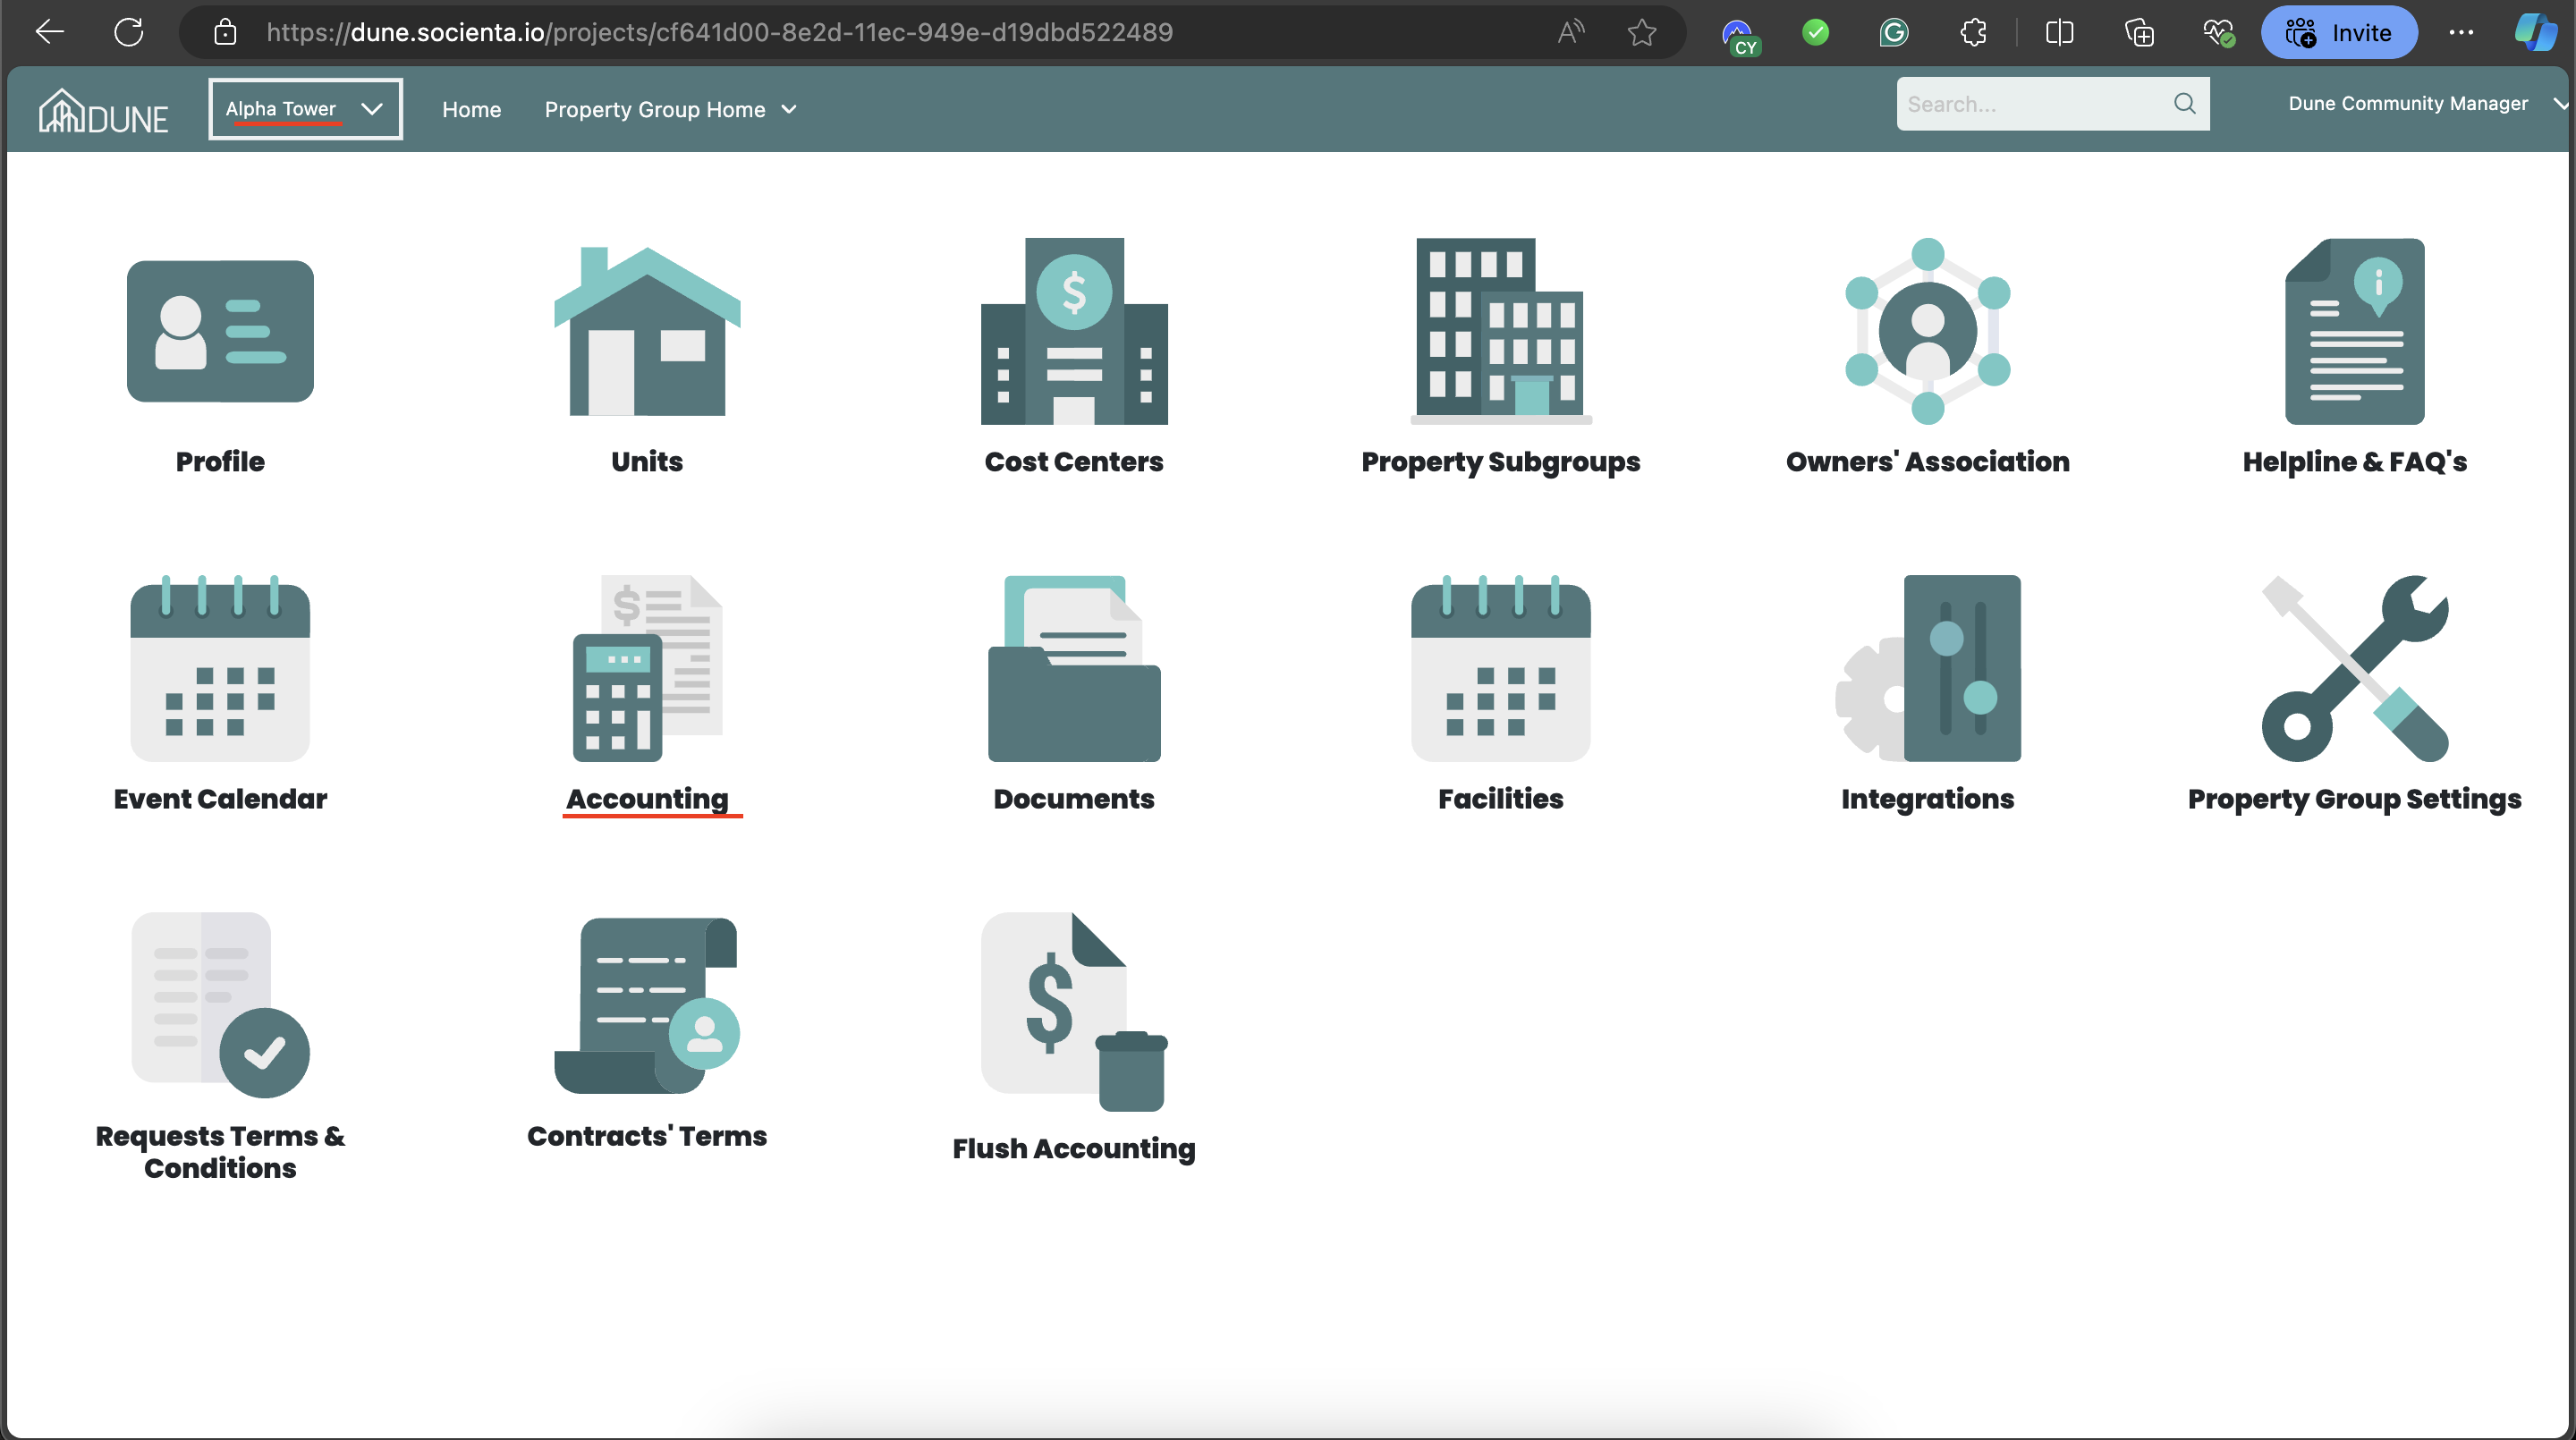
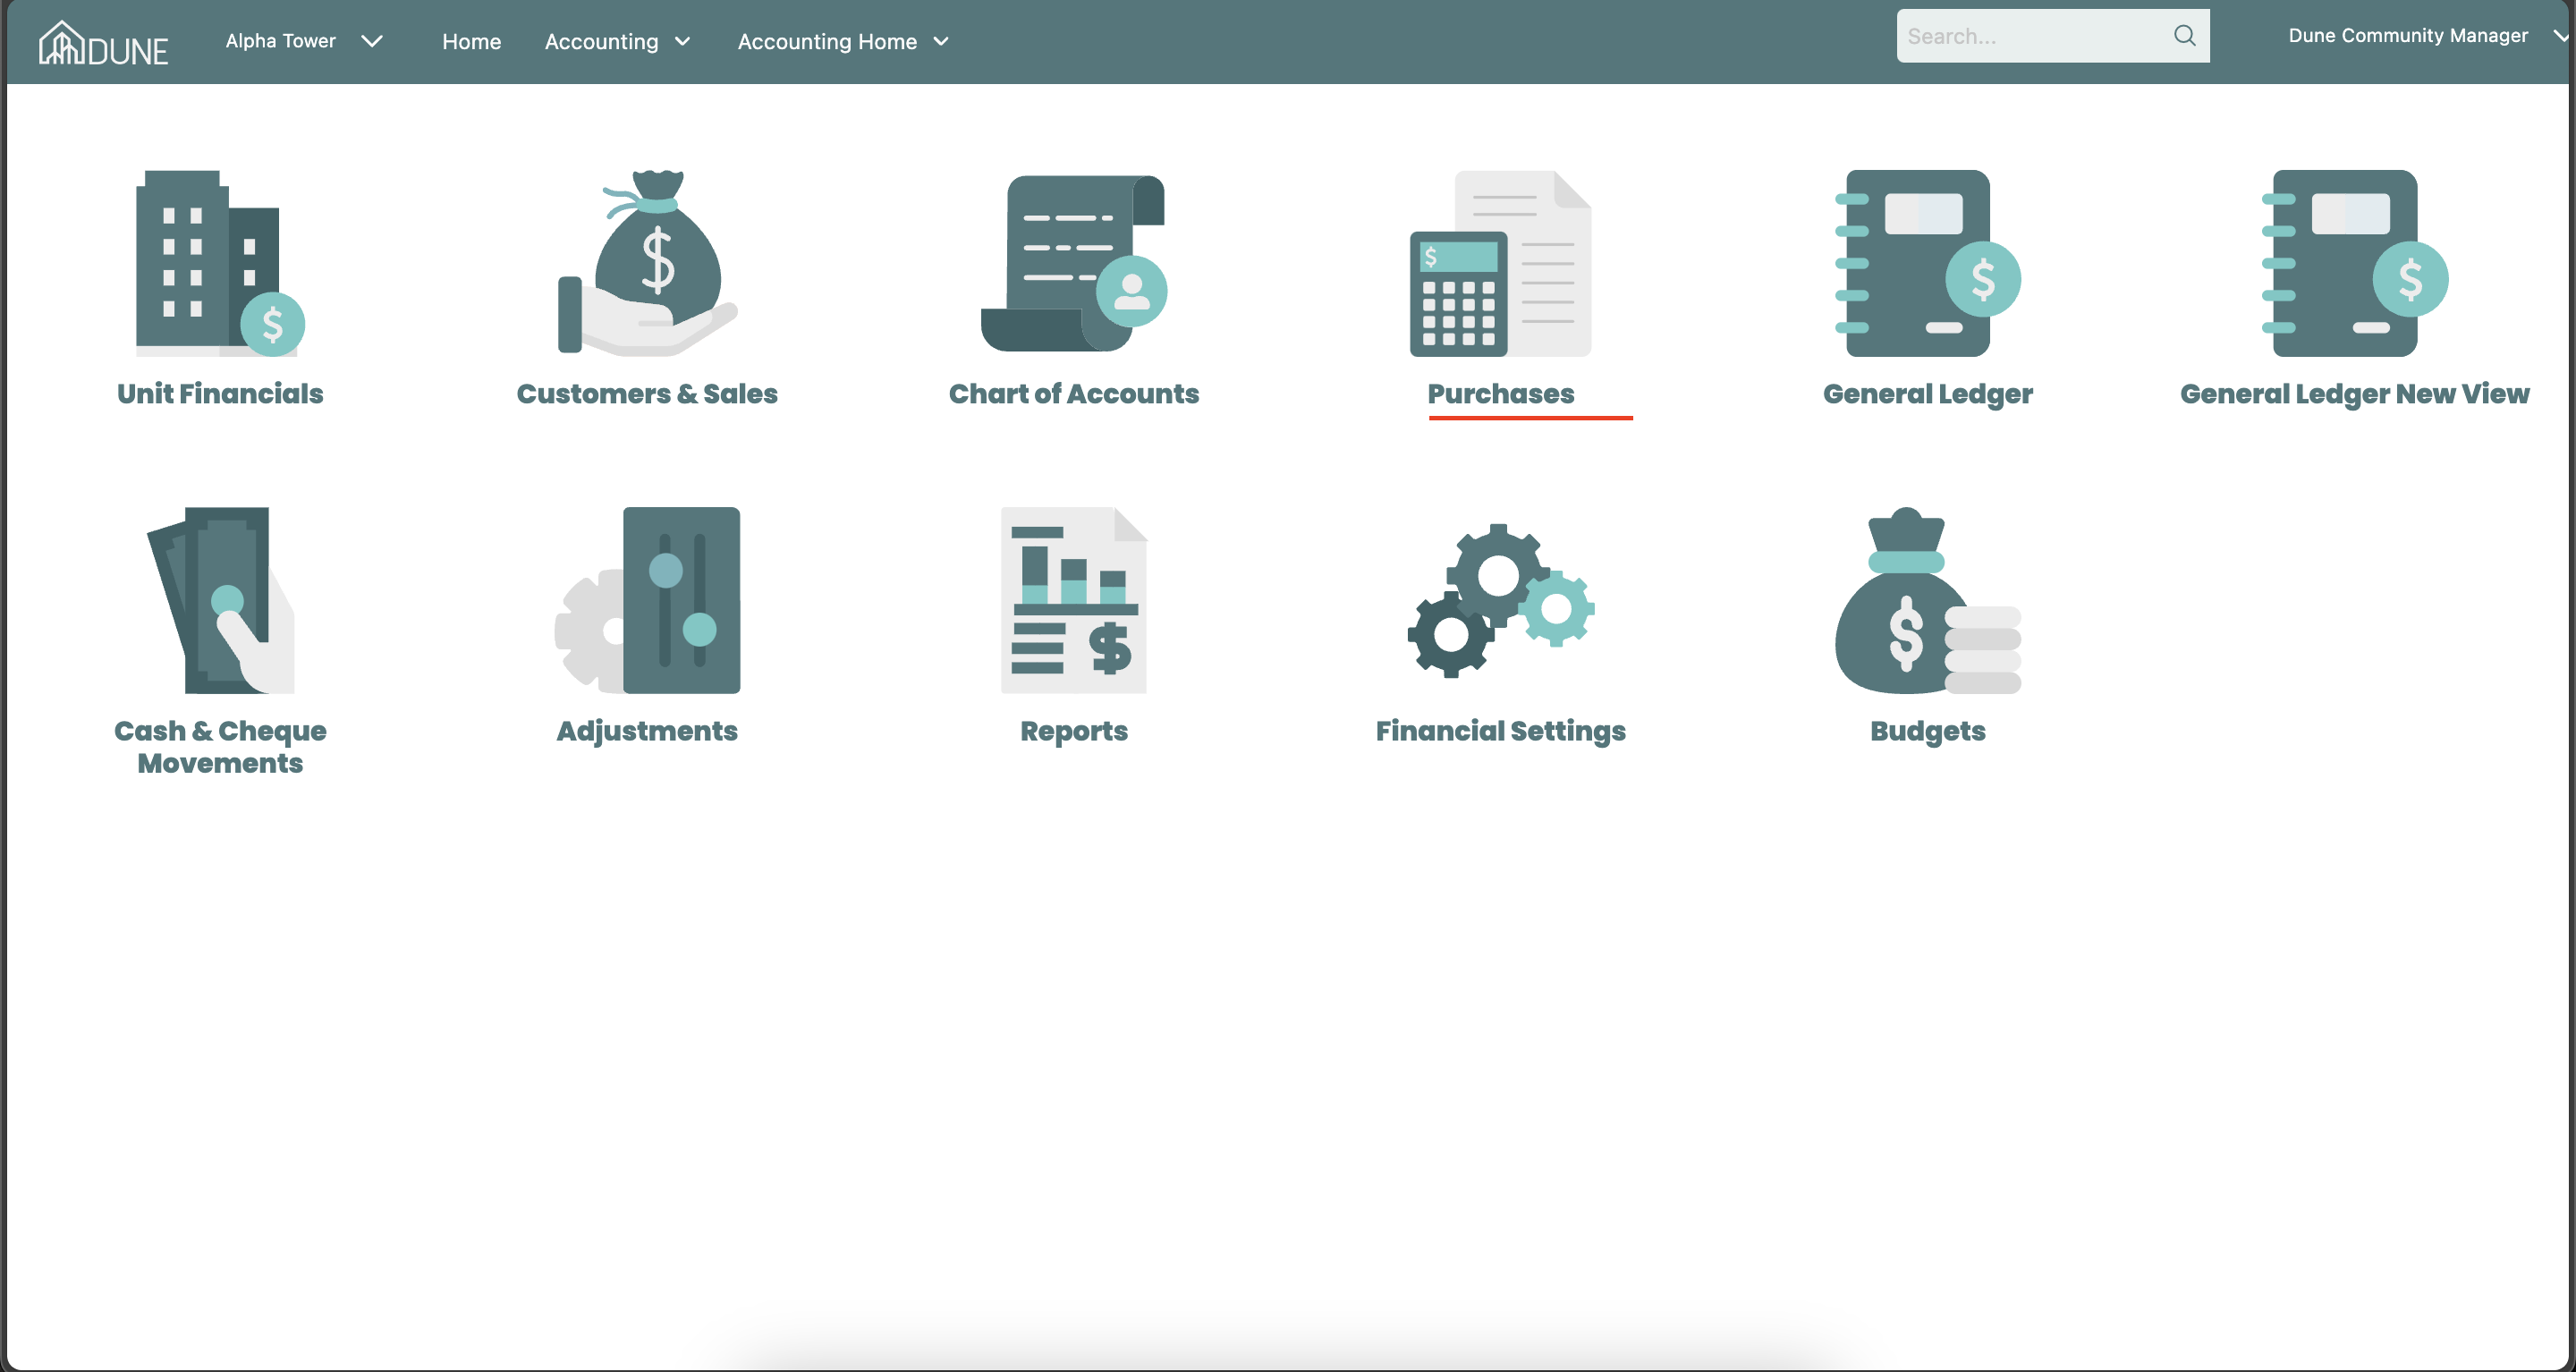
Navigate to Purchases:
- From the homepage, select the property group from the drop-down list, then go to "Accounting" and choose "Purchases."
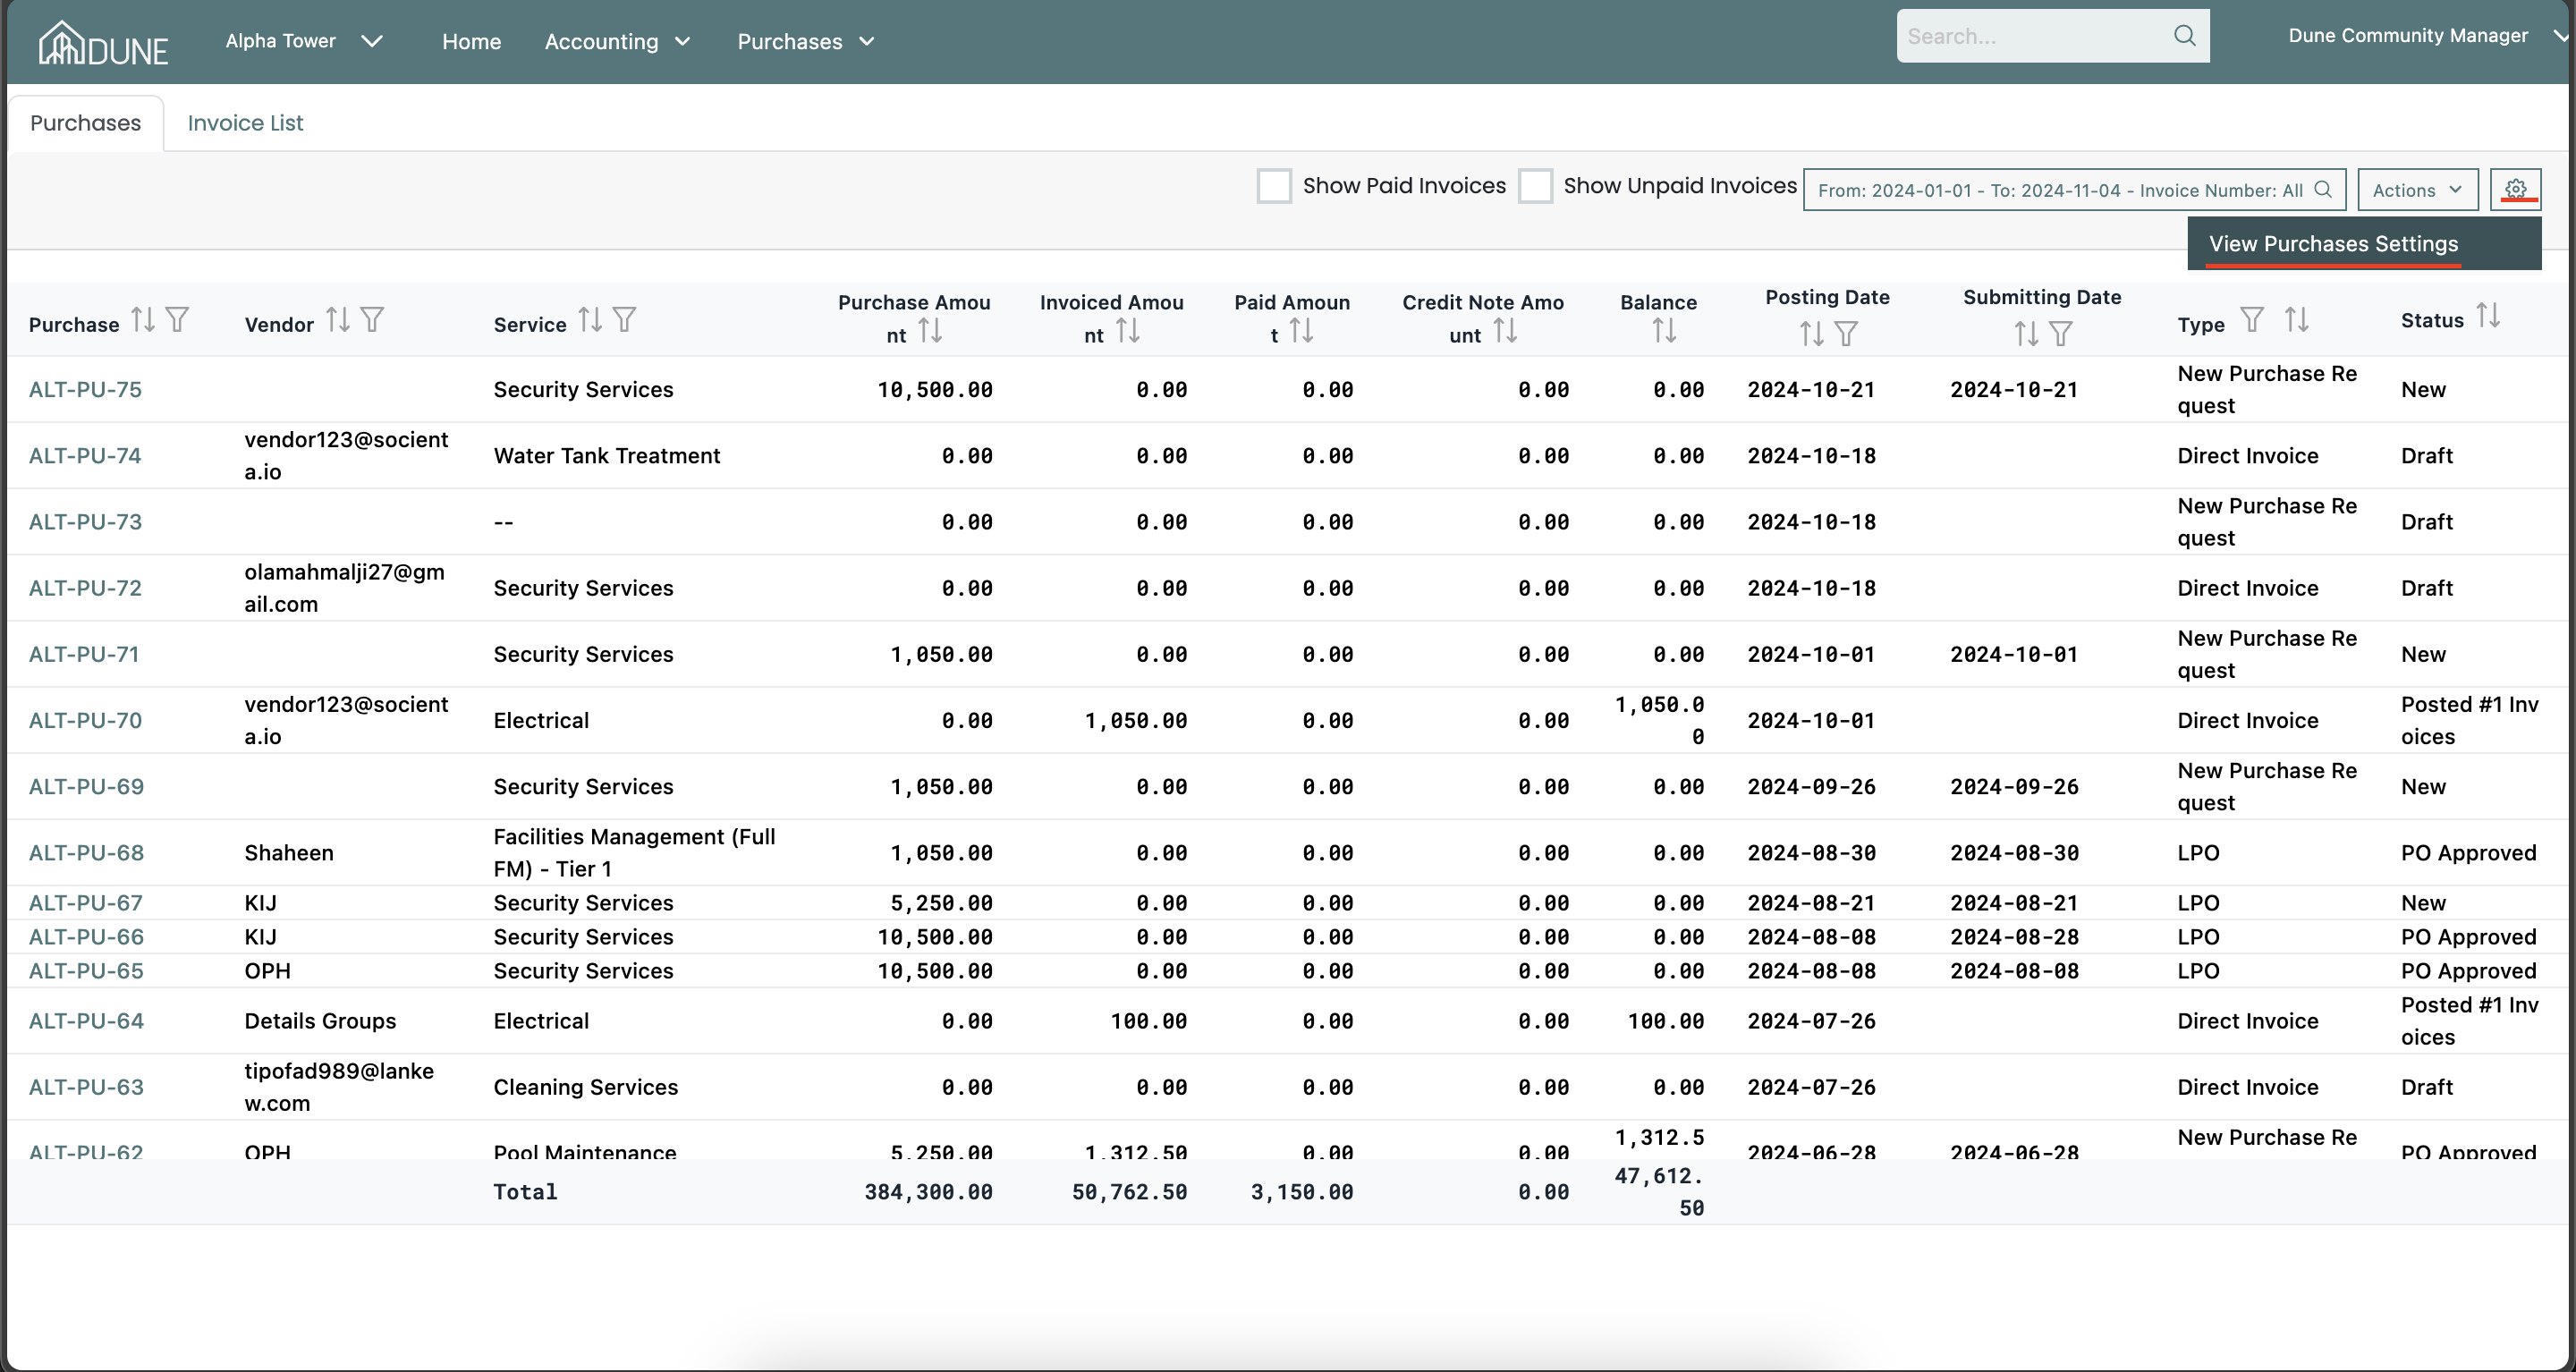
Access Purchase Settings:
On the Purchases homepage, navigate to the settings icon to view purchase settings and click on it.
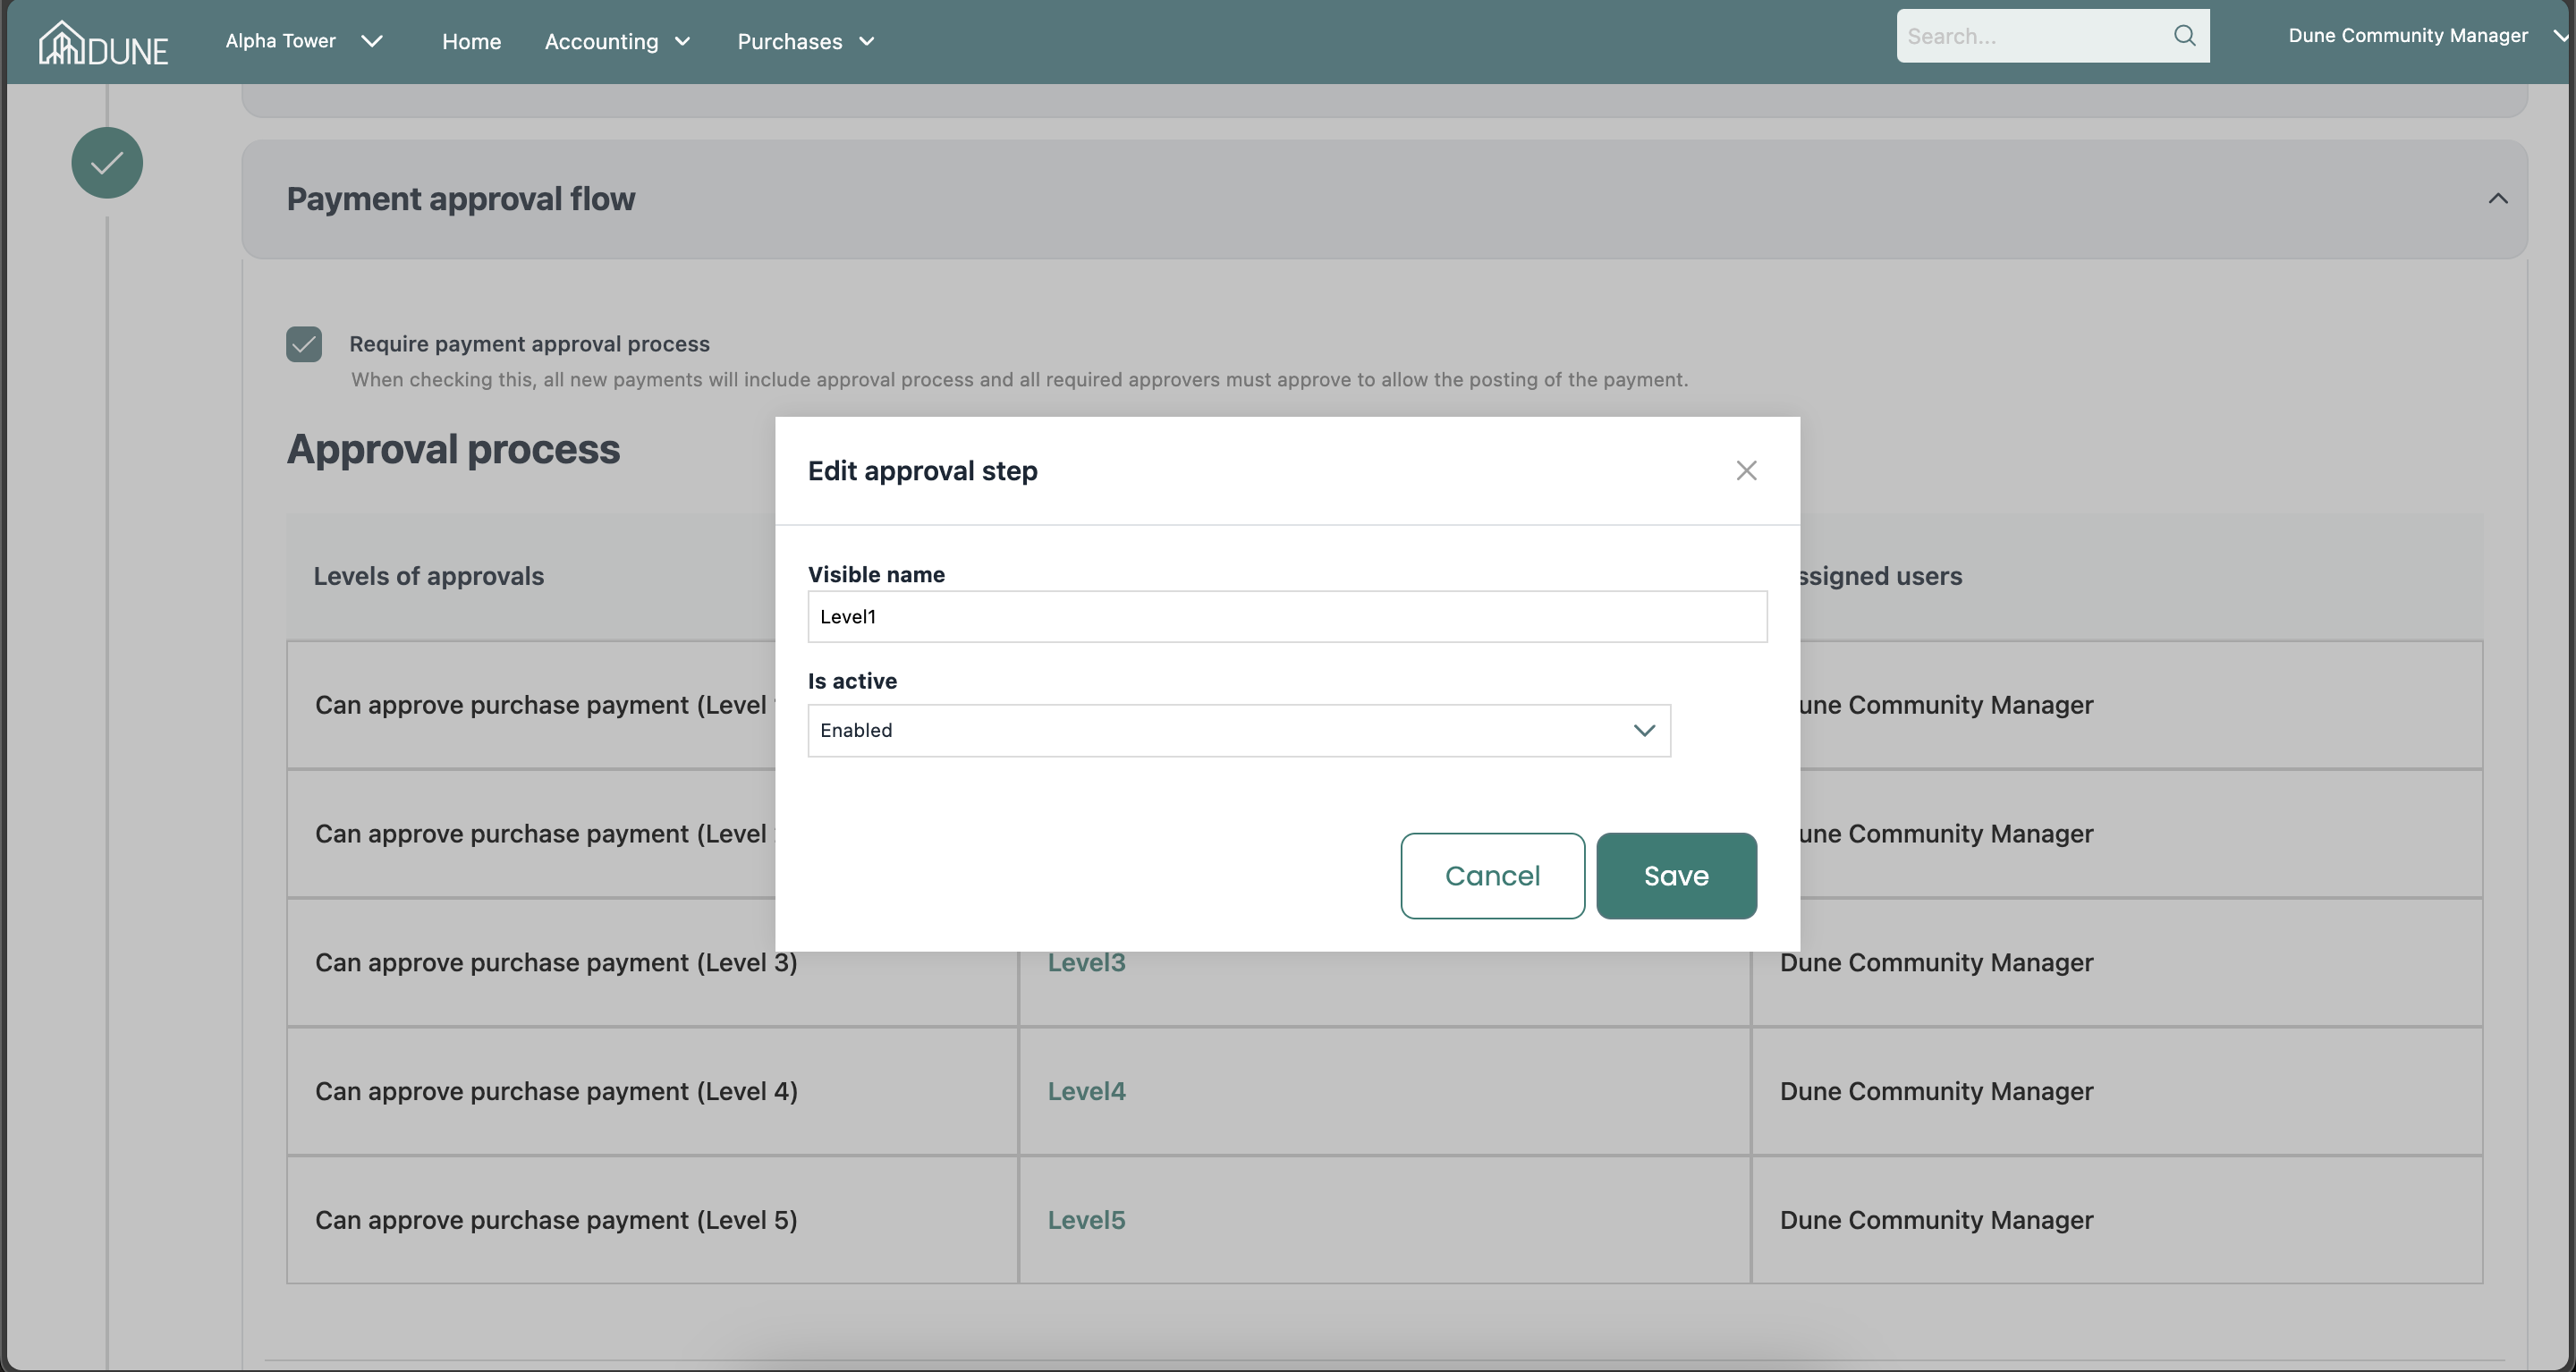
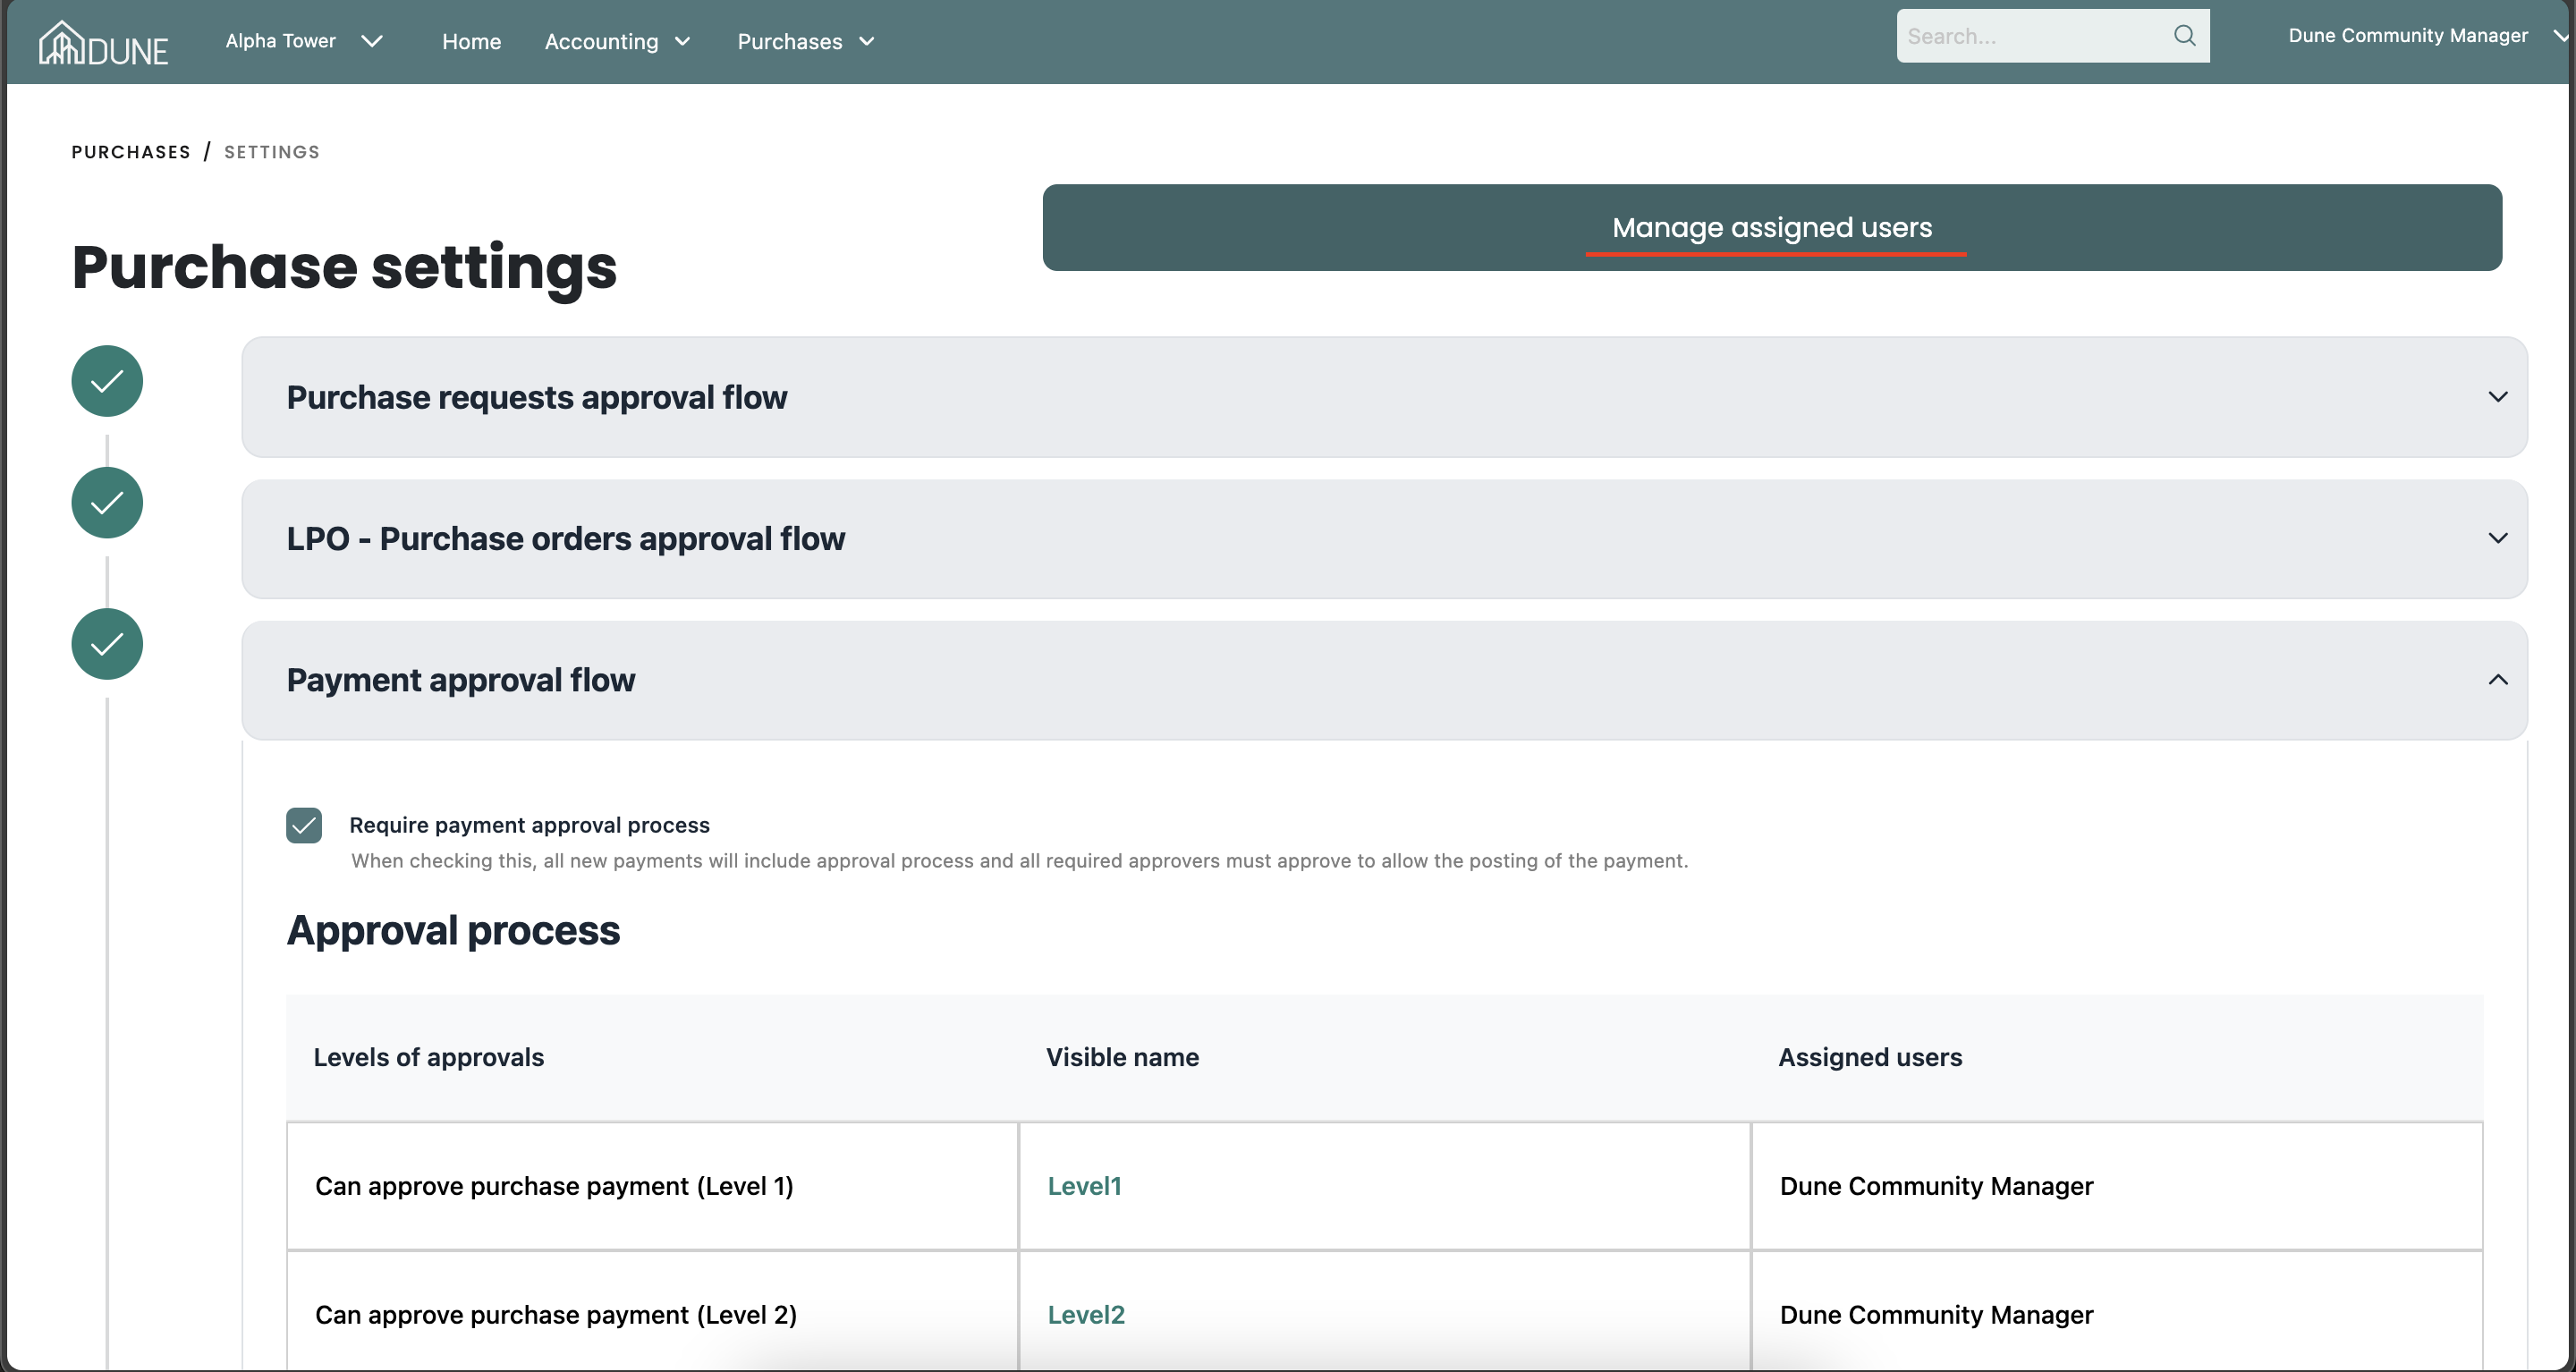
Enable Payment Approval Flow:
In the purchase settings, navigate the "Payment Approval Flow" section and checkmark the option "Require Payment Approval Process."

Set Up Approval Levels:
- In the approval levels, specify the number of approval levels, assign users to each level, and customize each level’s name.
- Click on the level name to open a pop-up screen where you can edit the name and enable or disable the level
(Note: The approval levels should follow a sequence. For example, you may choose to disable the last 3 levels and enable the first 2 levels as per your workflow.)
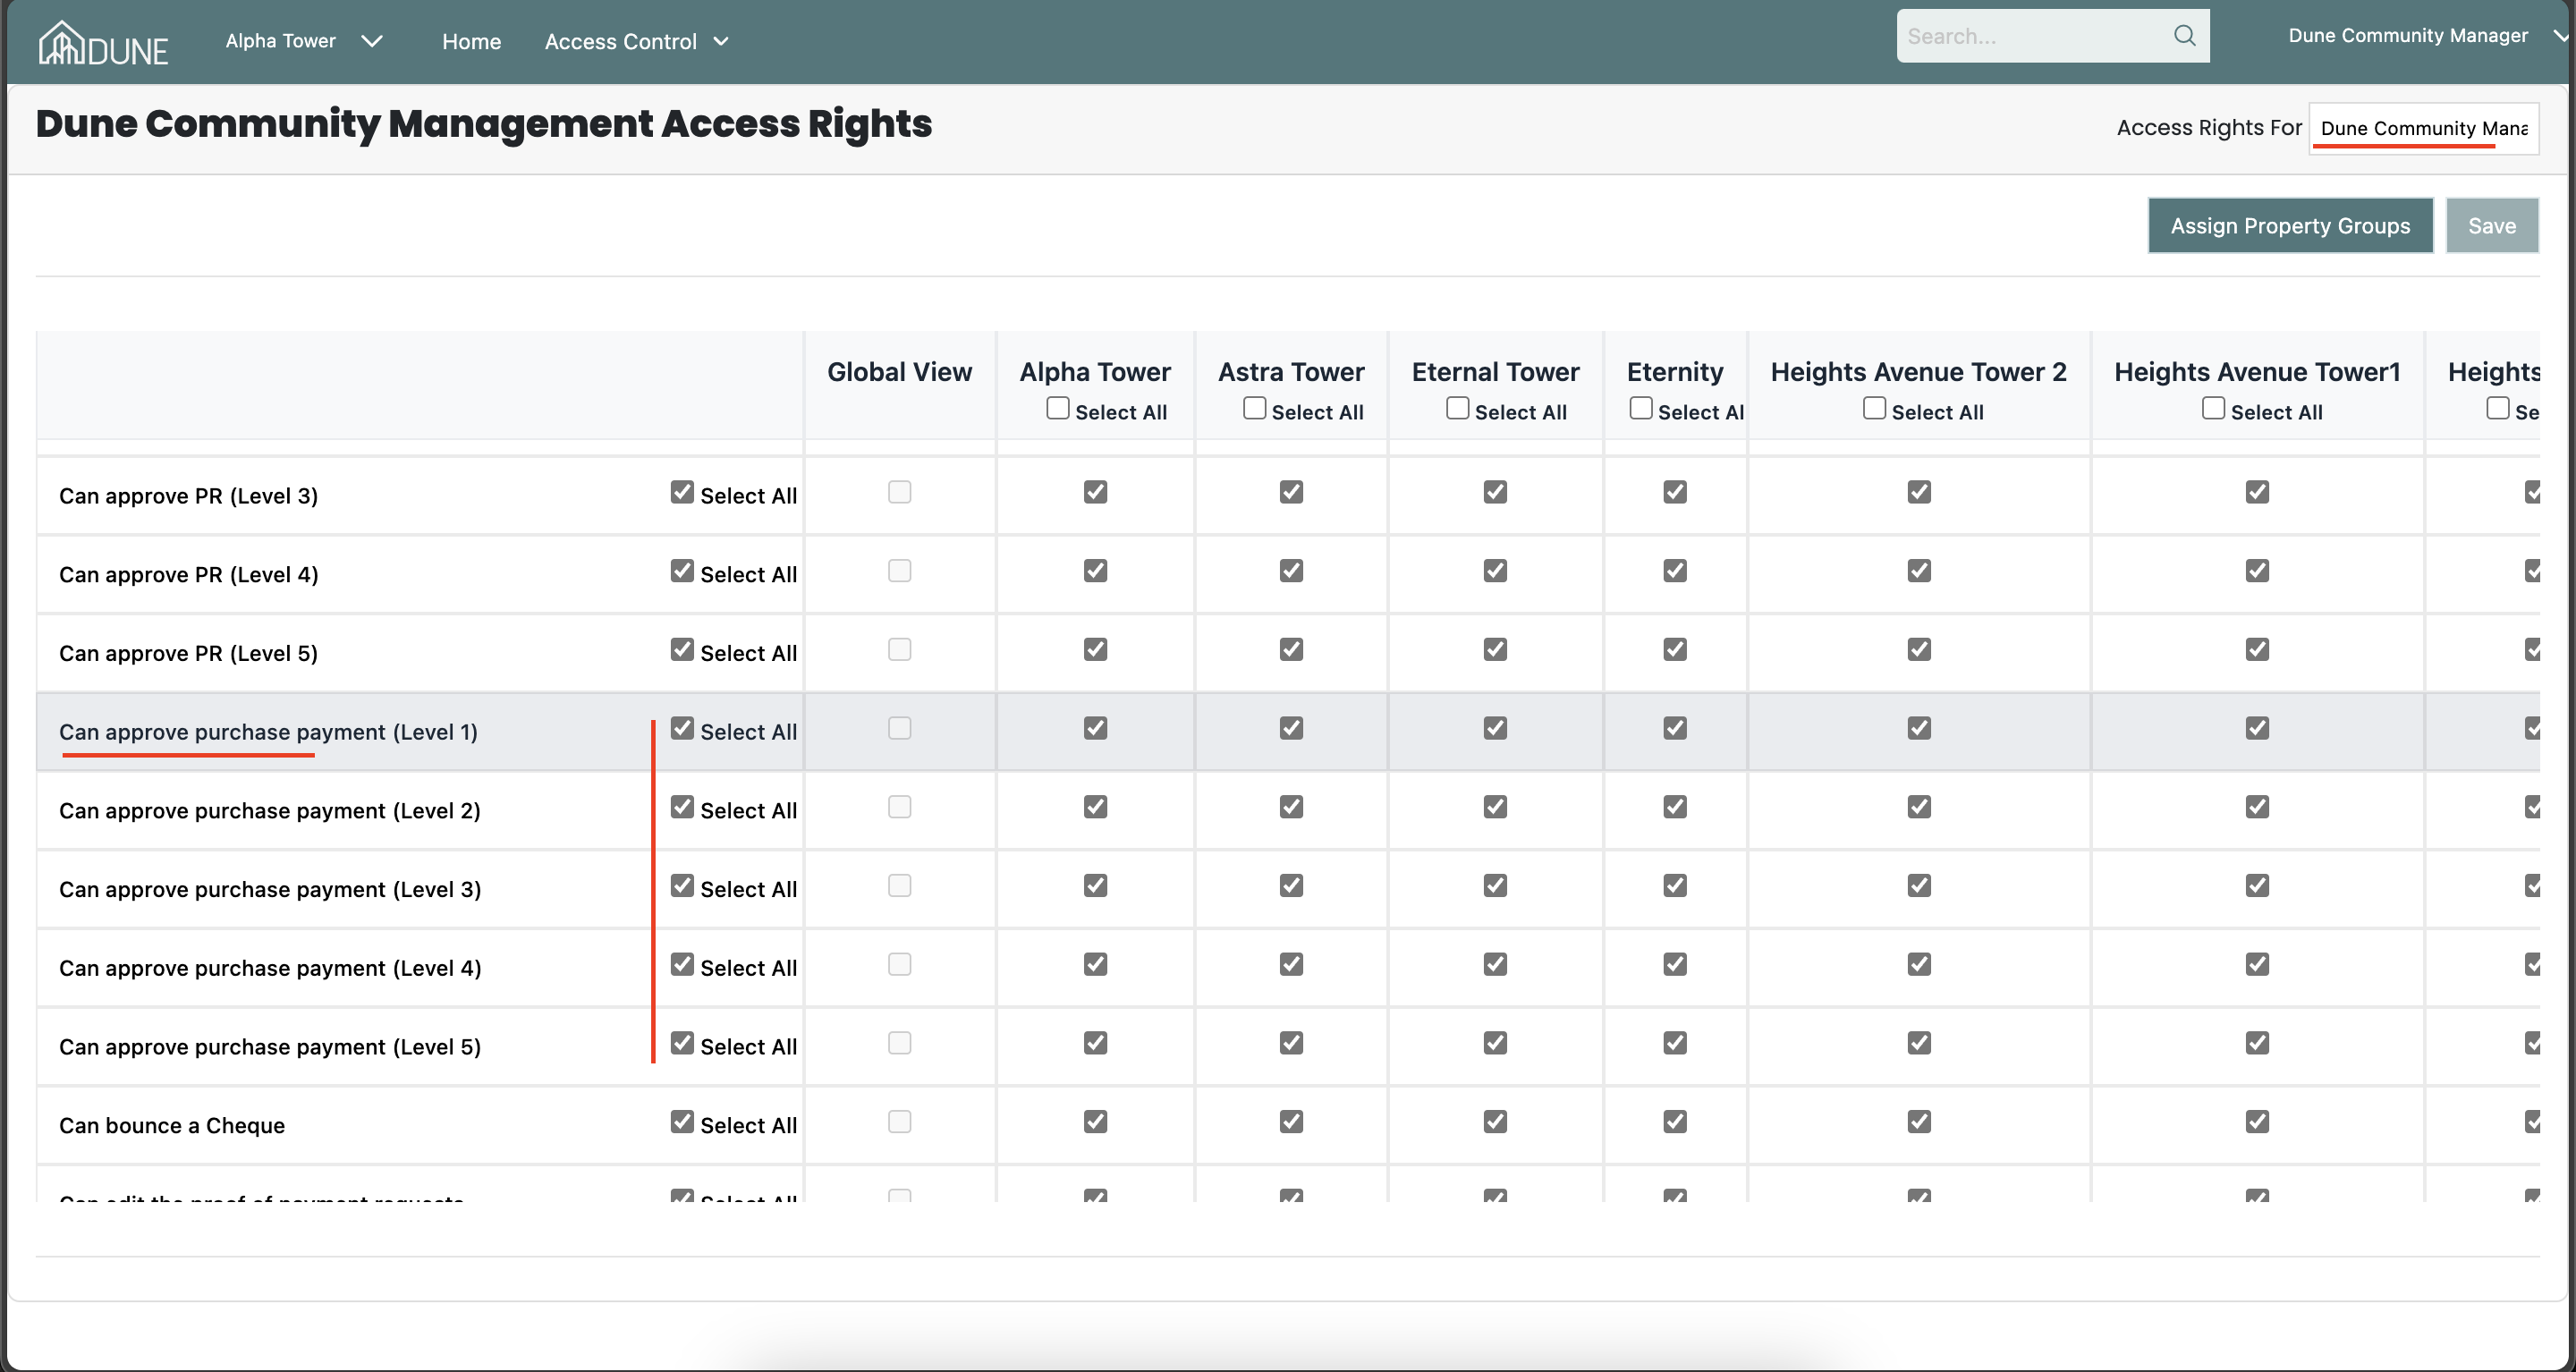
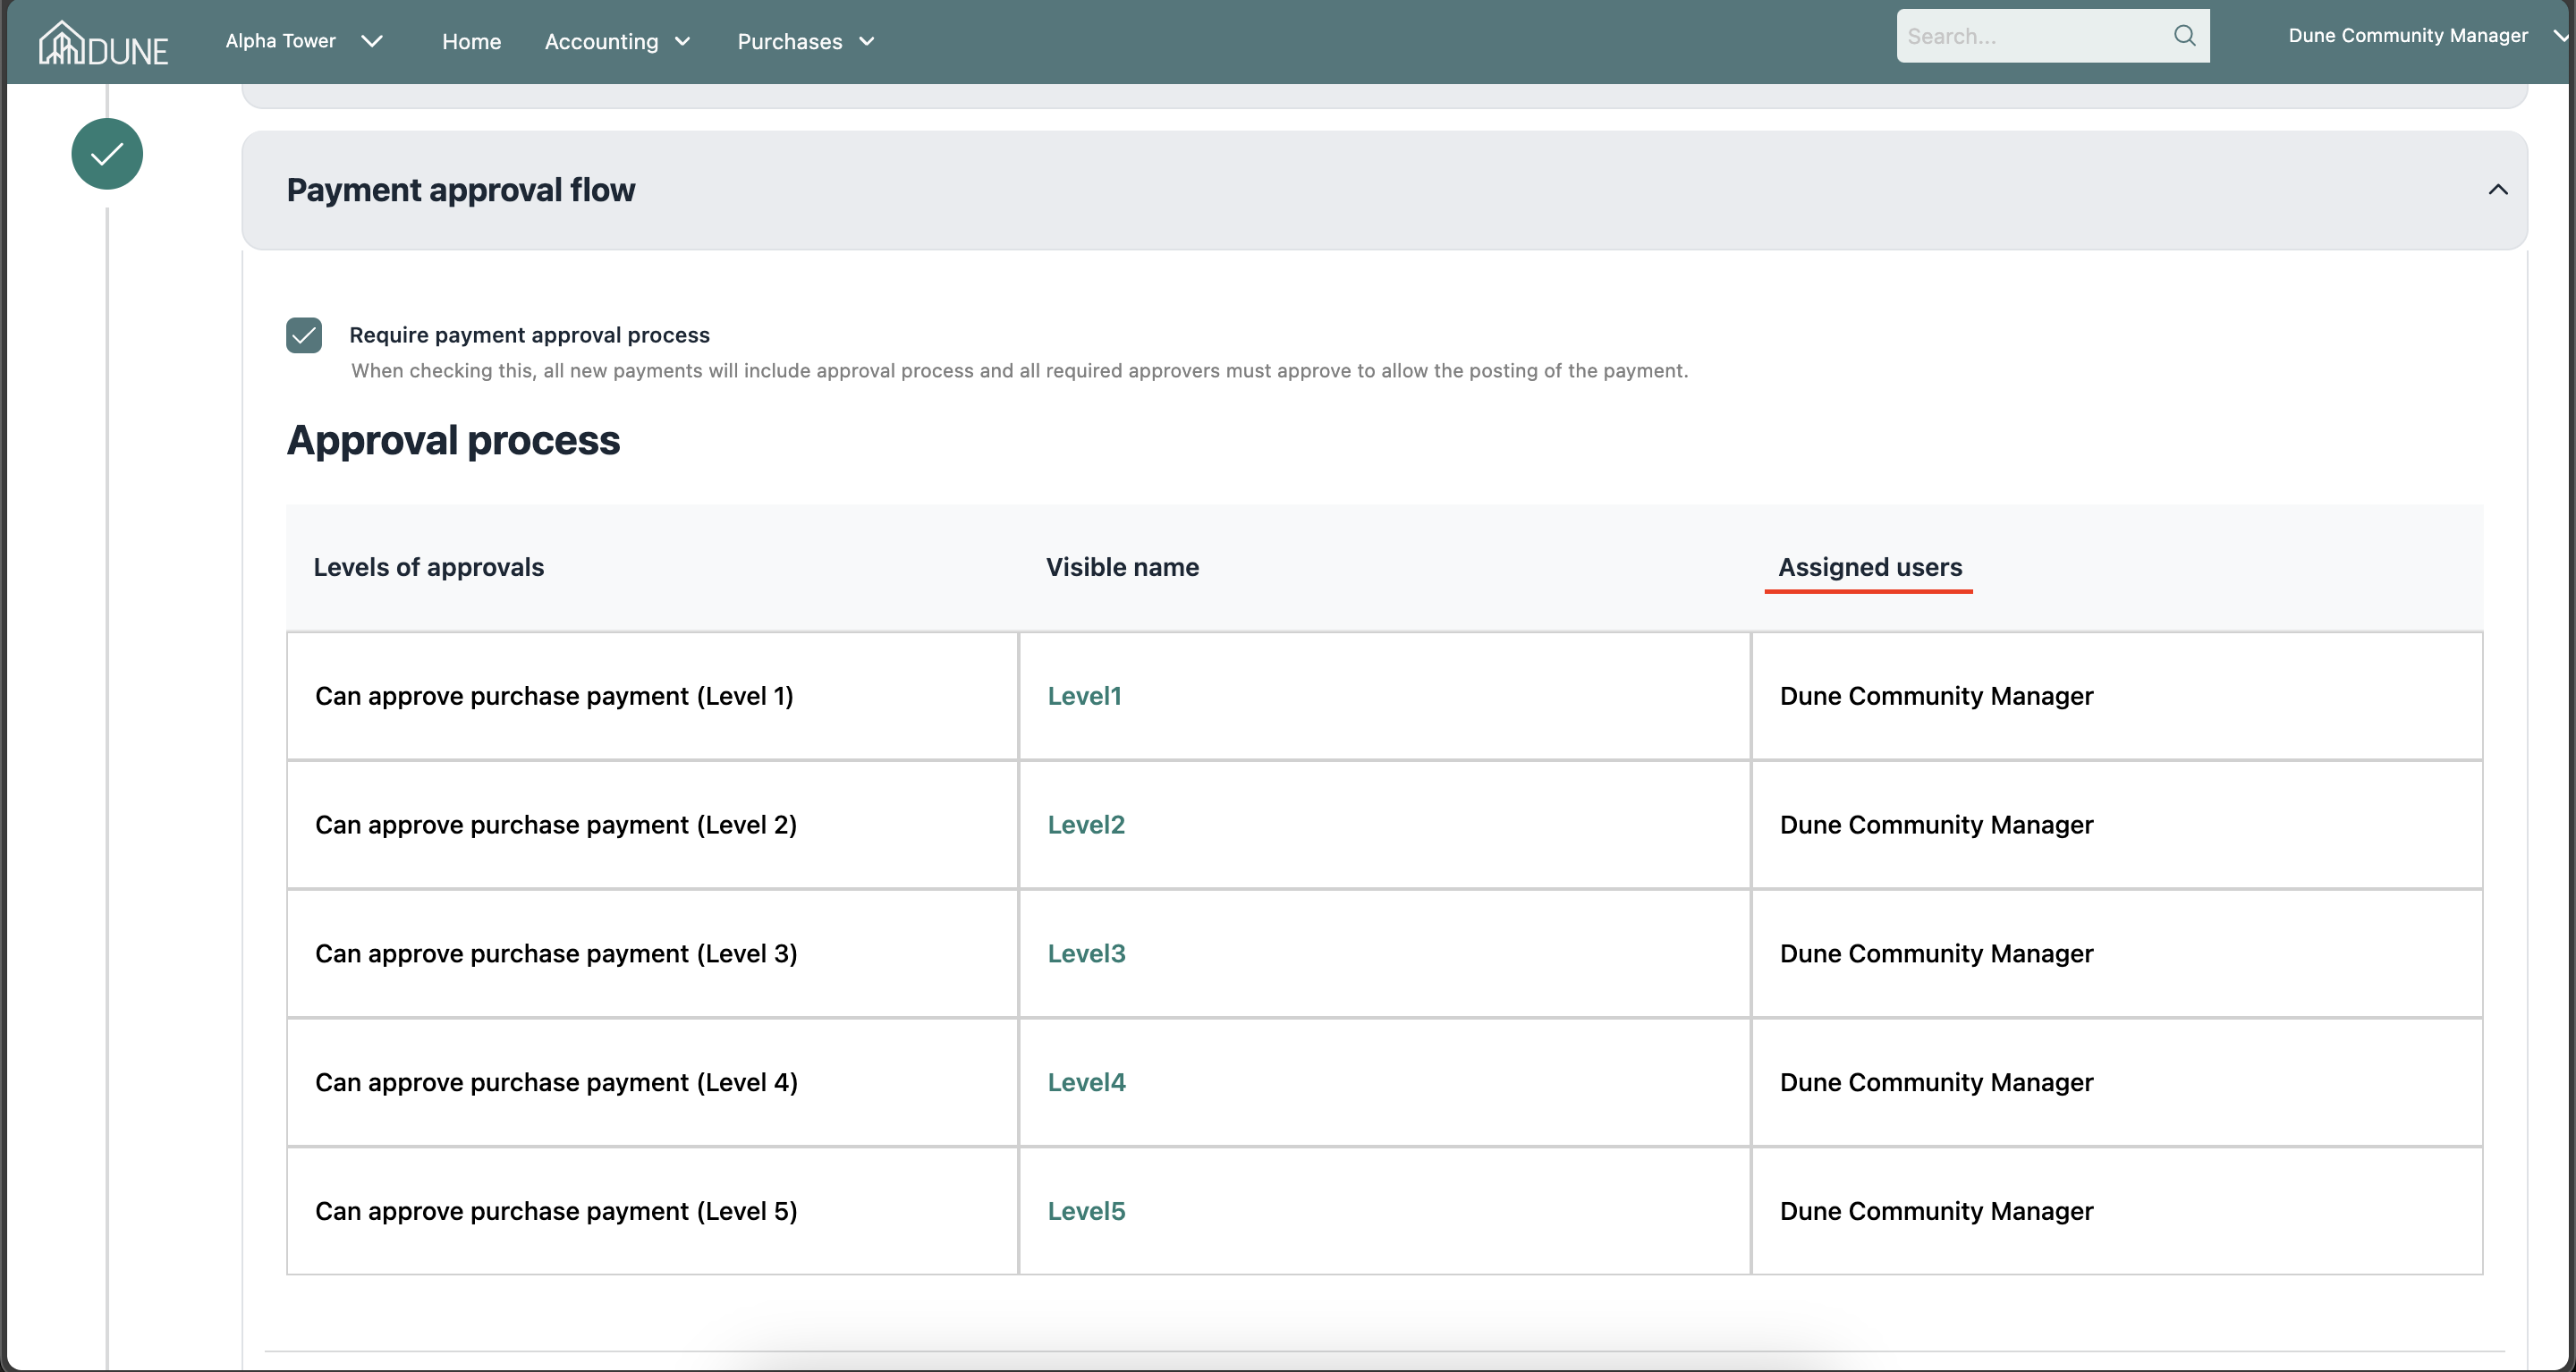
Assign Users to Approval Levels:
Click on the "Manage Assigned Users" button to open the access rights page. Enter the user’s name, select the desired approval level, and save to see the assigned user reflected in the settings under the Assigned Users column.
Save Changes:
Make sure to click on the Save button once you complete your work to apply any changes.

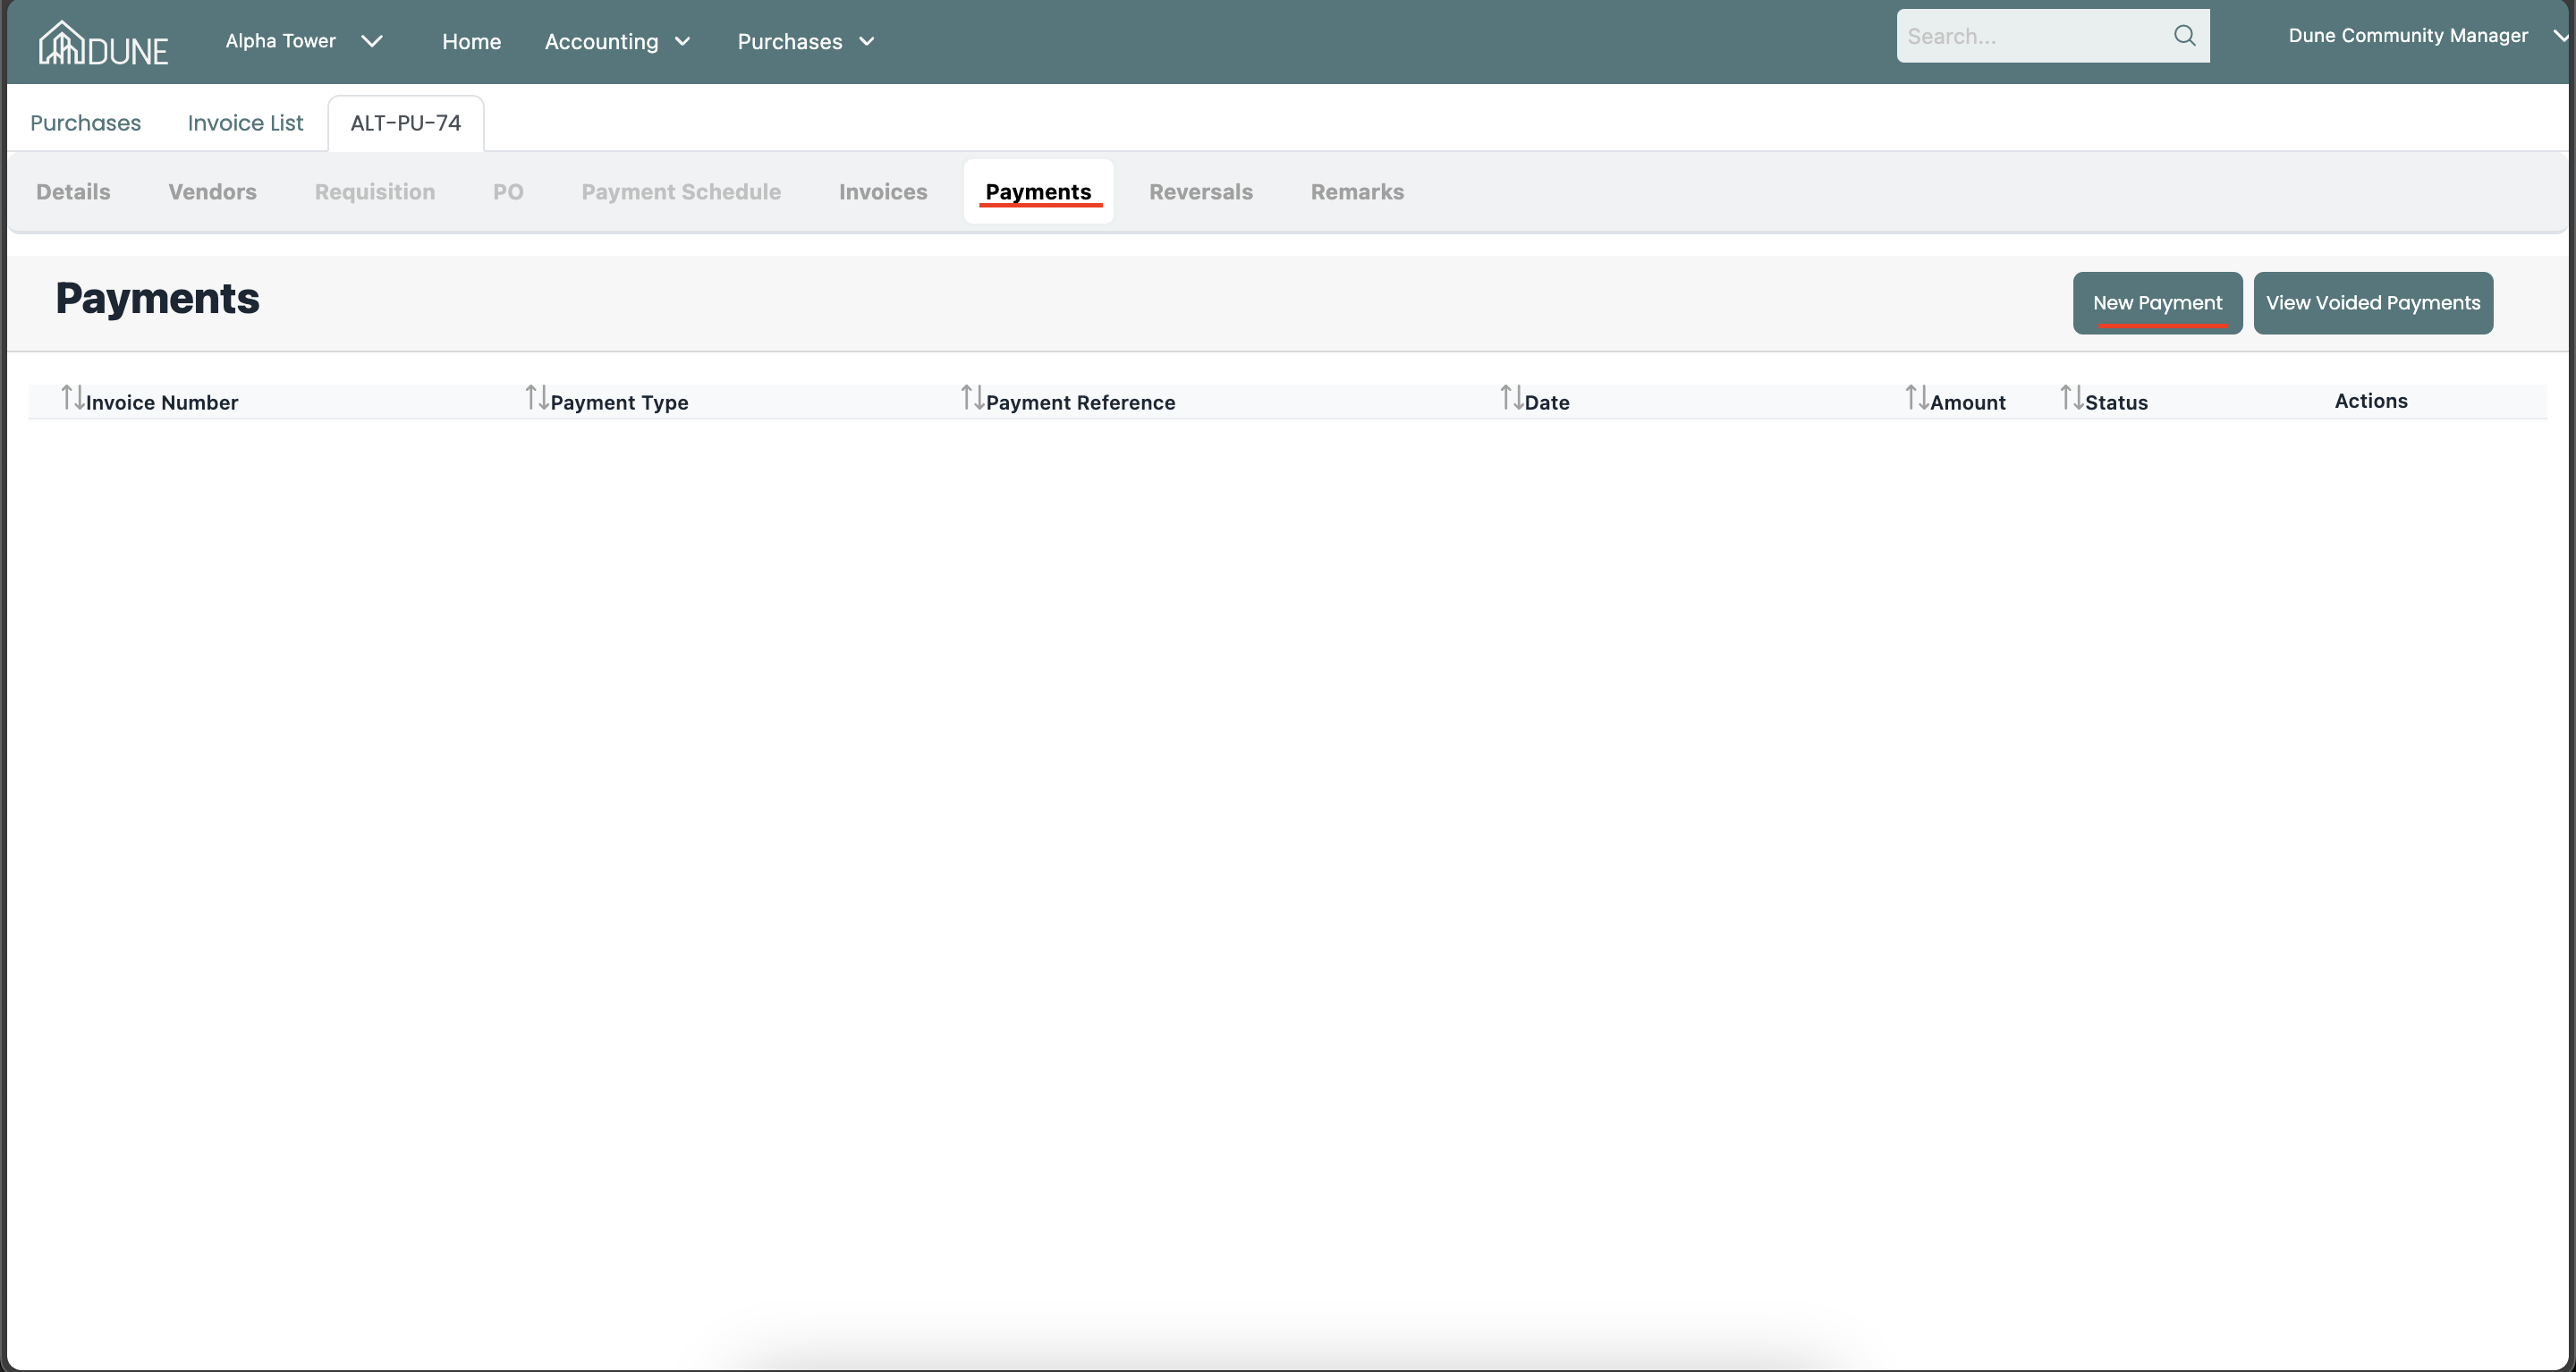
Create a Purchase and Apply Approval Flow:
Once the approval flow is configured, create a purchase then go to the "Payments" tab, and click on "New Payment."
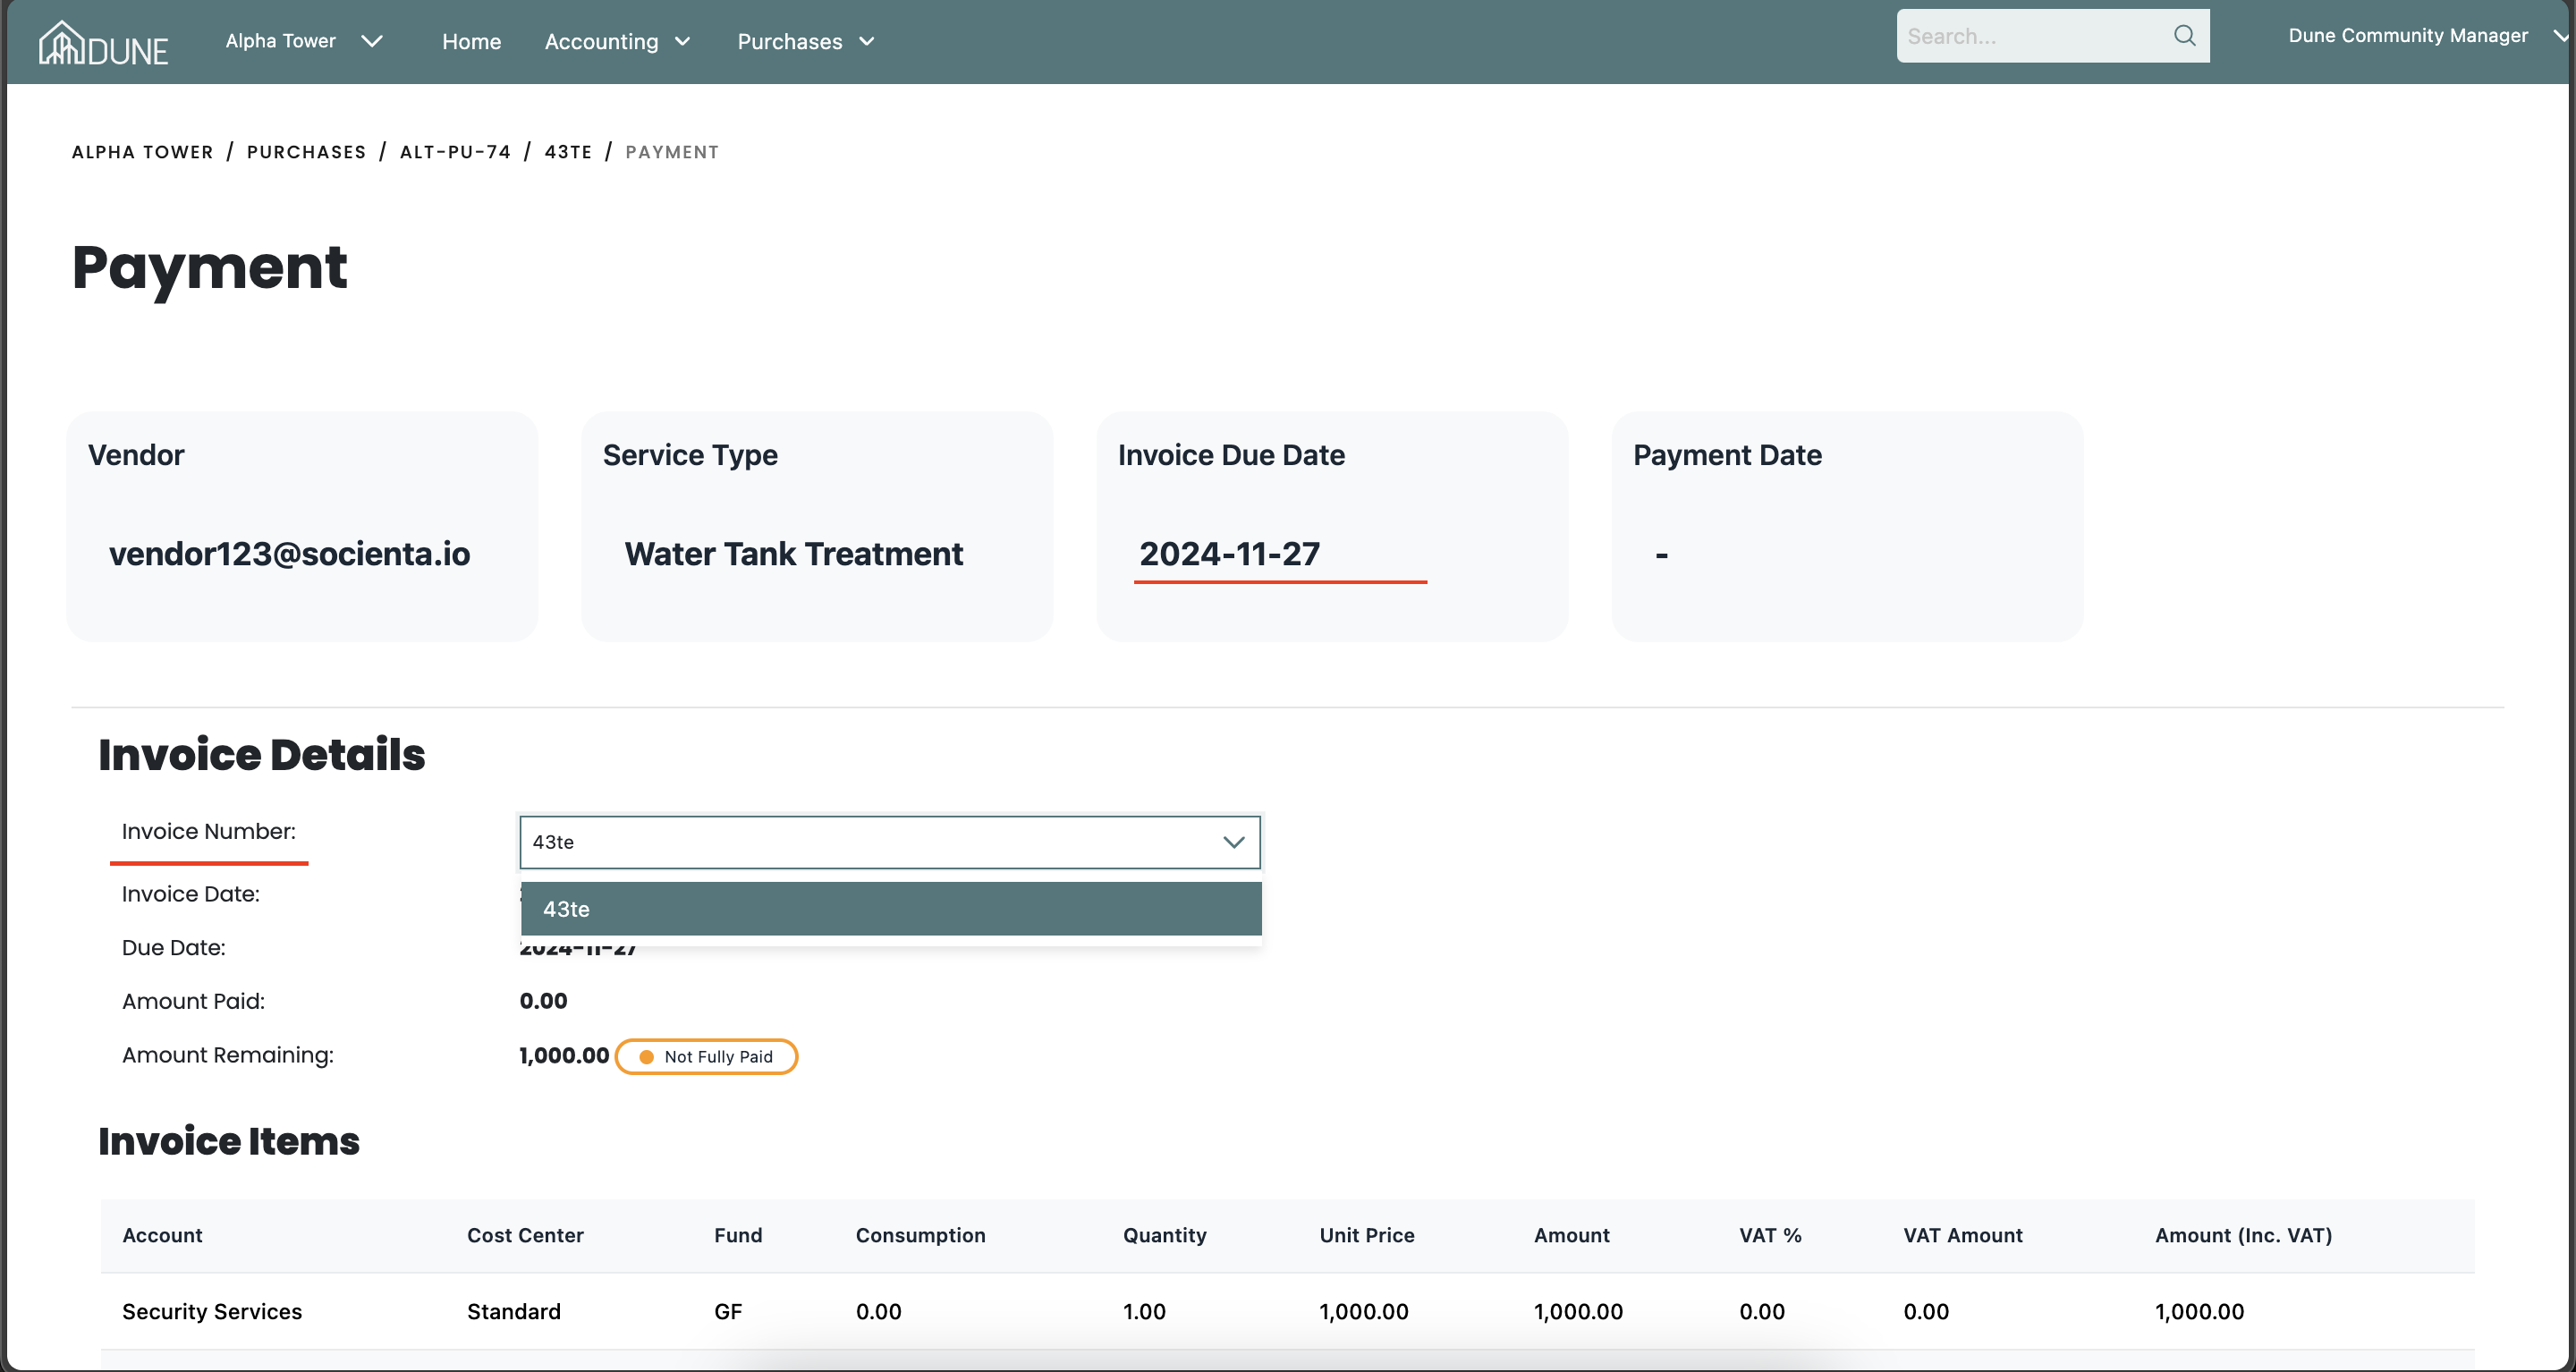
Select Invoice Details:
In the invoice details section, select the invoice from the drop-down list. The due date will automatically populate at the top of the screen.
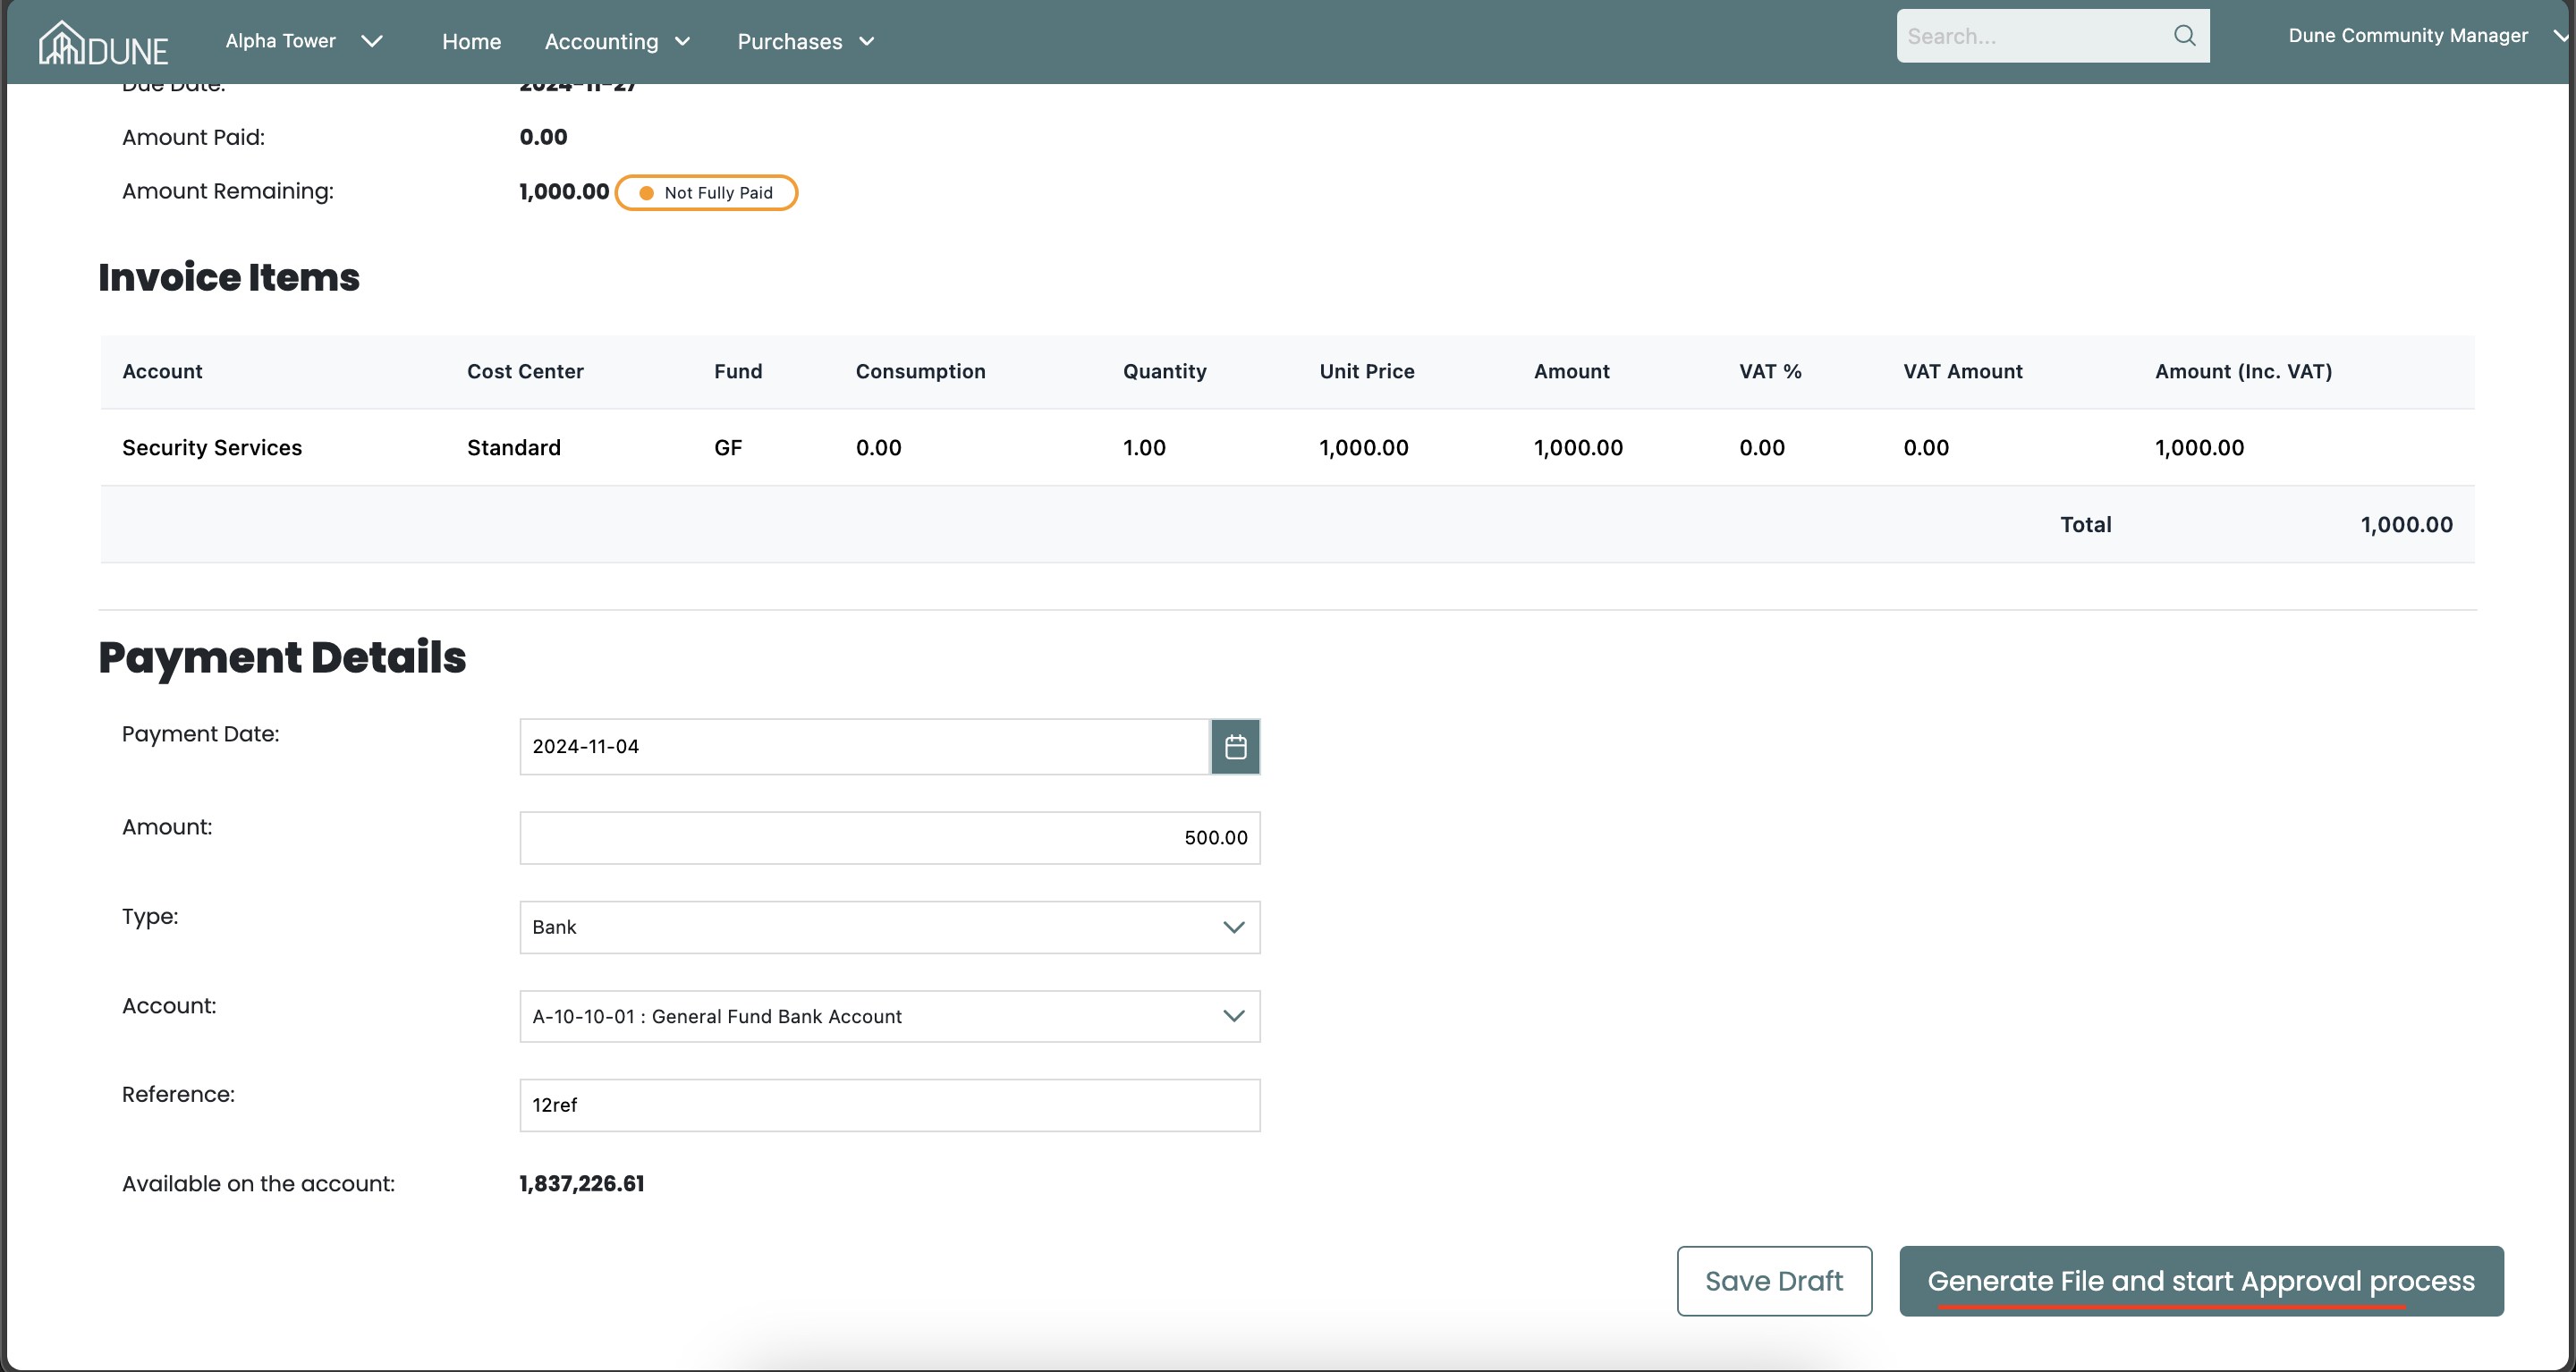
Enter Payment Details:
In the payment details section, fill in the required information such as amount, type, and reference number. Then click "Generate File and start the approval process".
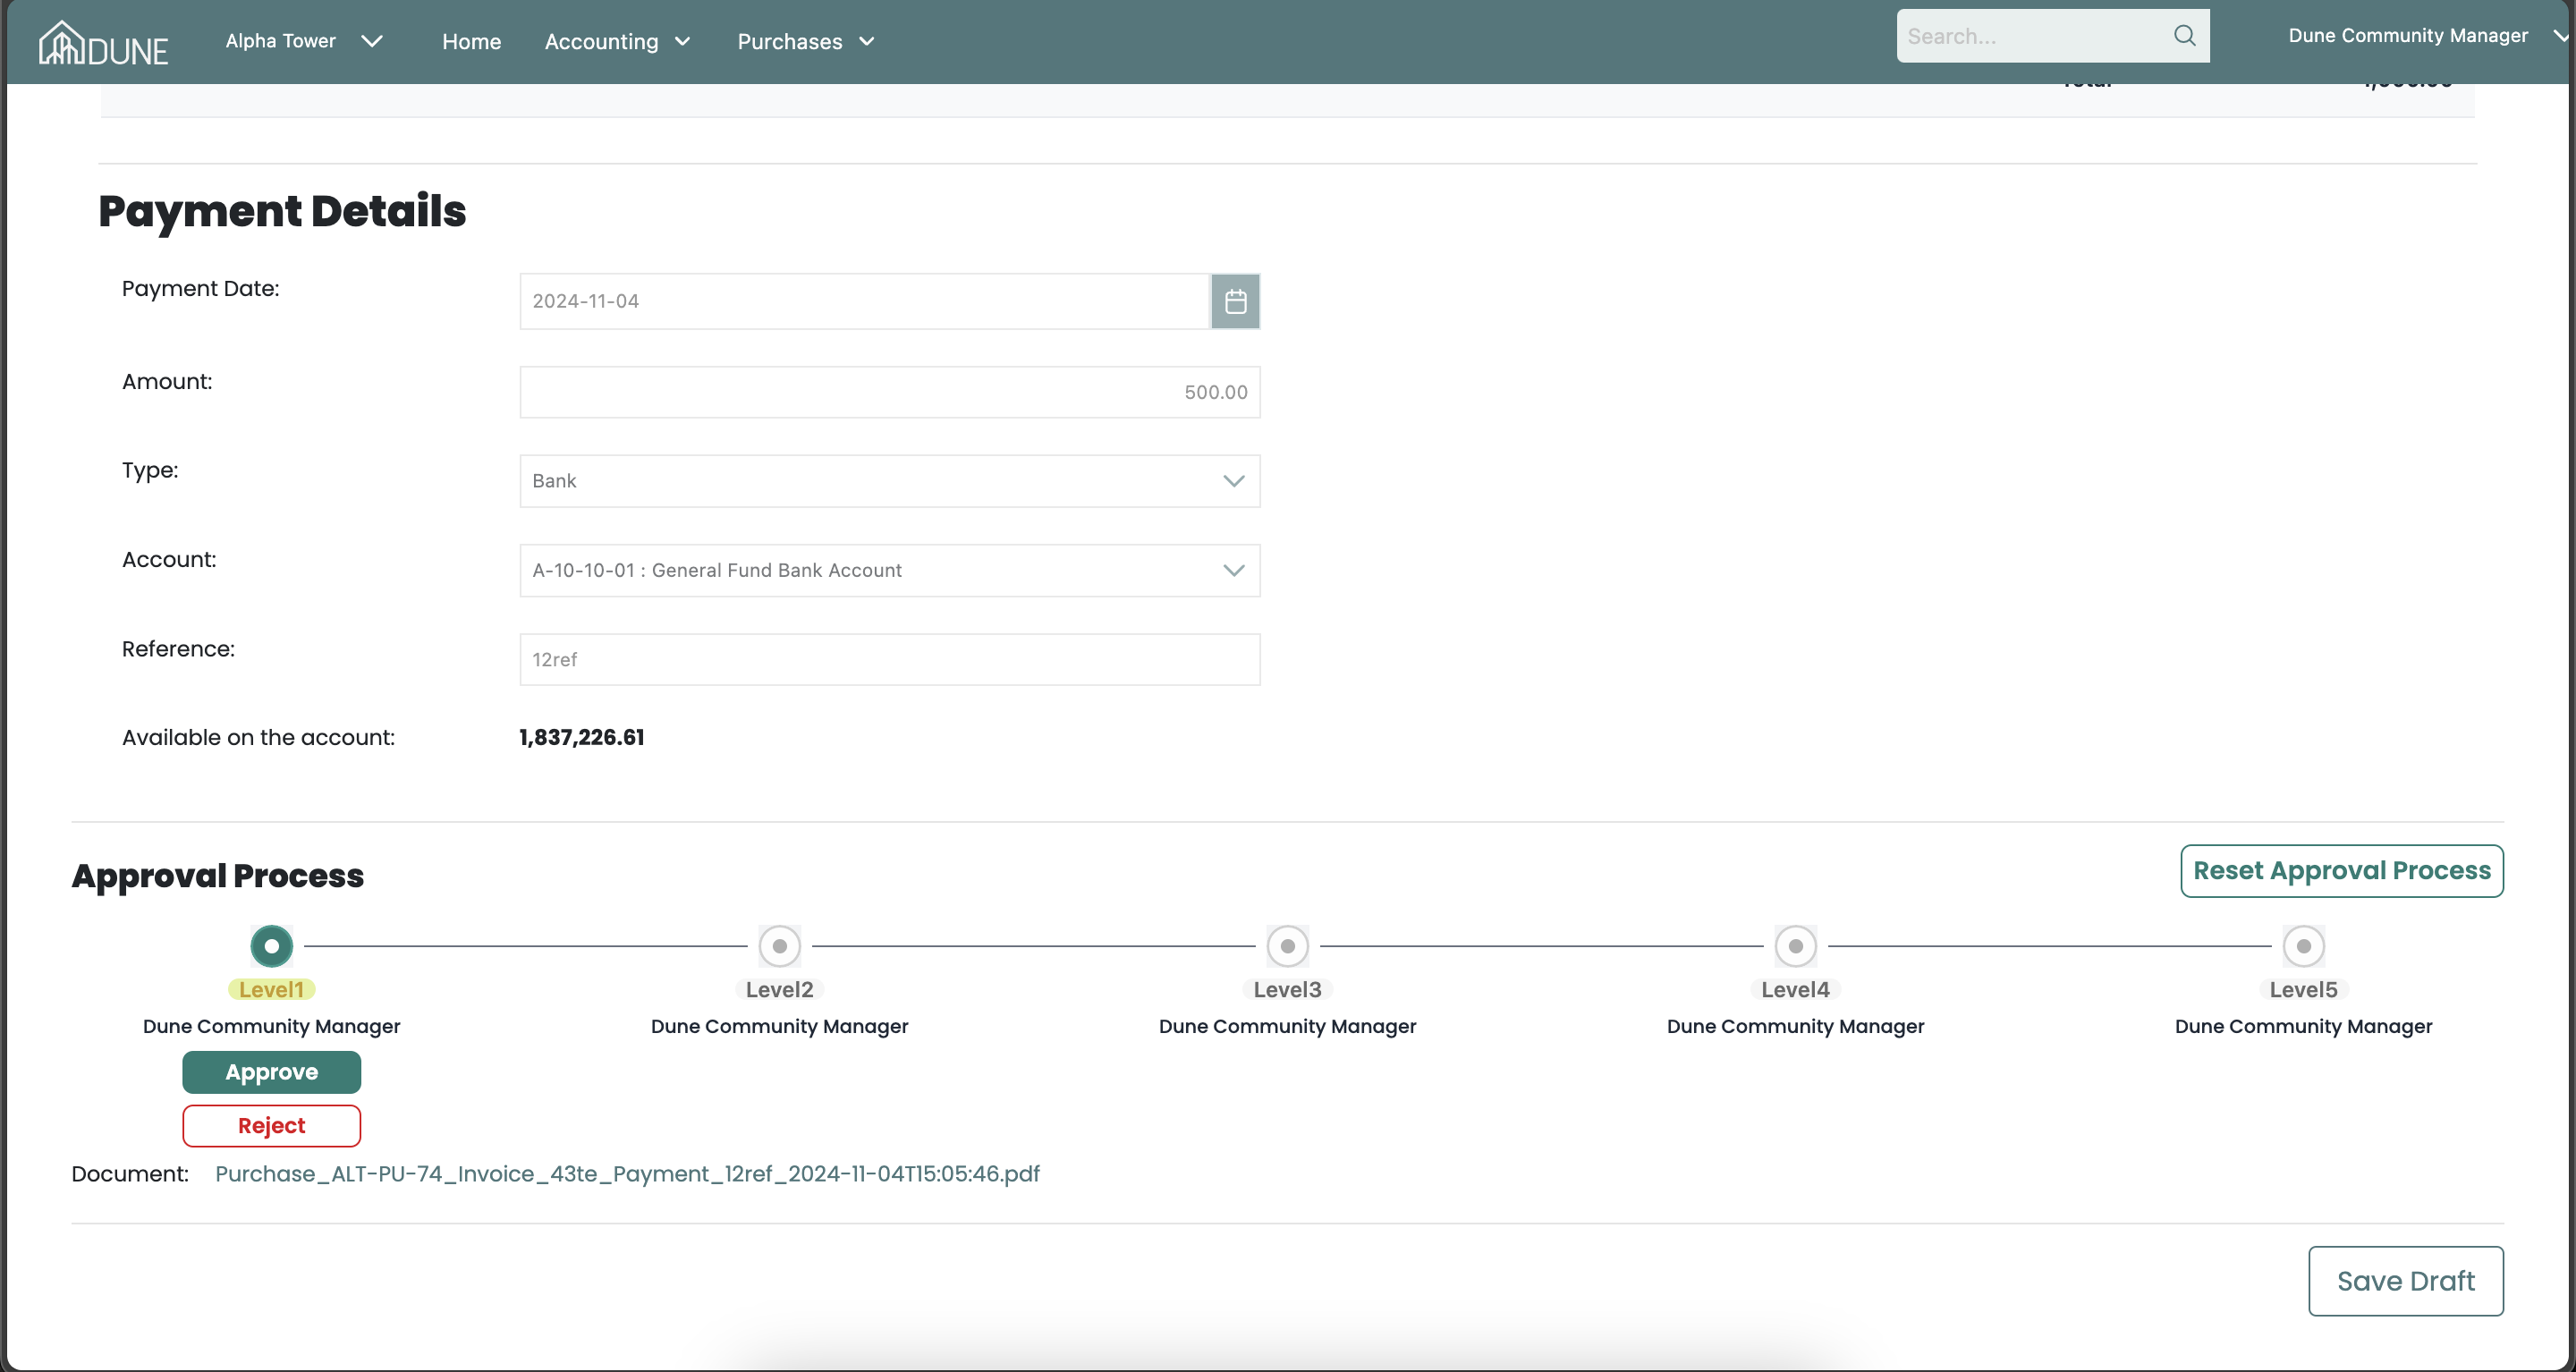
Approval Process:
The approval process will begin, allowing you to approve or reject the payment. You can also download documents, reset the approval process in case of a rejection, or save the payment as a draft for later.
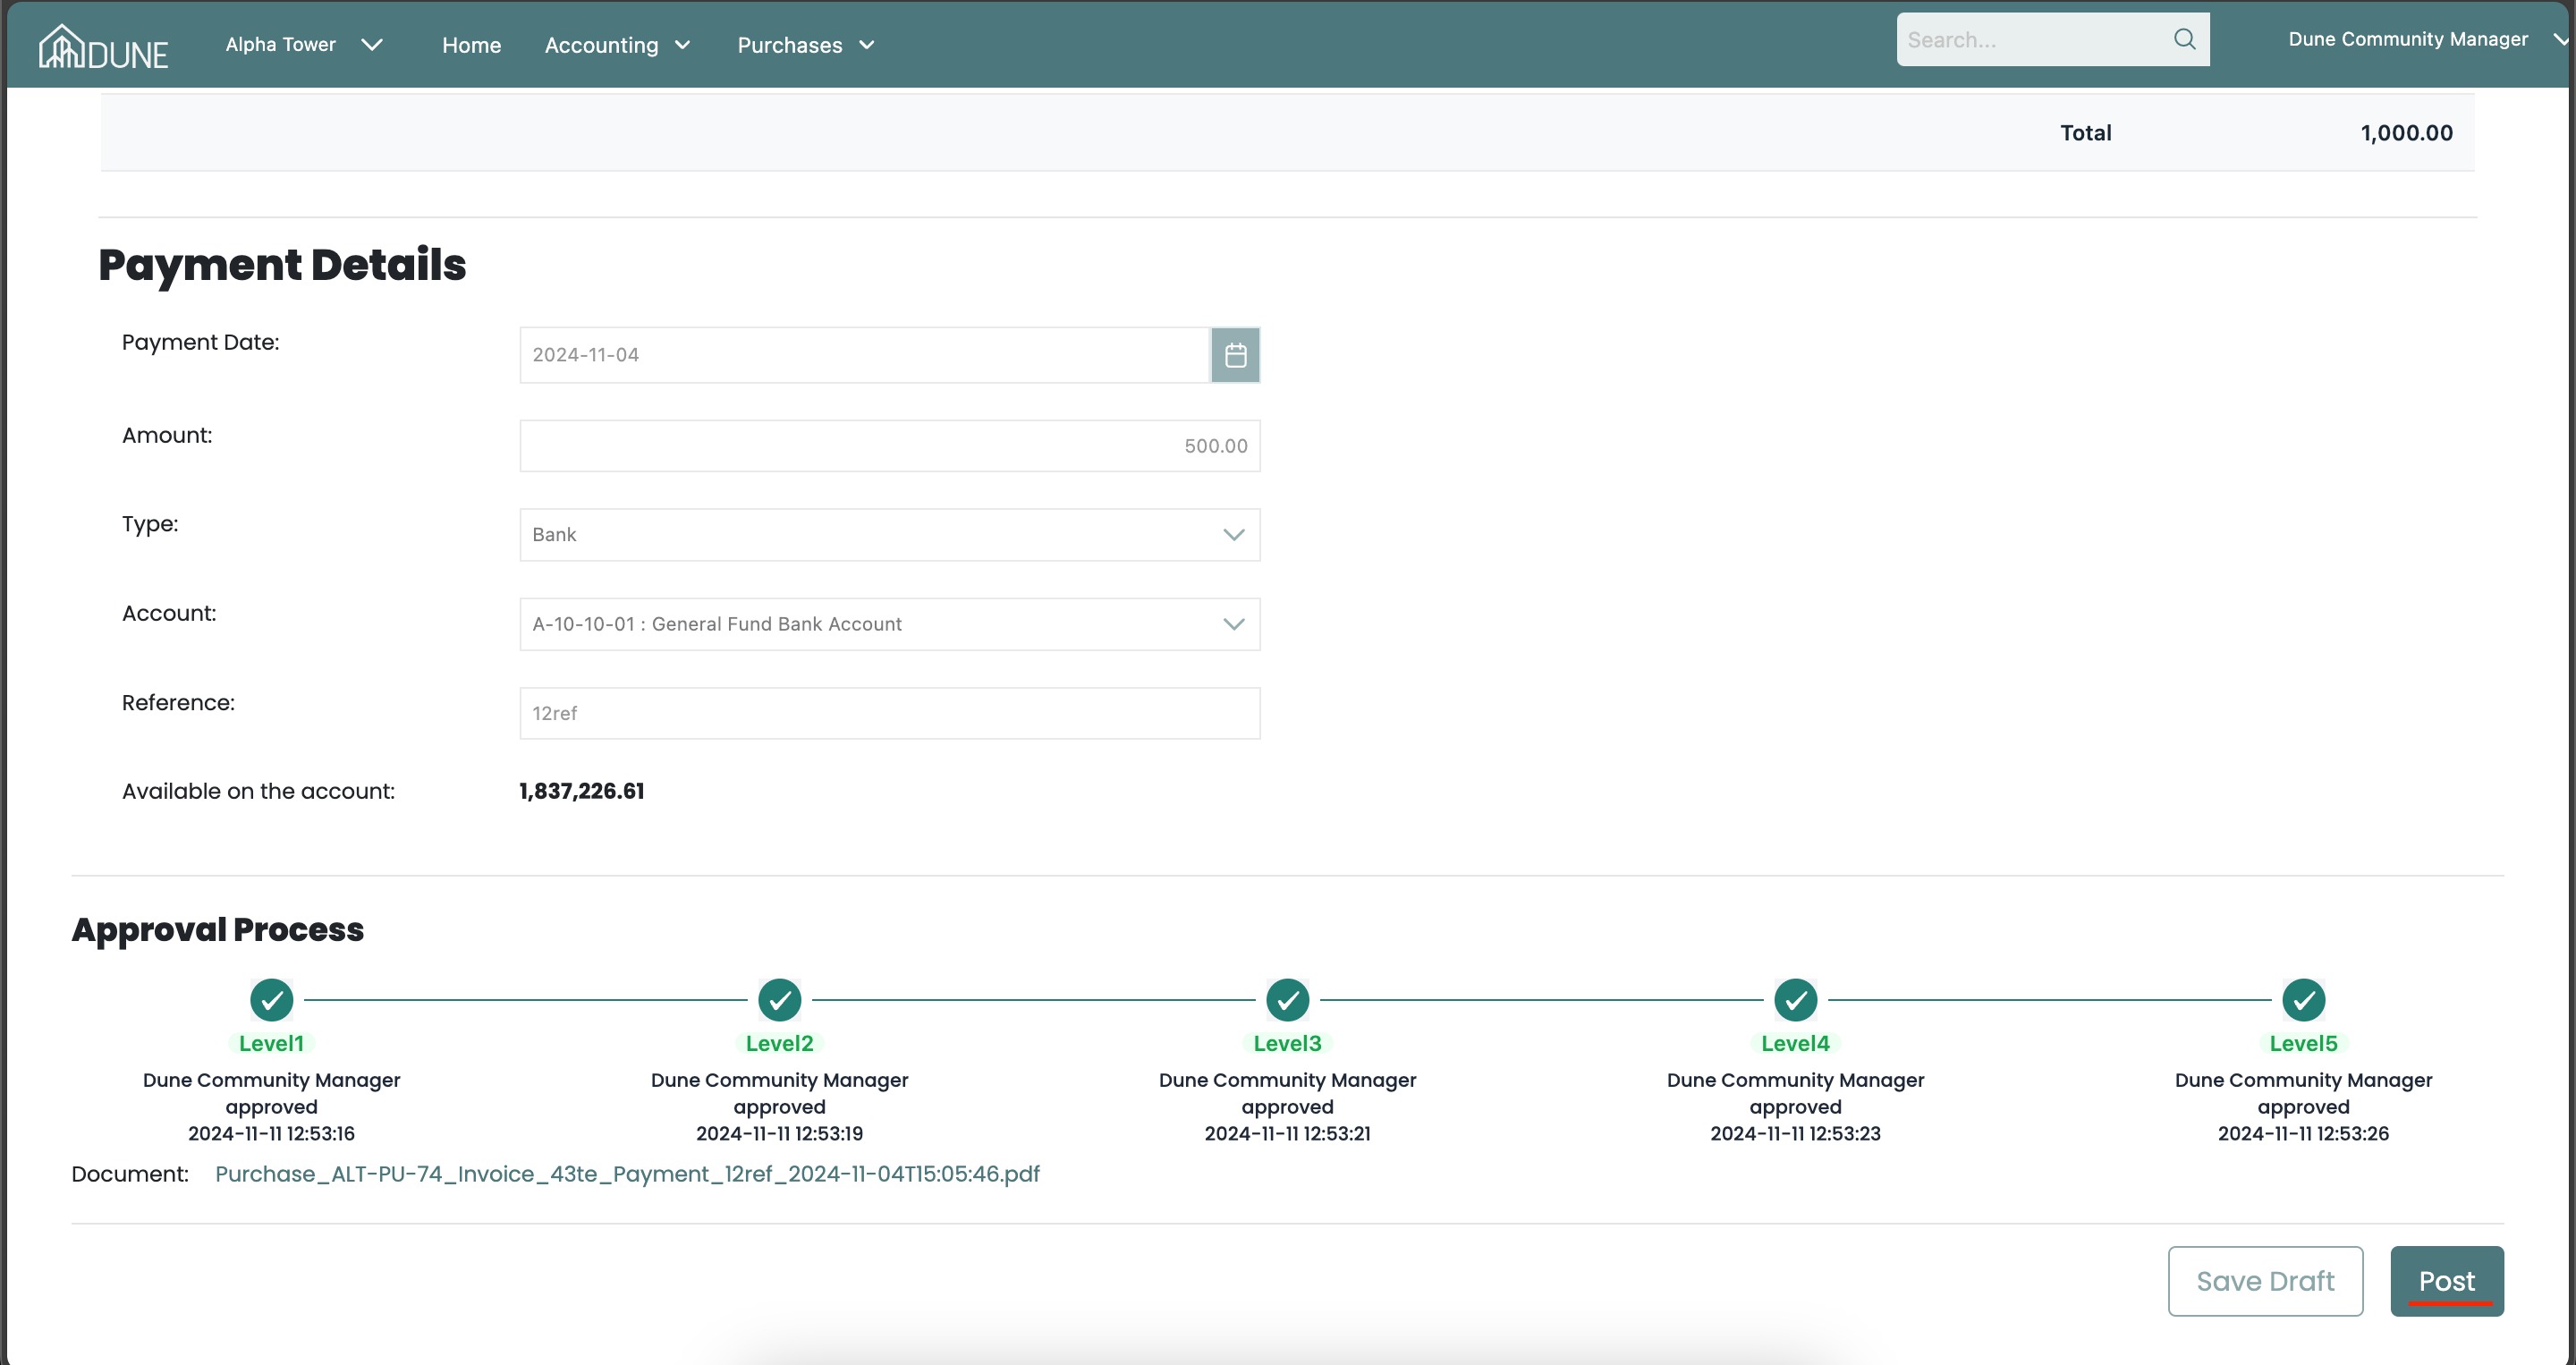
Tips and tricks:
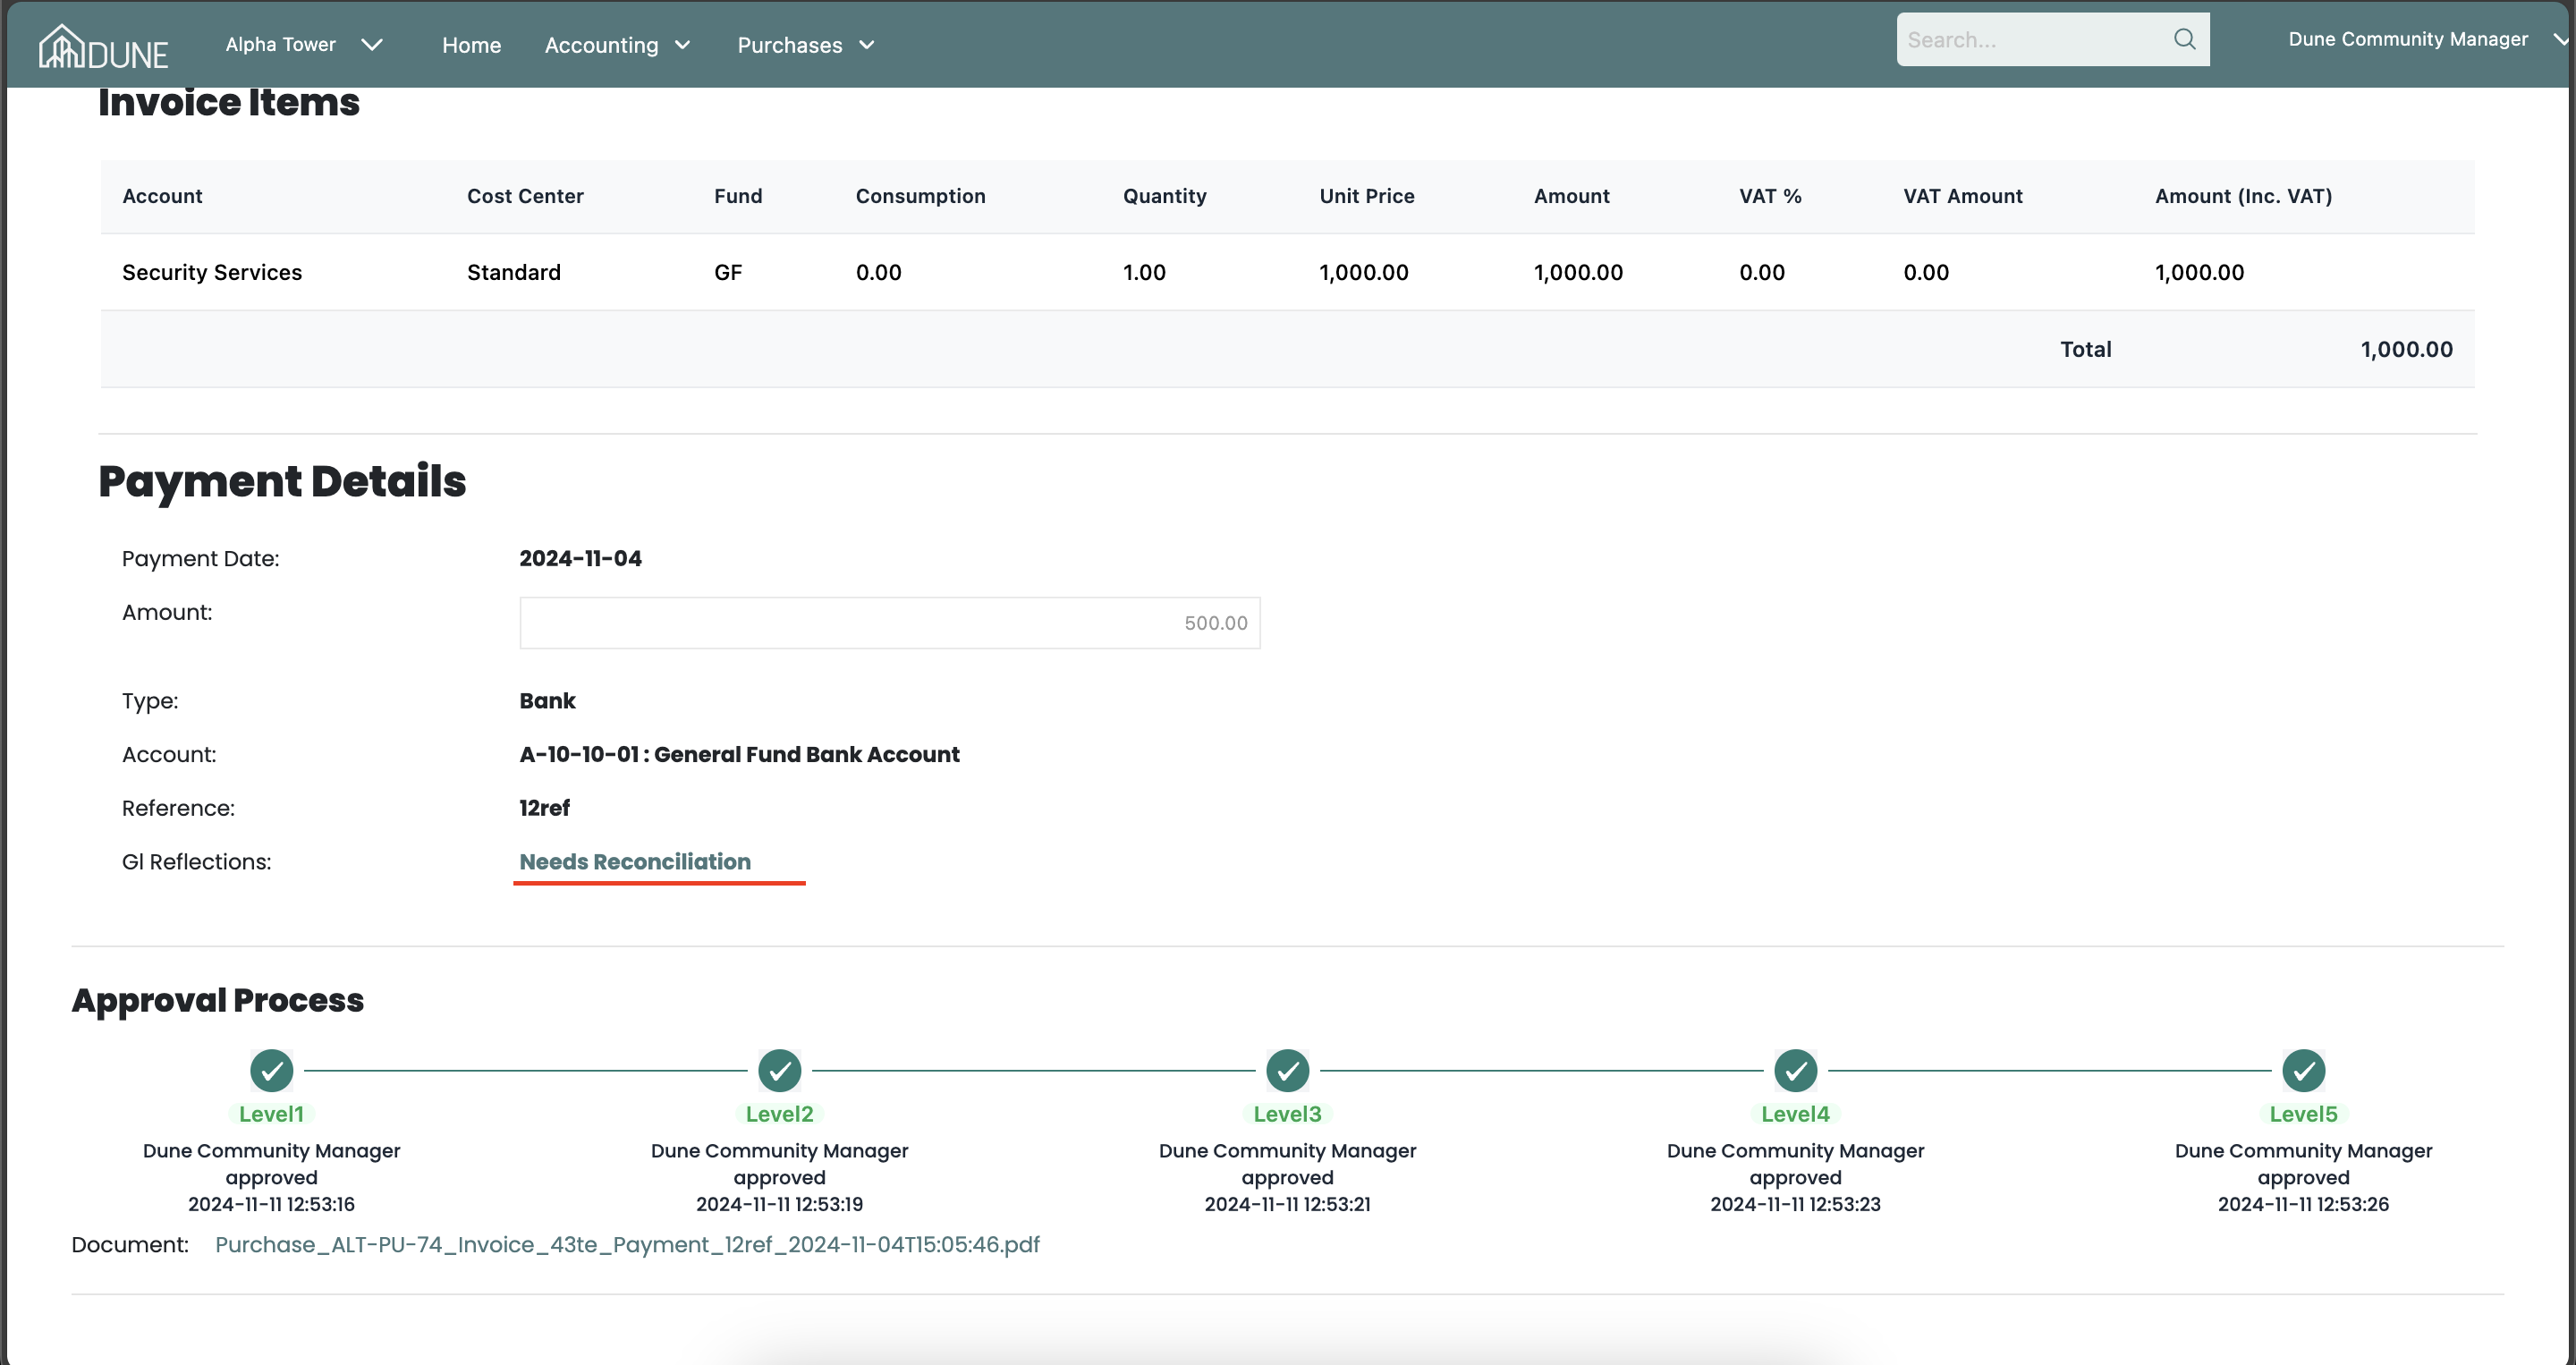
After completing all approval levels, click on Post. The system will display a message next to the GL reflection indicating that it Needs Reconciliation. Click on this message, and it will take you to Cash and Cheque Movements where you can reconcile the payment.
In Cash and Cheque Movements under the Reconciliation section , you can view payments that need to be reconciled.
To reconcile a payment, click on the Reconcile option. When the pop-up screen appears, complete the required information to move the payment from pending status to actual movements.

Once the reconciliation step is completed, if you open the payment in the Purchase section, you will see next to the GL reflection, the accounts that were affected by the payment.
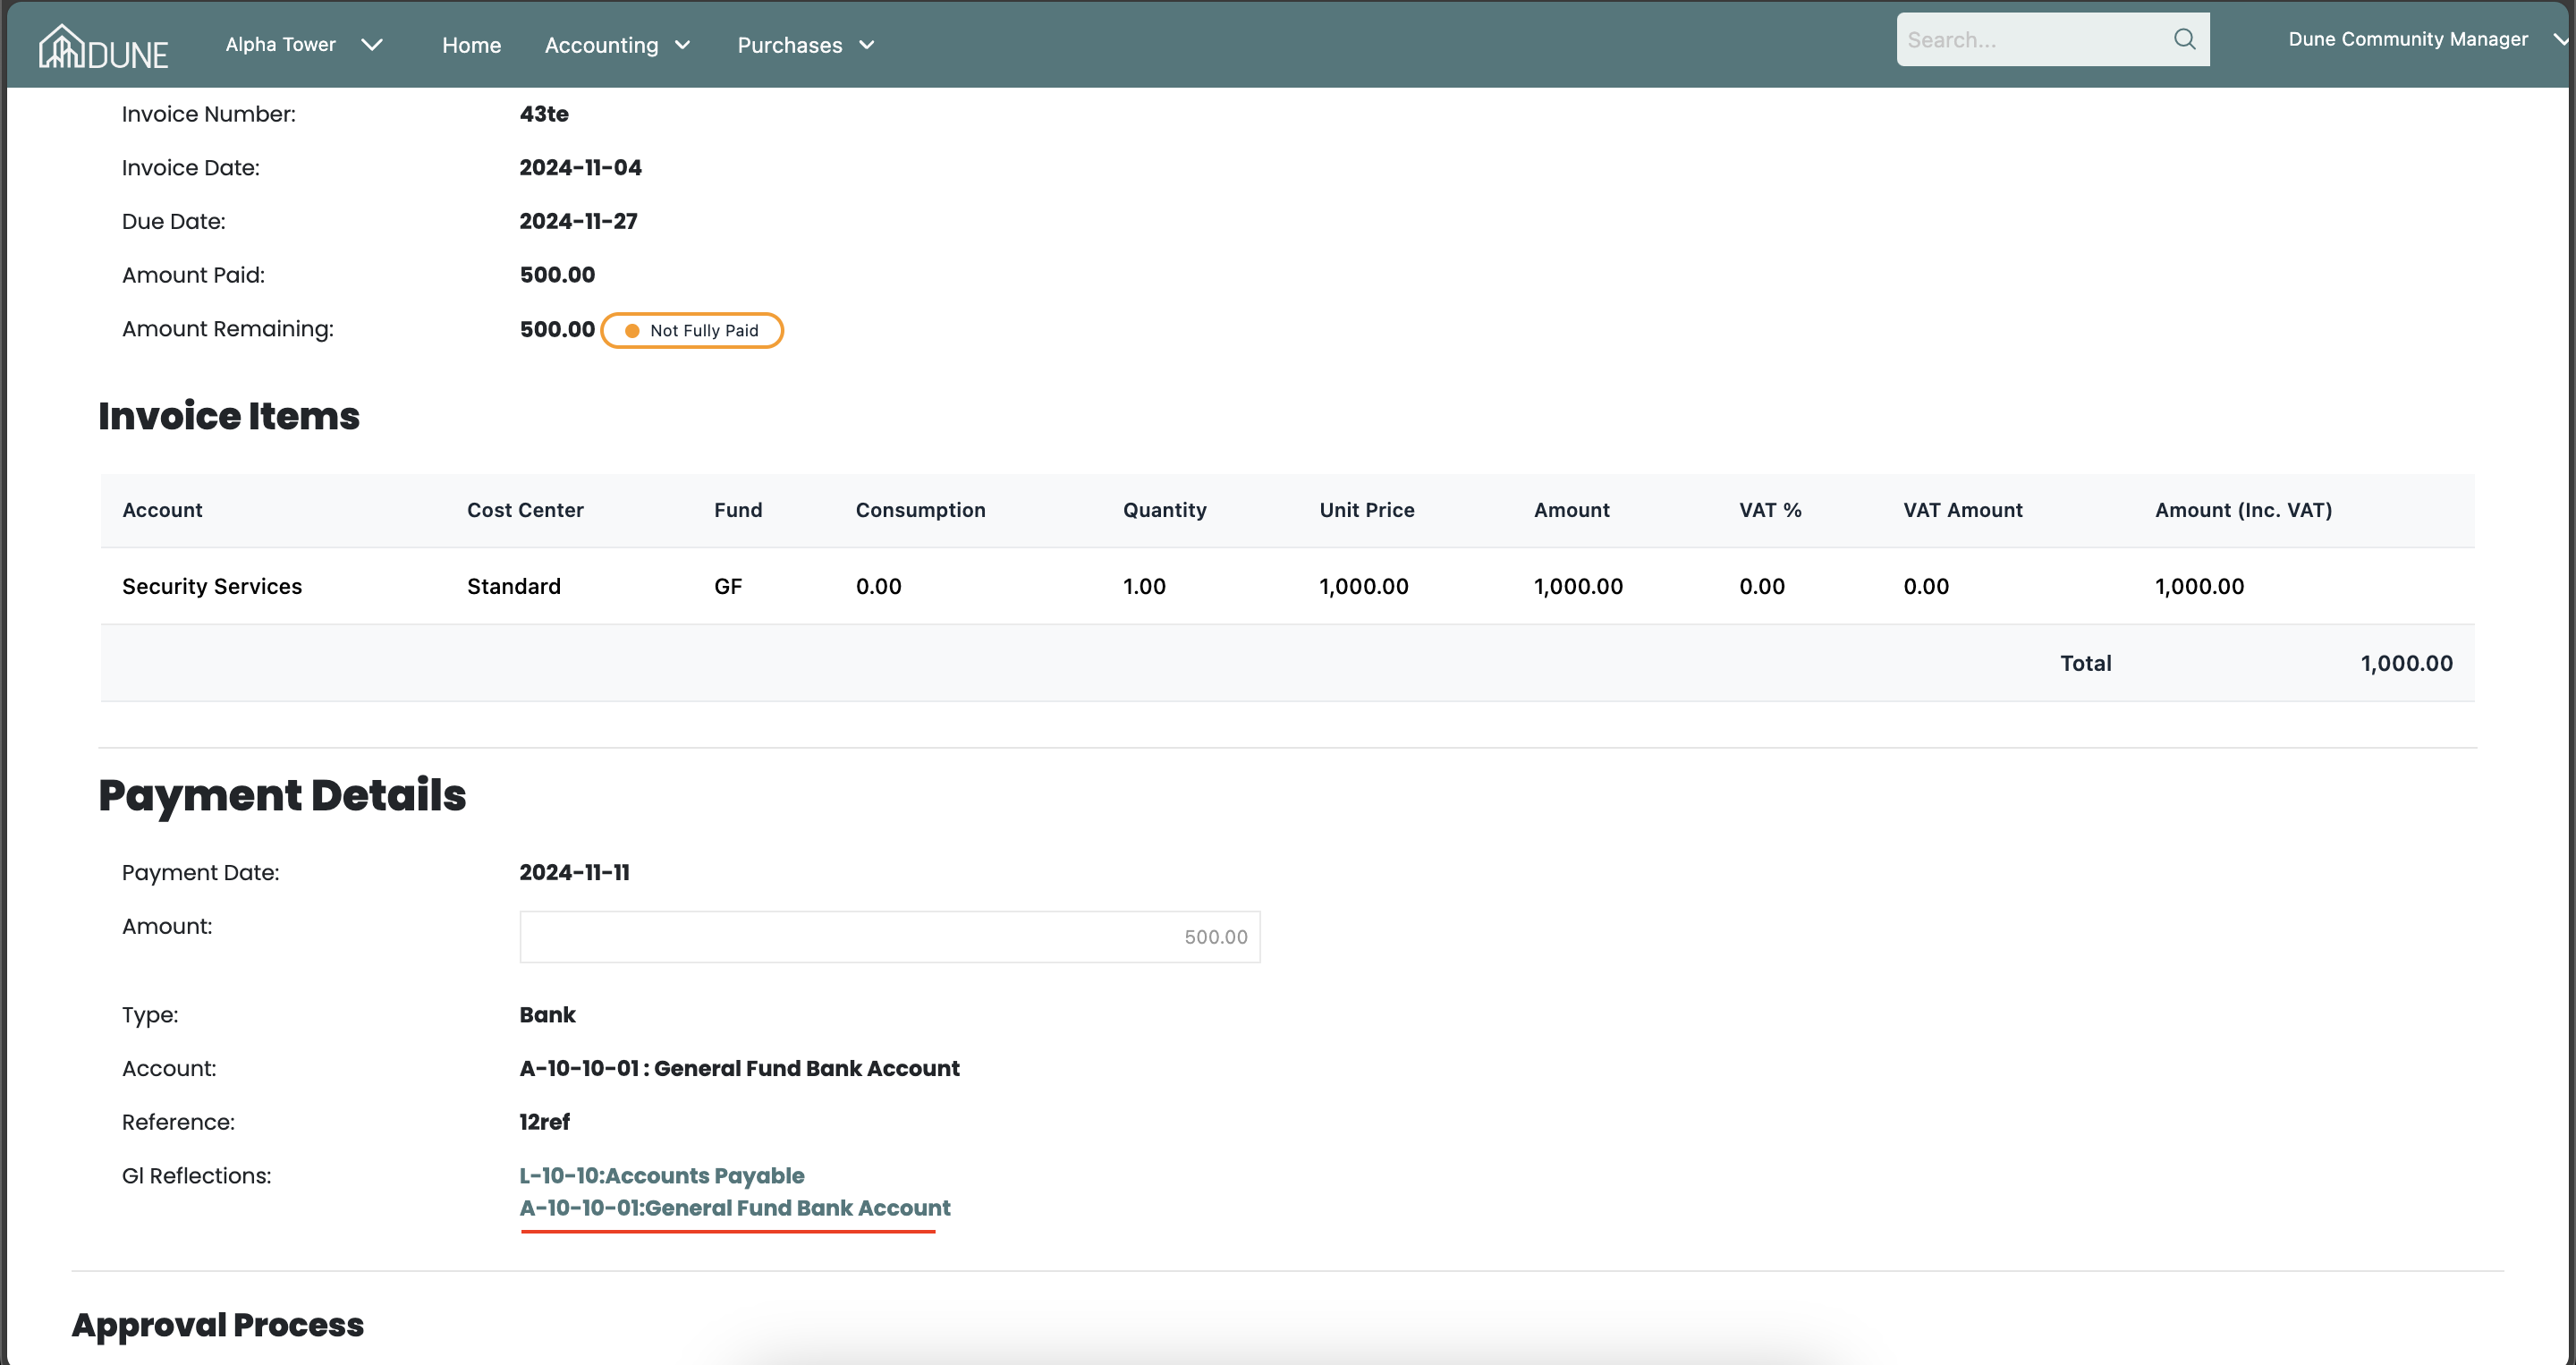
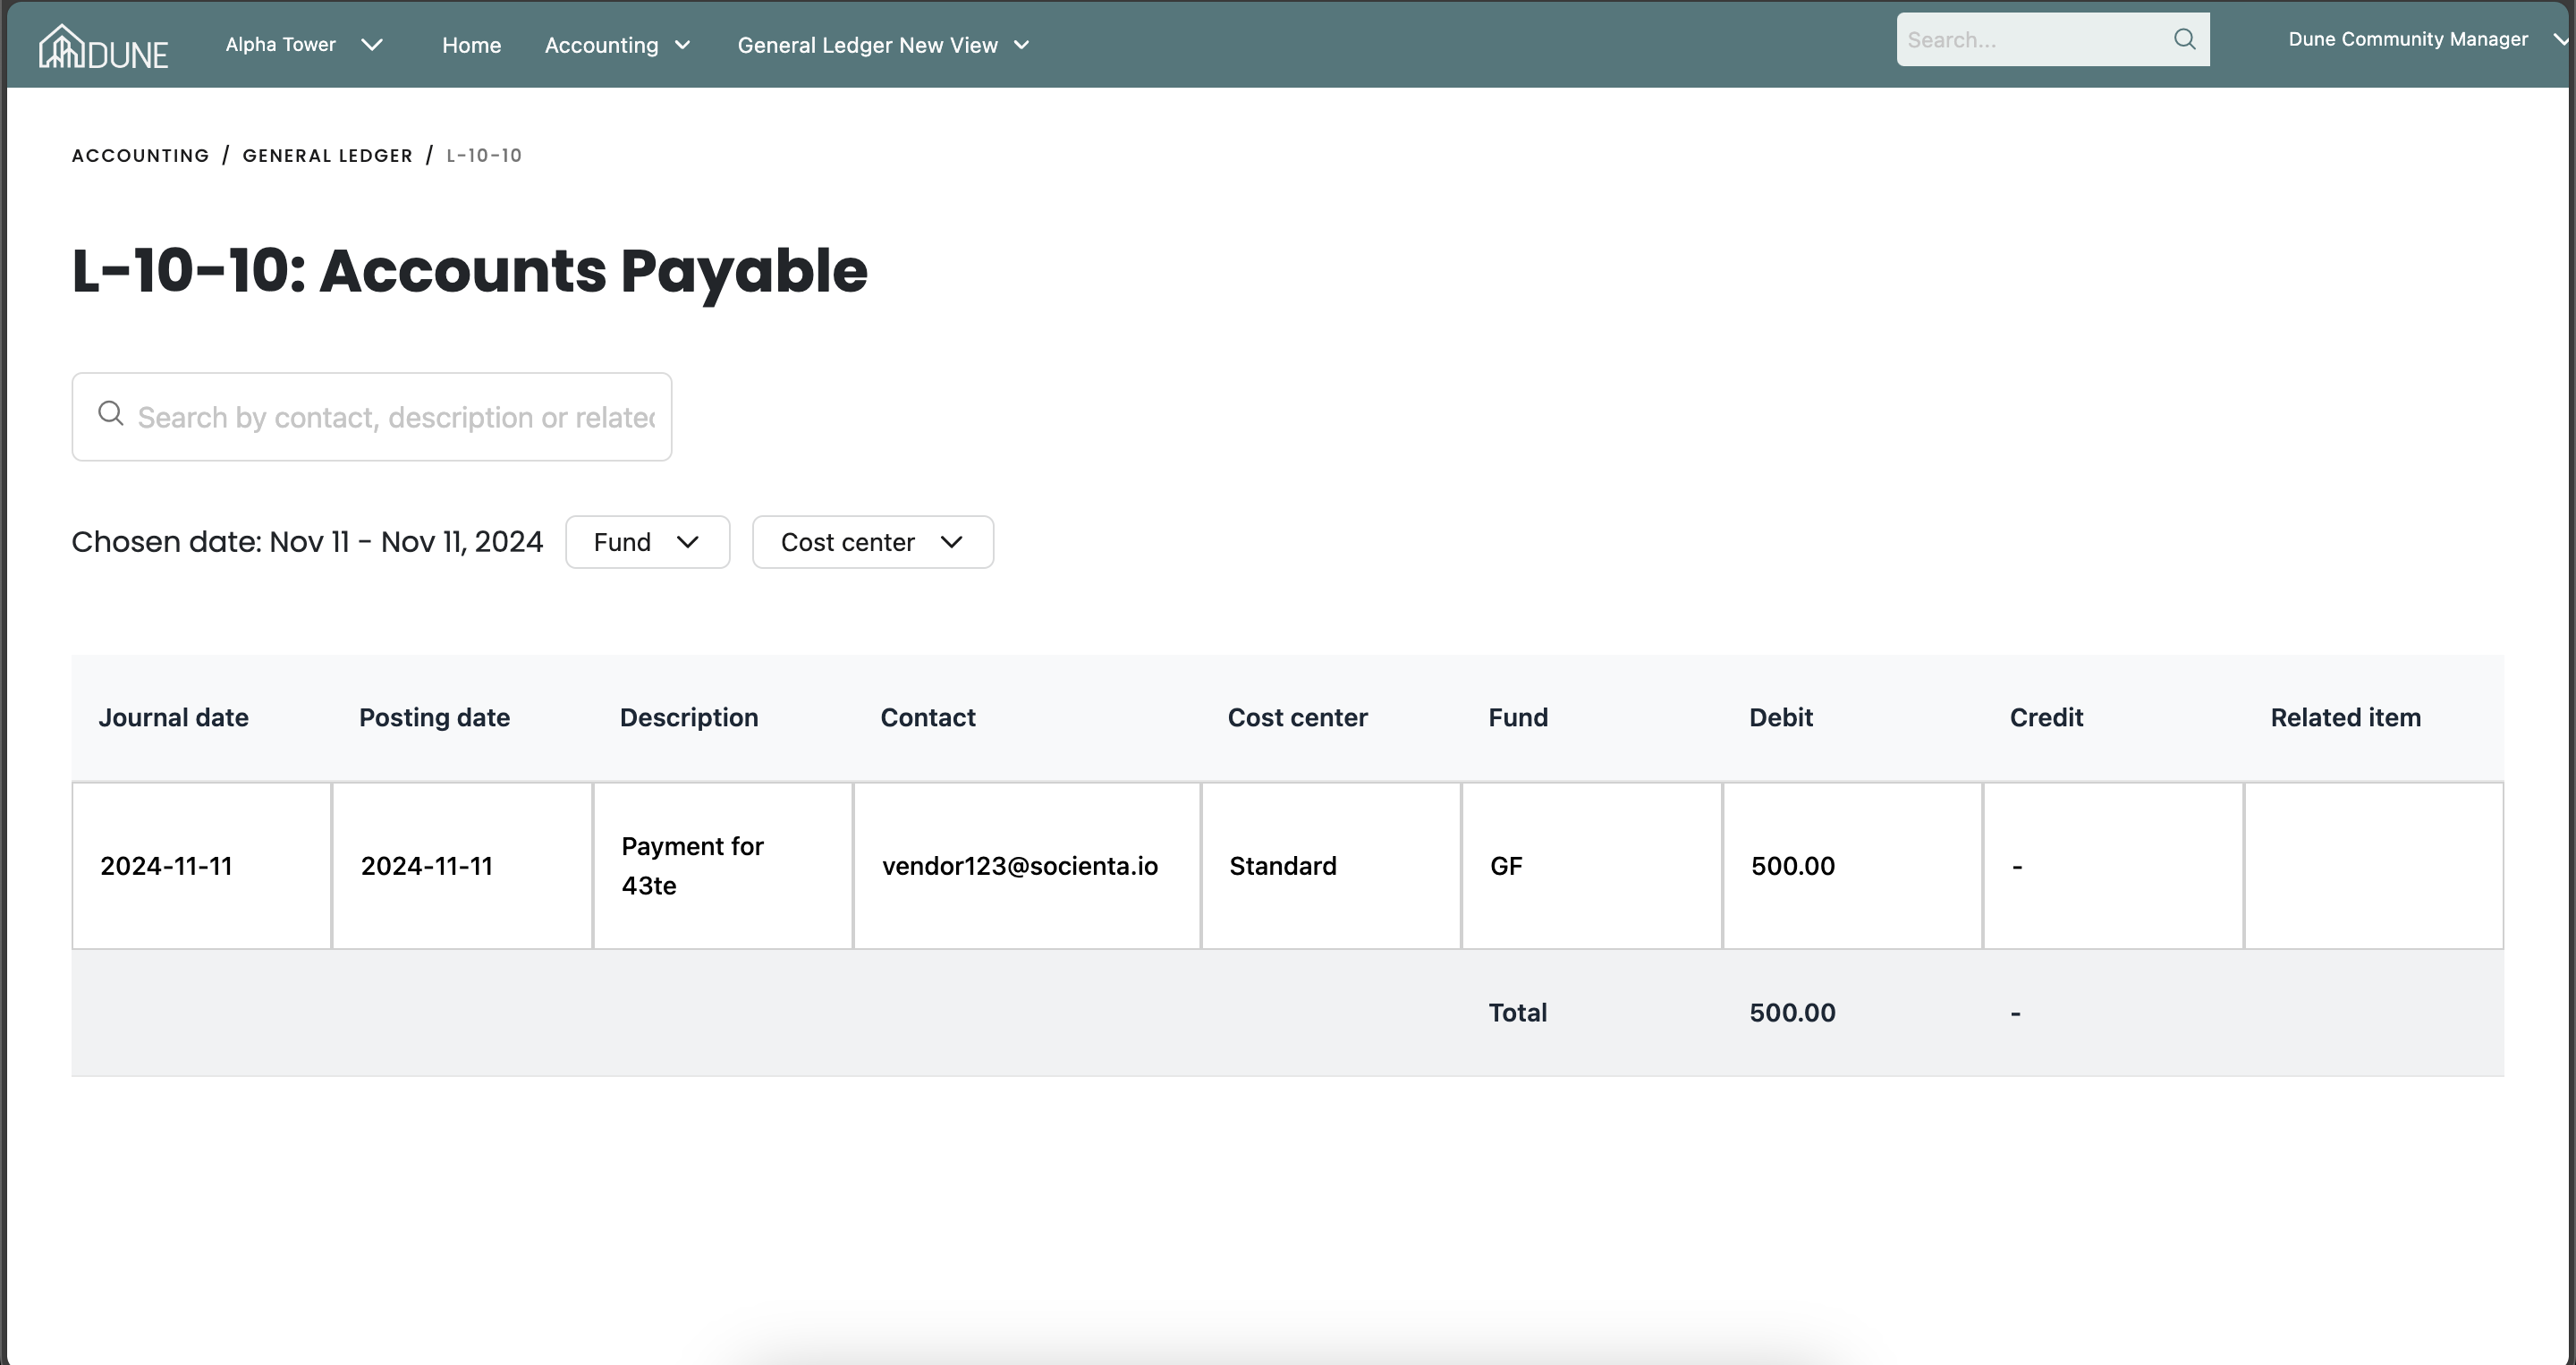
Click on the accounts name to open the General Ledger page, which will take you directly to the affected account.
Was this article helpful?
That’s Great!
Thank you for your feedback
Sorry! We couldn't be helpful
Thank you for your feedback
Feedback sent
We appreciate your effort and will try to fix the article