Prerequisite:
Before accessing Mollak Management Reports, please ensure that:
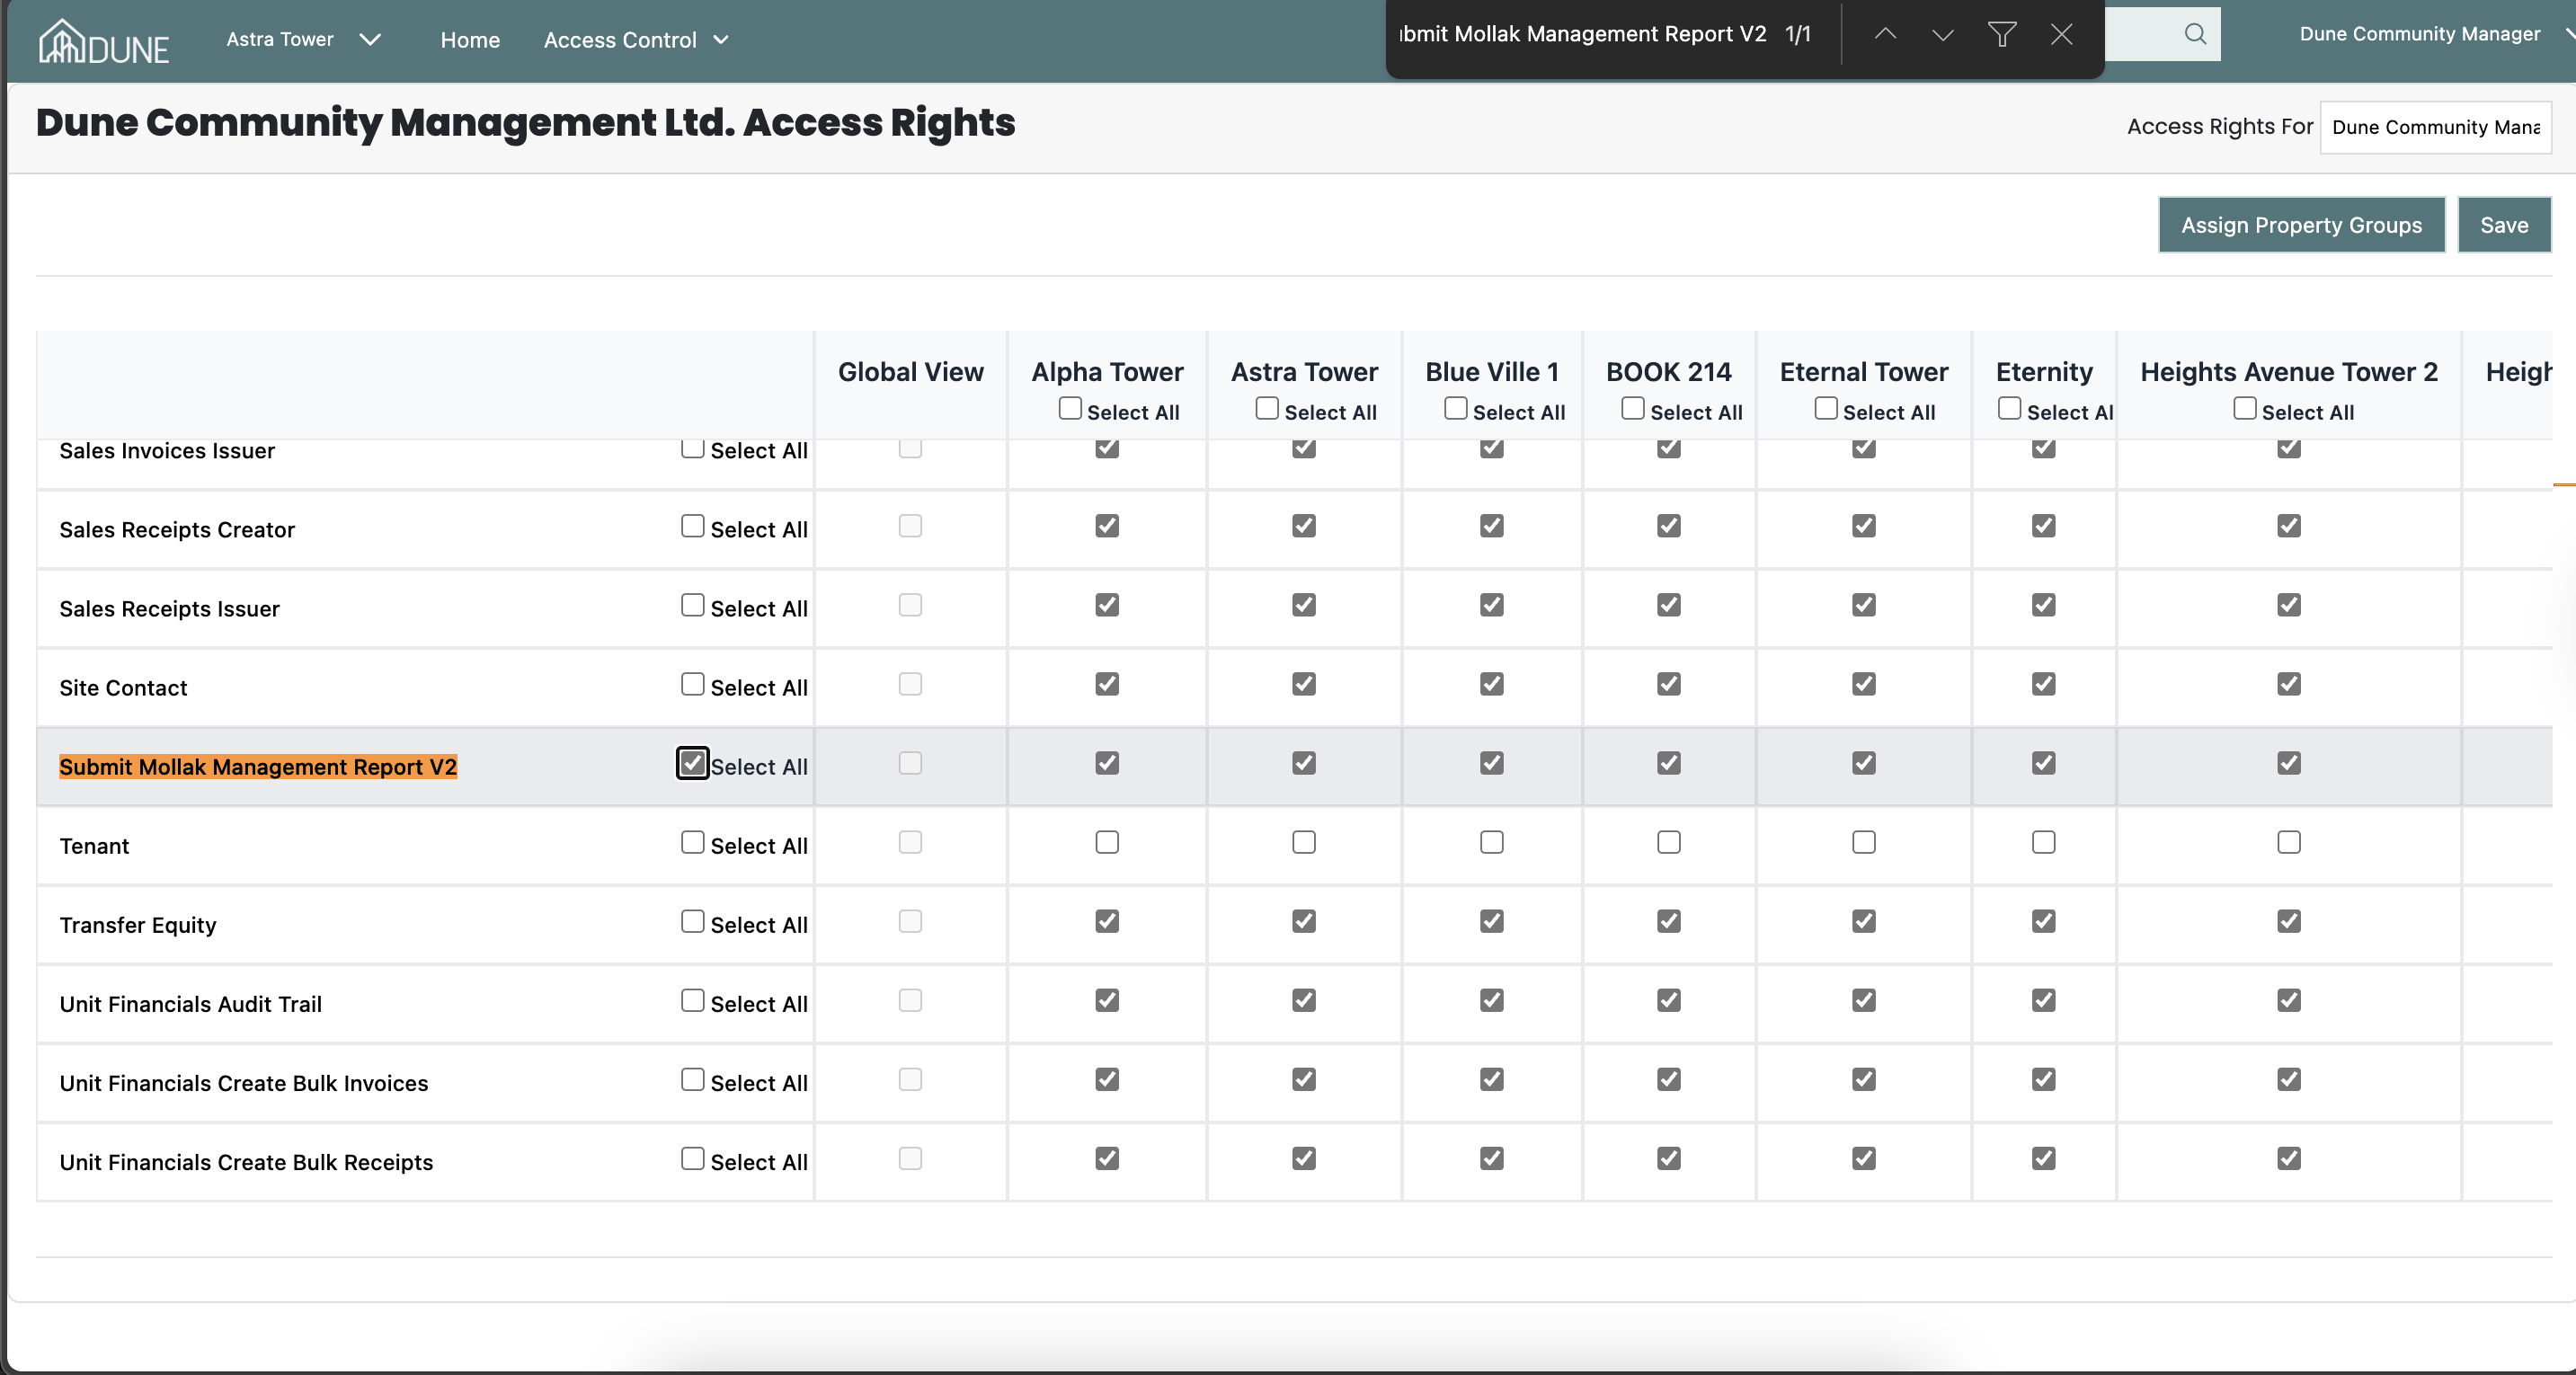
You have Submit Mollak Management Report V2 access rights.
If you do not have this access, kindly contact your Client Admin user to grant the required permissions.
Feature Overview:
The Mollak Management Reports v2 feature allows Community Managers to generate, preview, and submit required management reports directly to Mollak from the system. Reports can be created per property group and tracked to confirm successful submission daily.
Important – Mollak Requirement
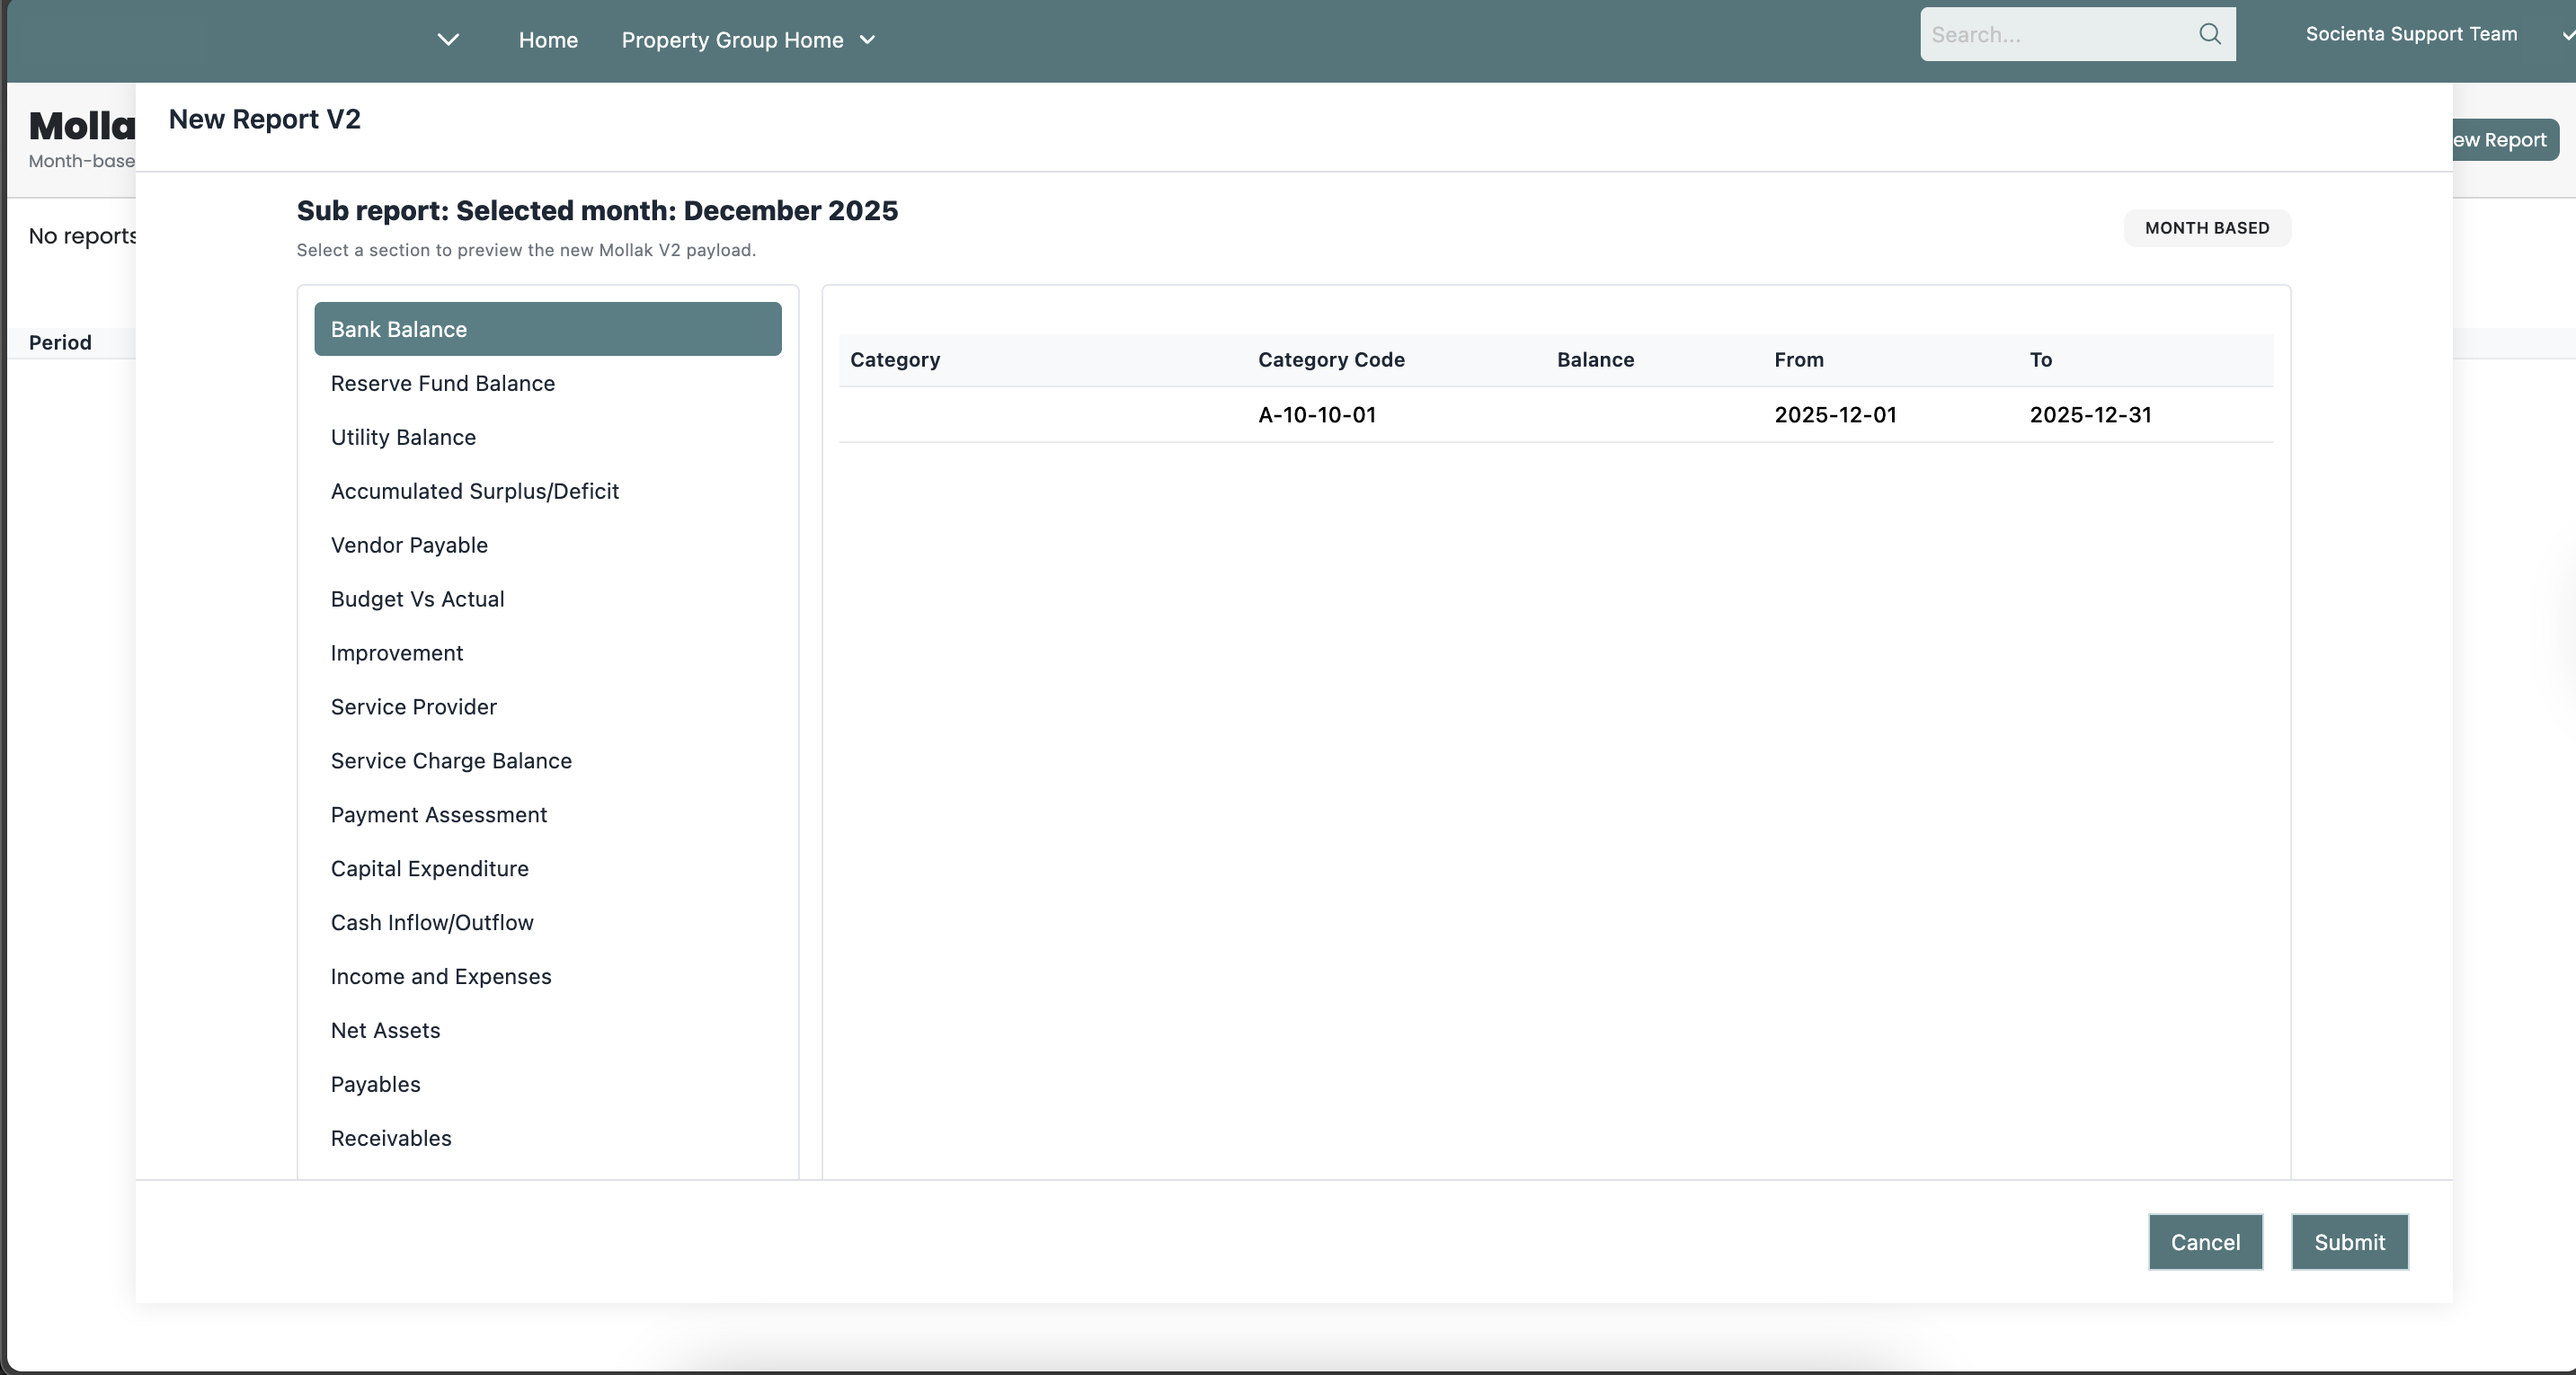
Once you click Preview, the system will generate 20 reports as required by Mollak.
These reports are auto-submitted daily for each property group to comply with Mollak regulations.
This process is completely automated
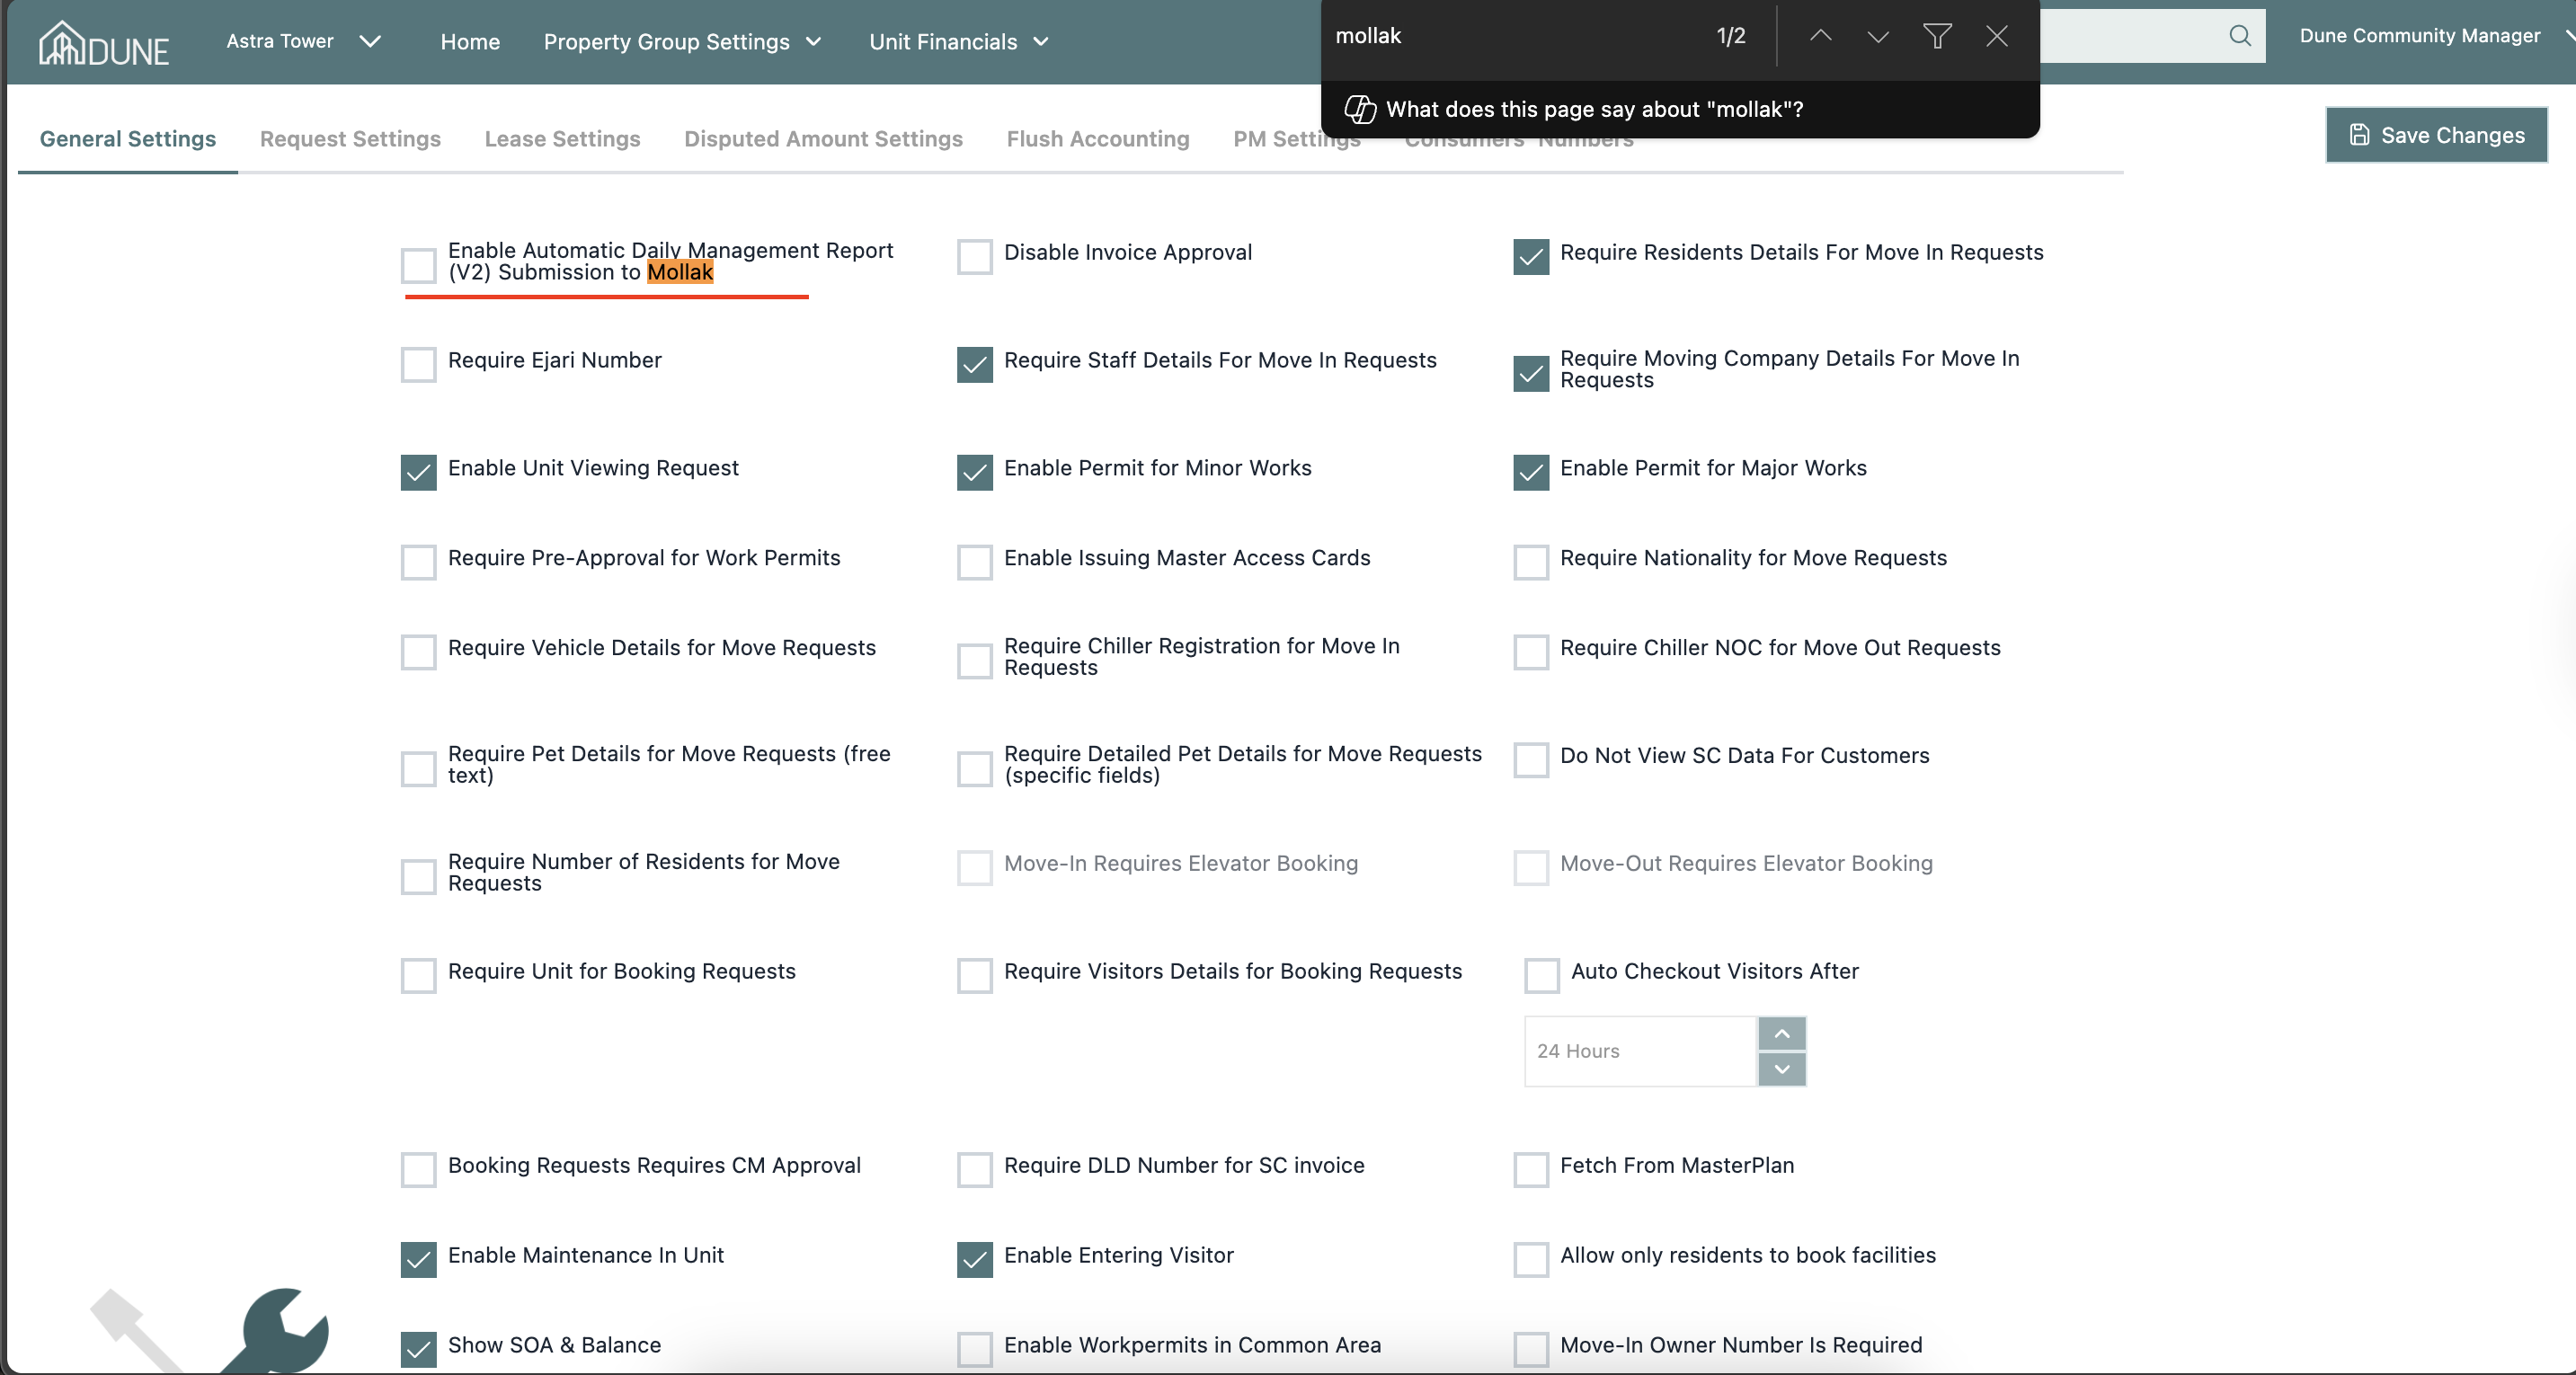
Property Group Settings for Automation
Go to Property Group Settings.
Ensure the Automate Mollak Reports option is enabled at all times.
This ensures reports are generated and submitted automatically every day.
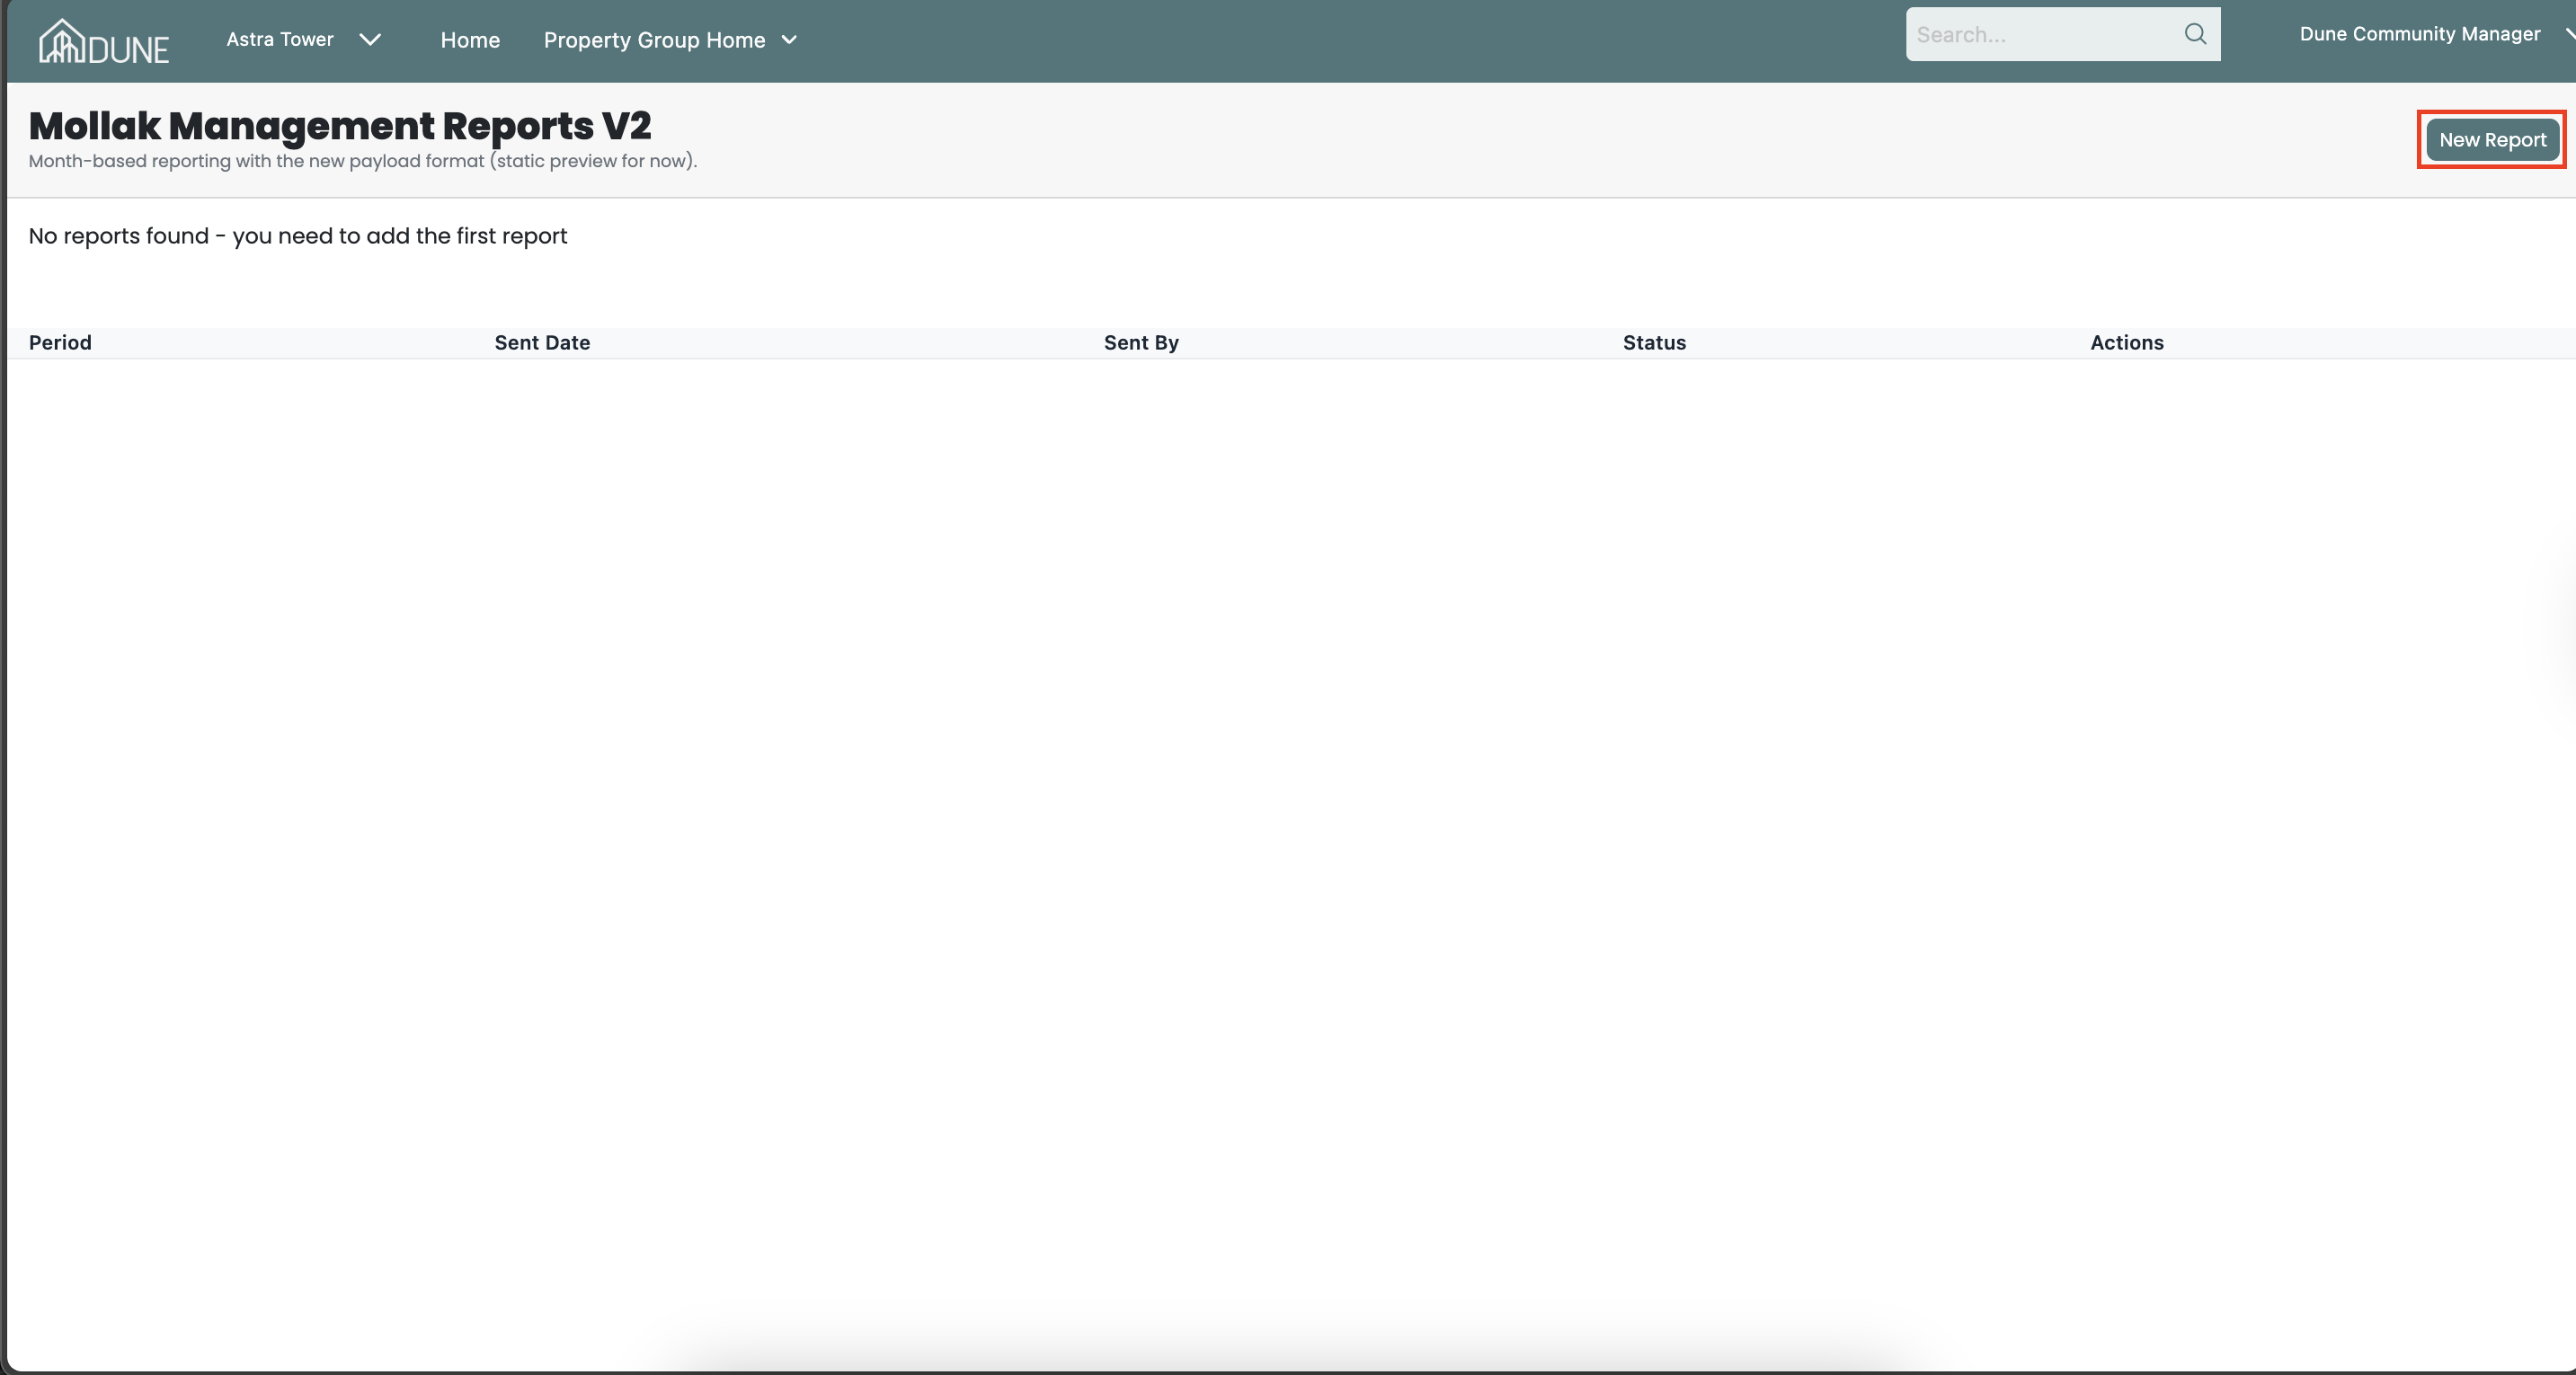
Access Mollak Management Reports
From the main page, select the Property Group for which you want to generate Mollak management reports v2.
The property group can be selected either from the main dashboard or via the drop-down menu.
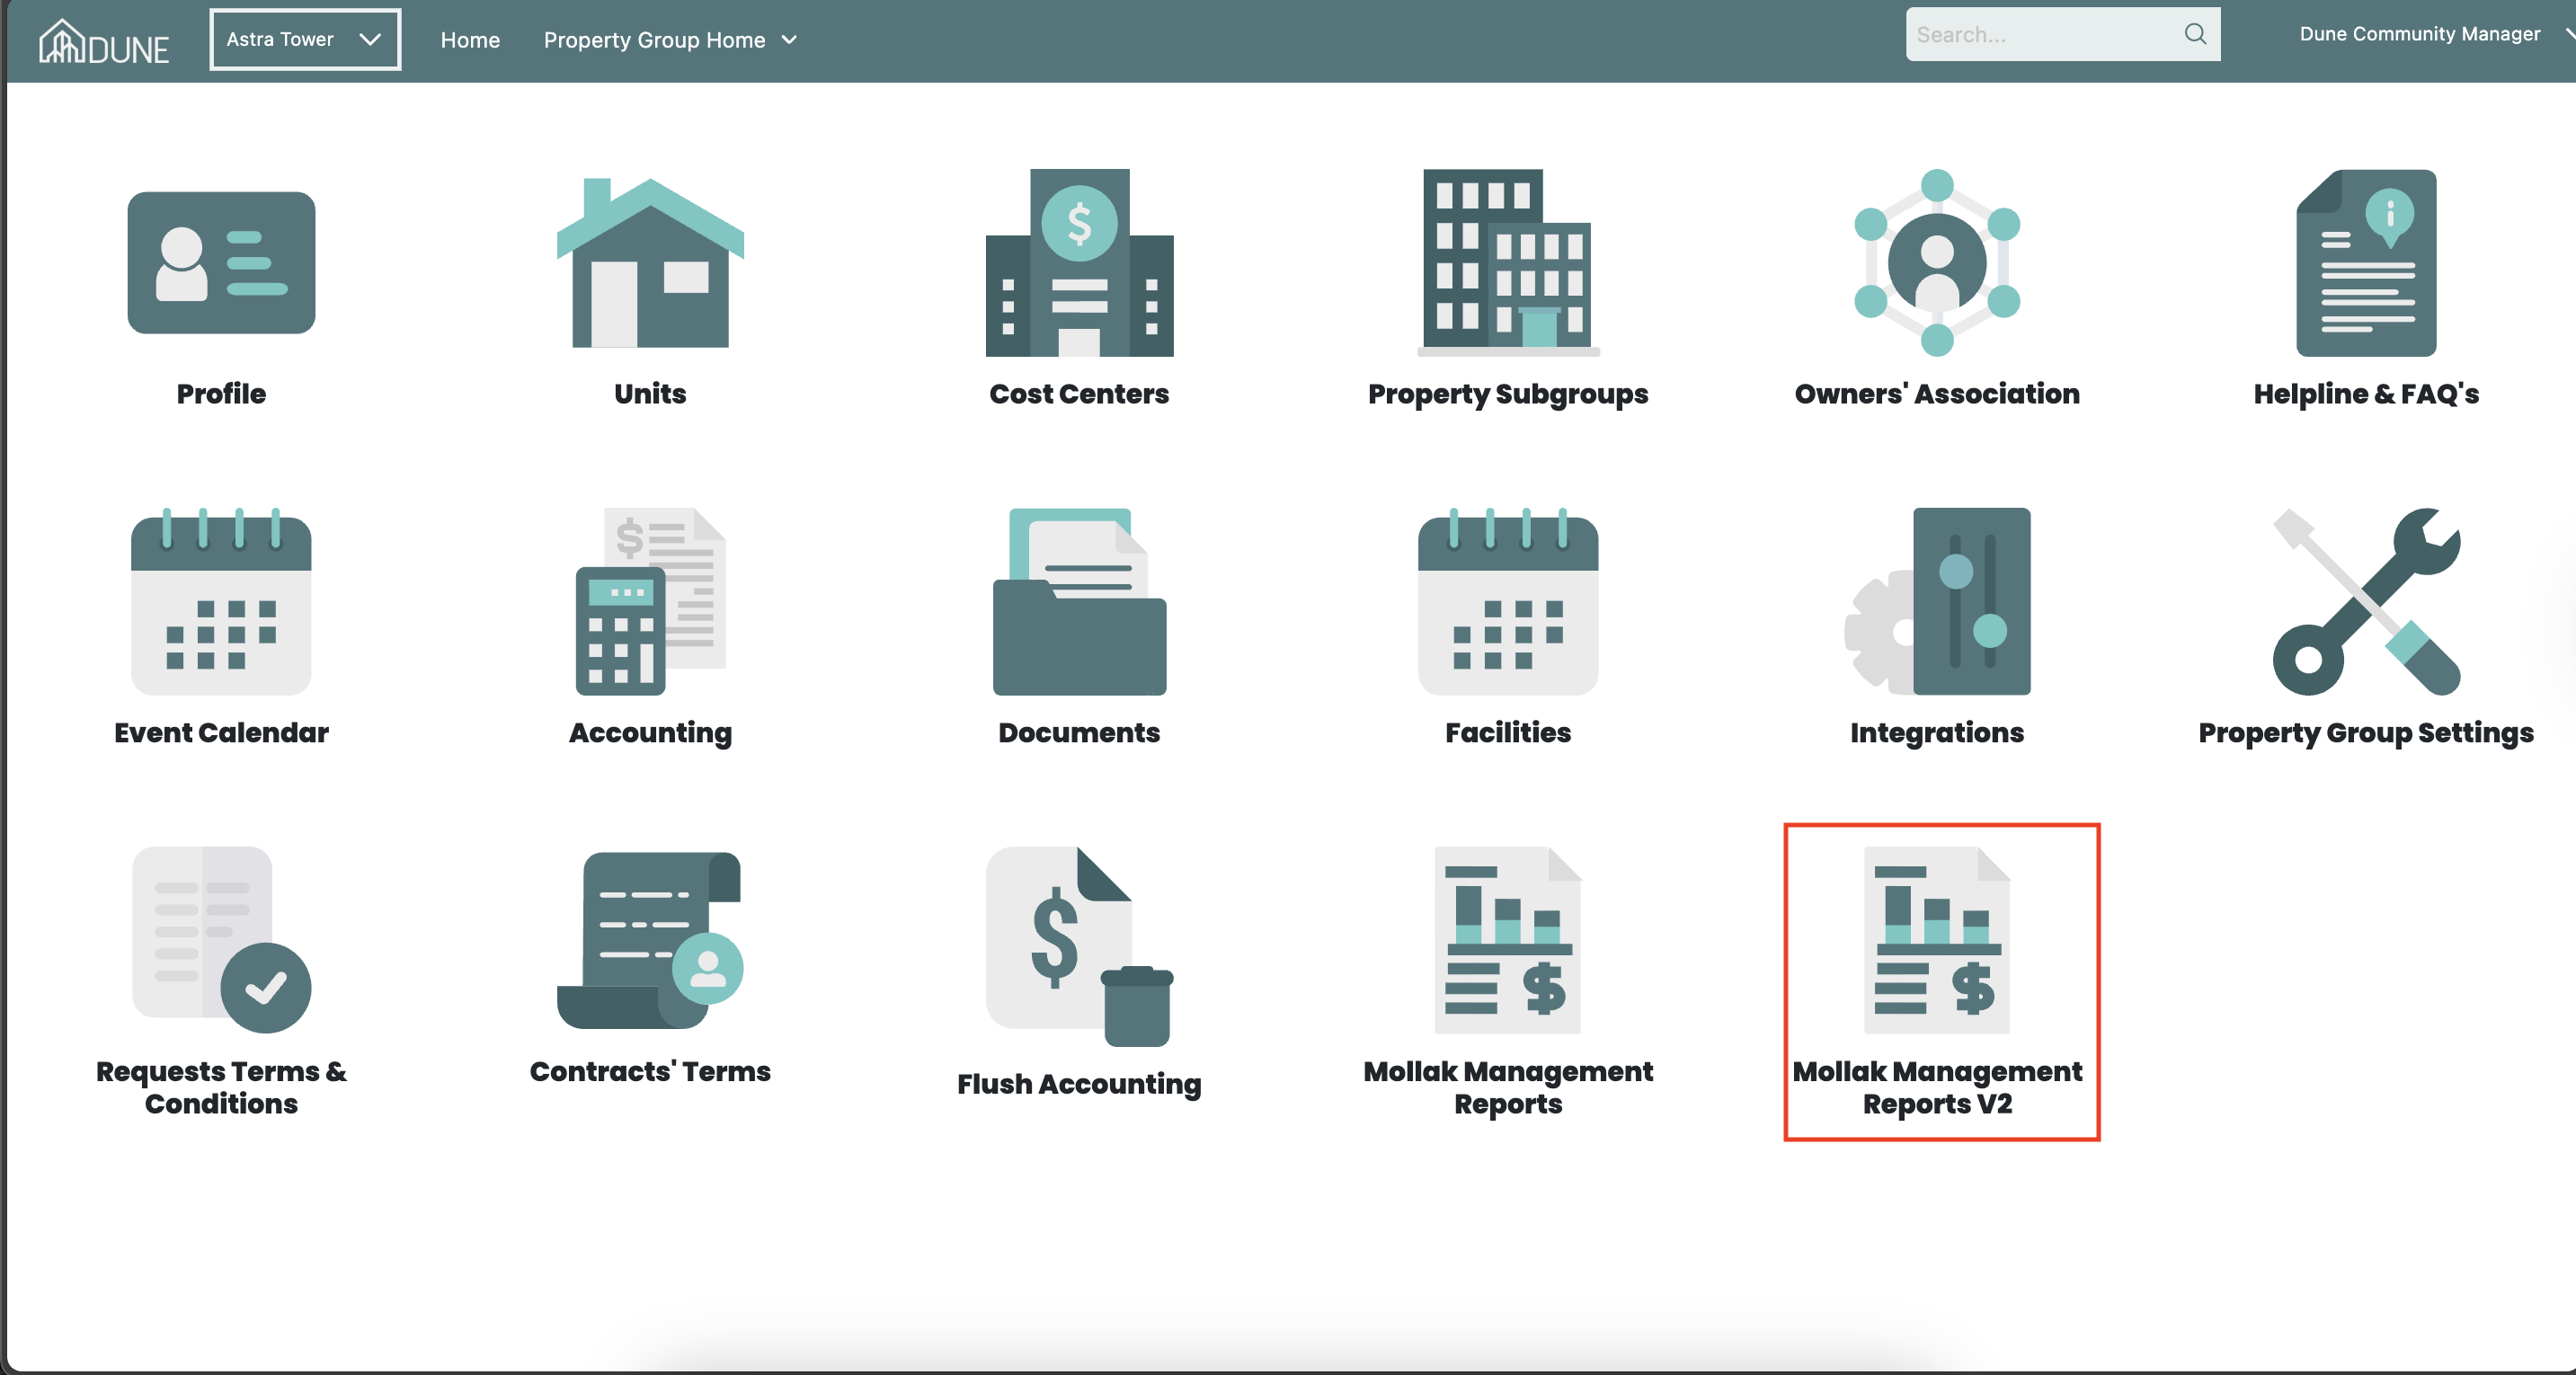
After selecting the property group, click on Mollak Management Reports v2.
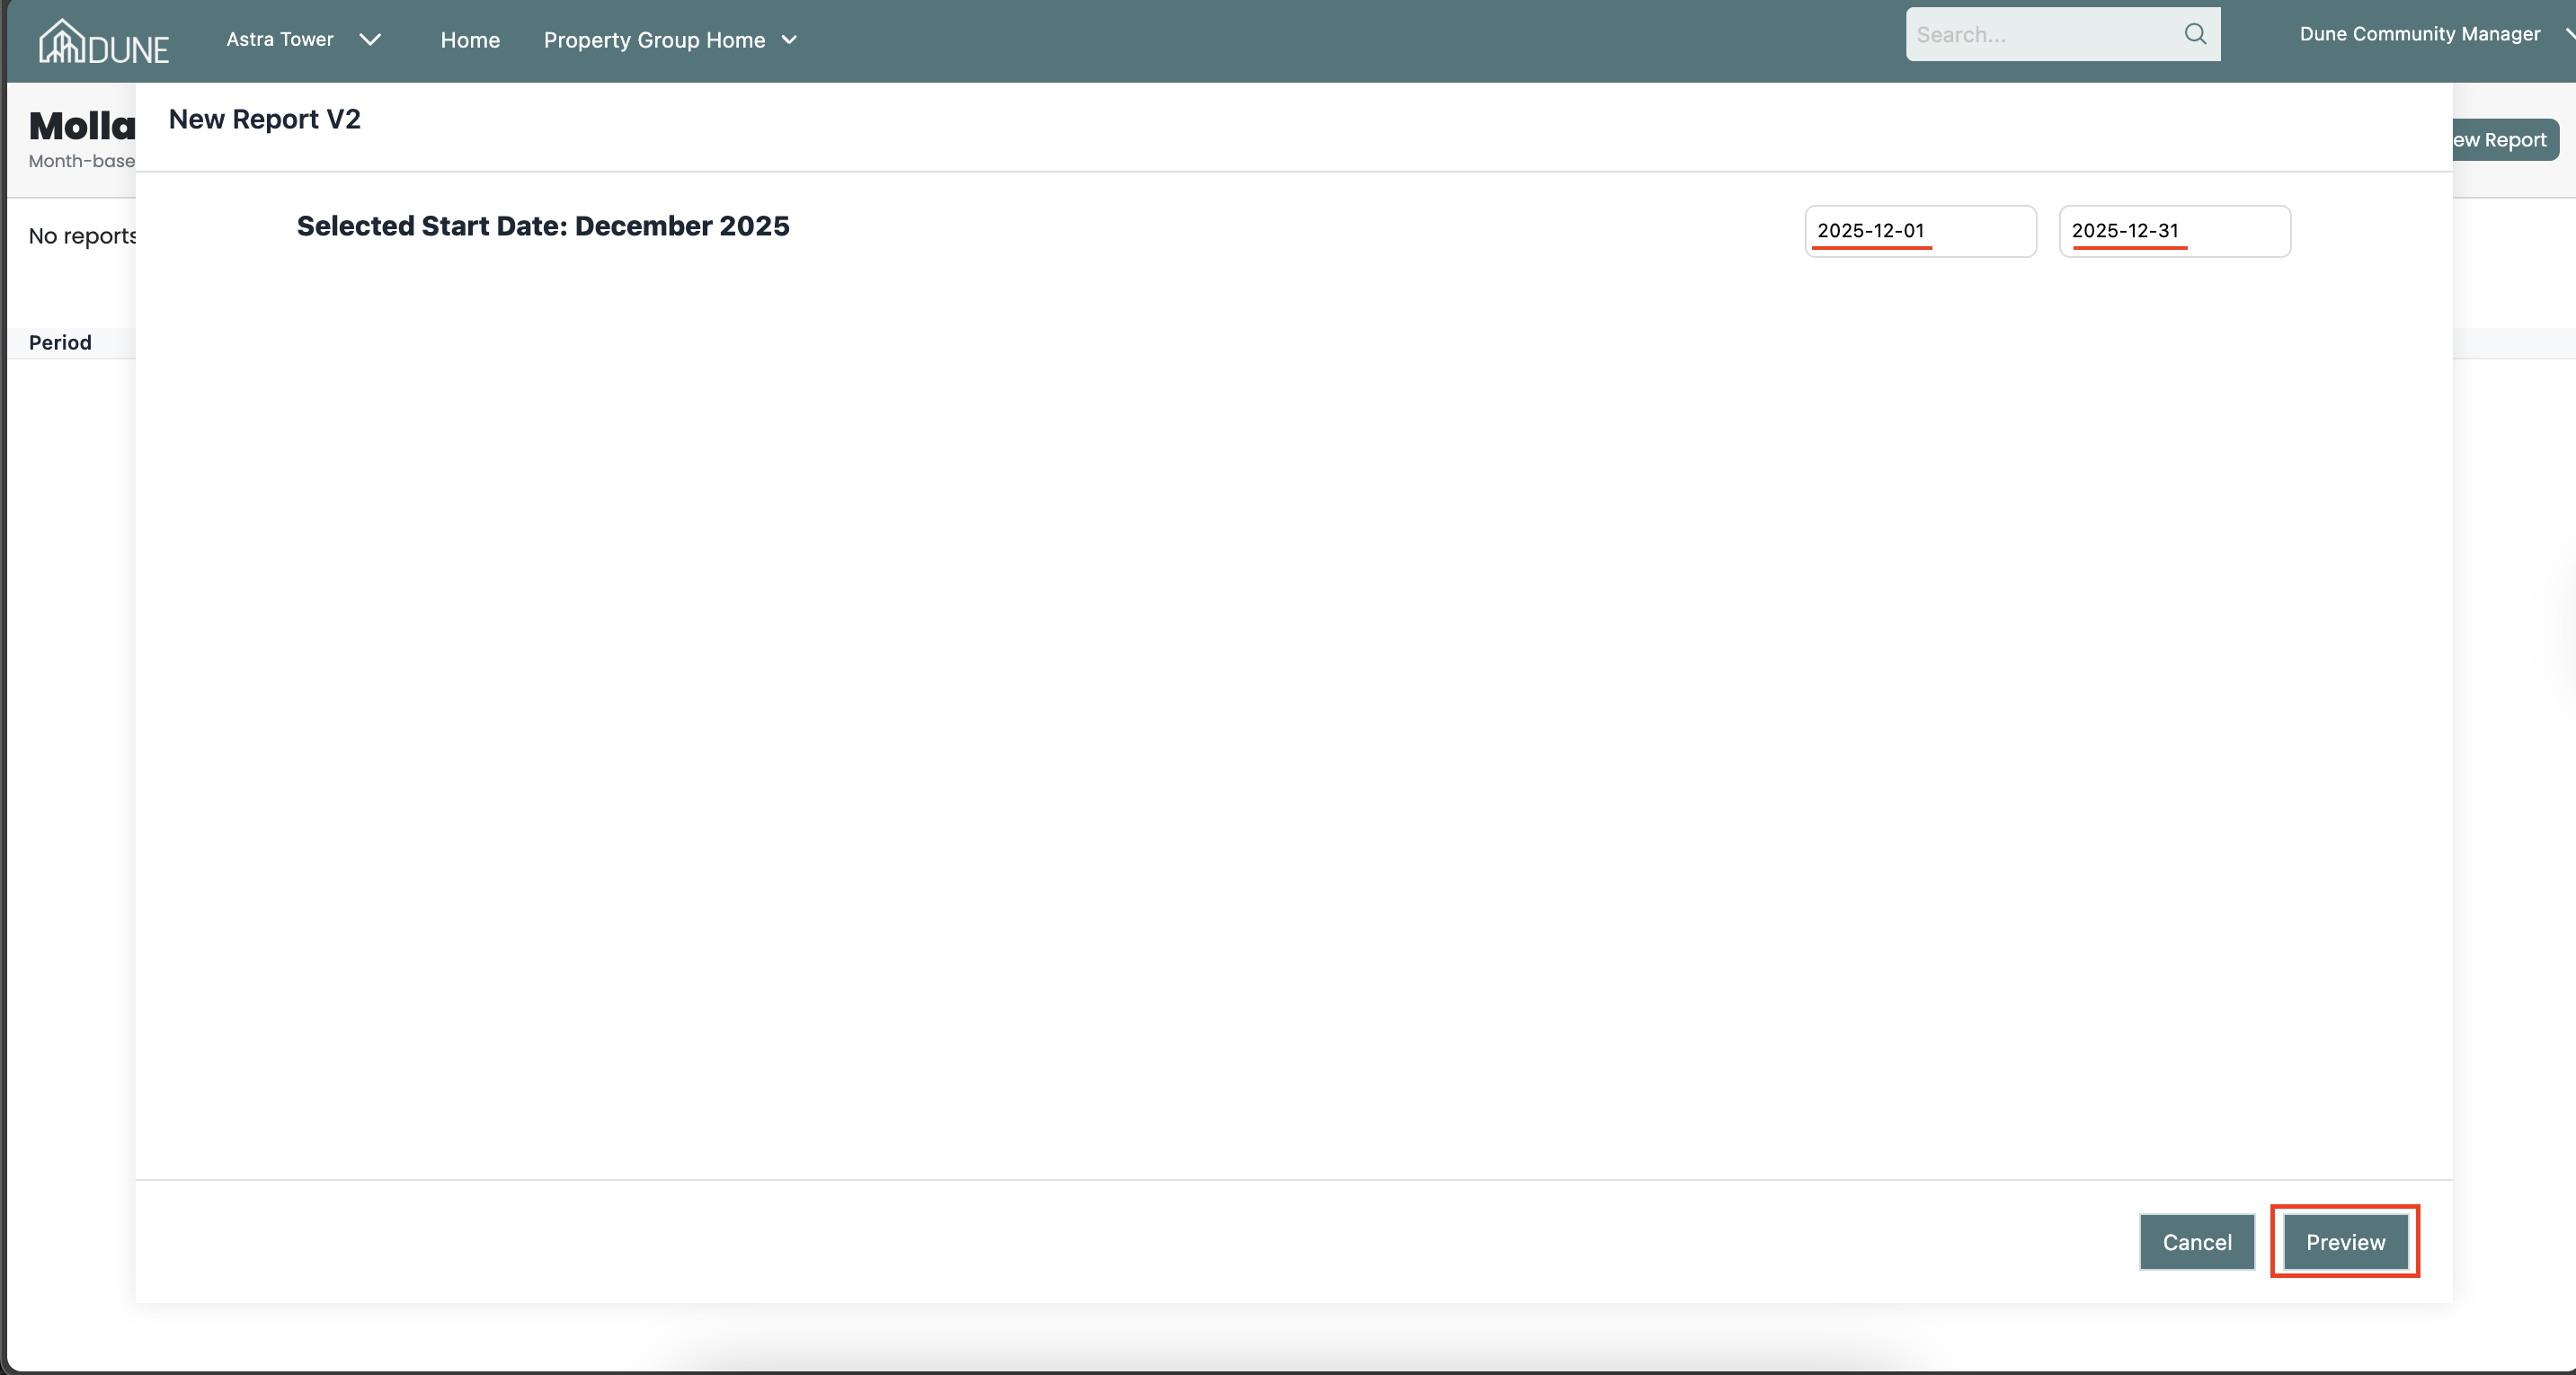
Create a New Report (Manual Only):
Click on the New Report button.
Choose the relevant Reporting Period (filter from/to).
Click Preview to generate the report.
Review and Submit Reports
A new report dialog will open, displaying all the generated reports.
Review the listed reports carefully.
If everything is correct, click Submit to send the reports to Mollak.
Once submitted, the reports will be sent successfully and recorded in the system.
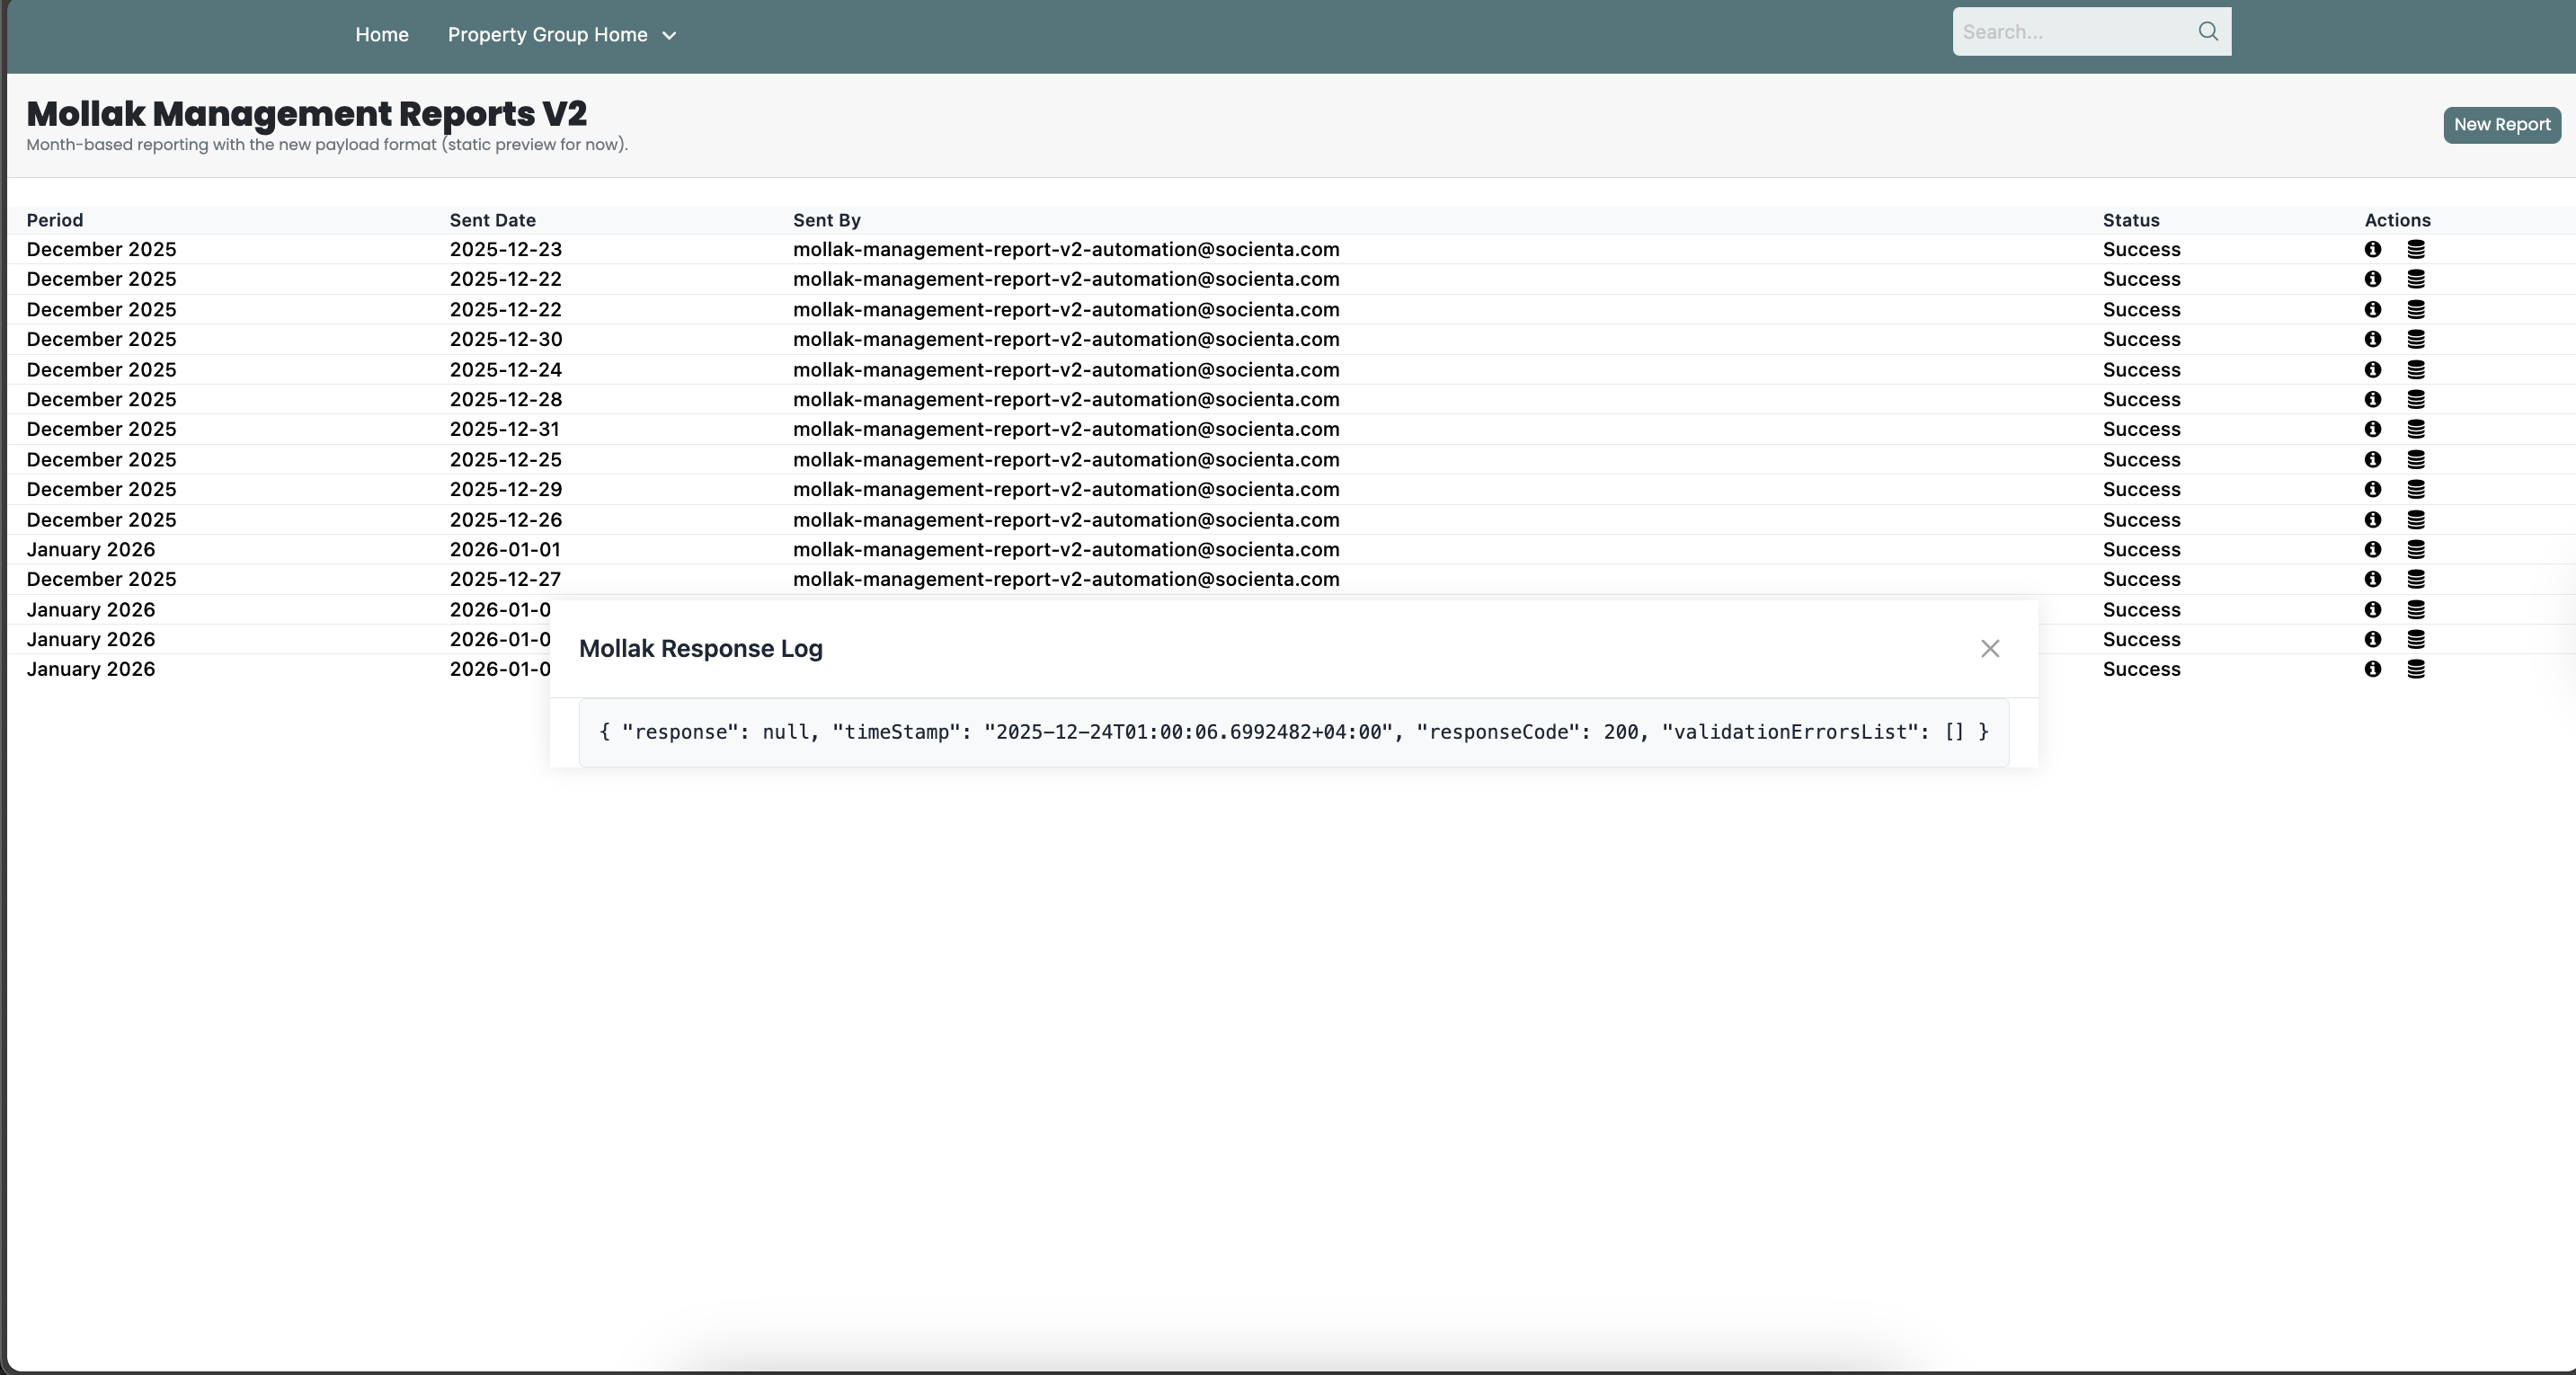
View Submitted Reports
All submitted reports will appear in the reports list.
To review a report:
Click on the Action button next to the report.
Select Preview to view the report details.
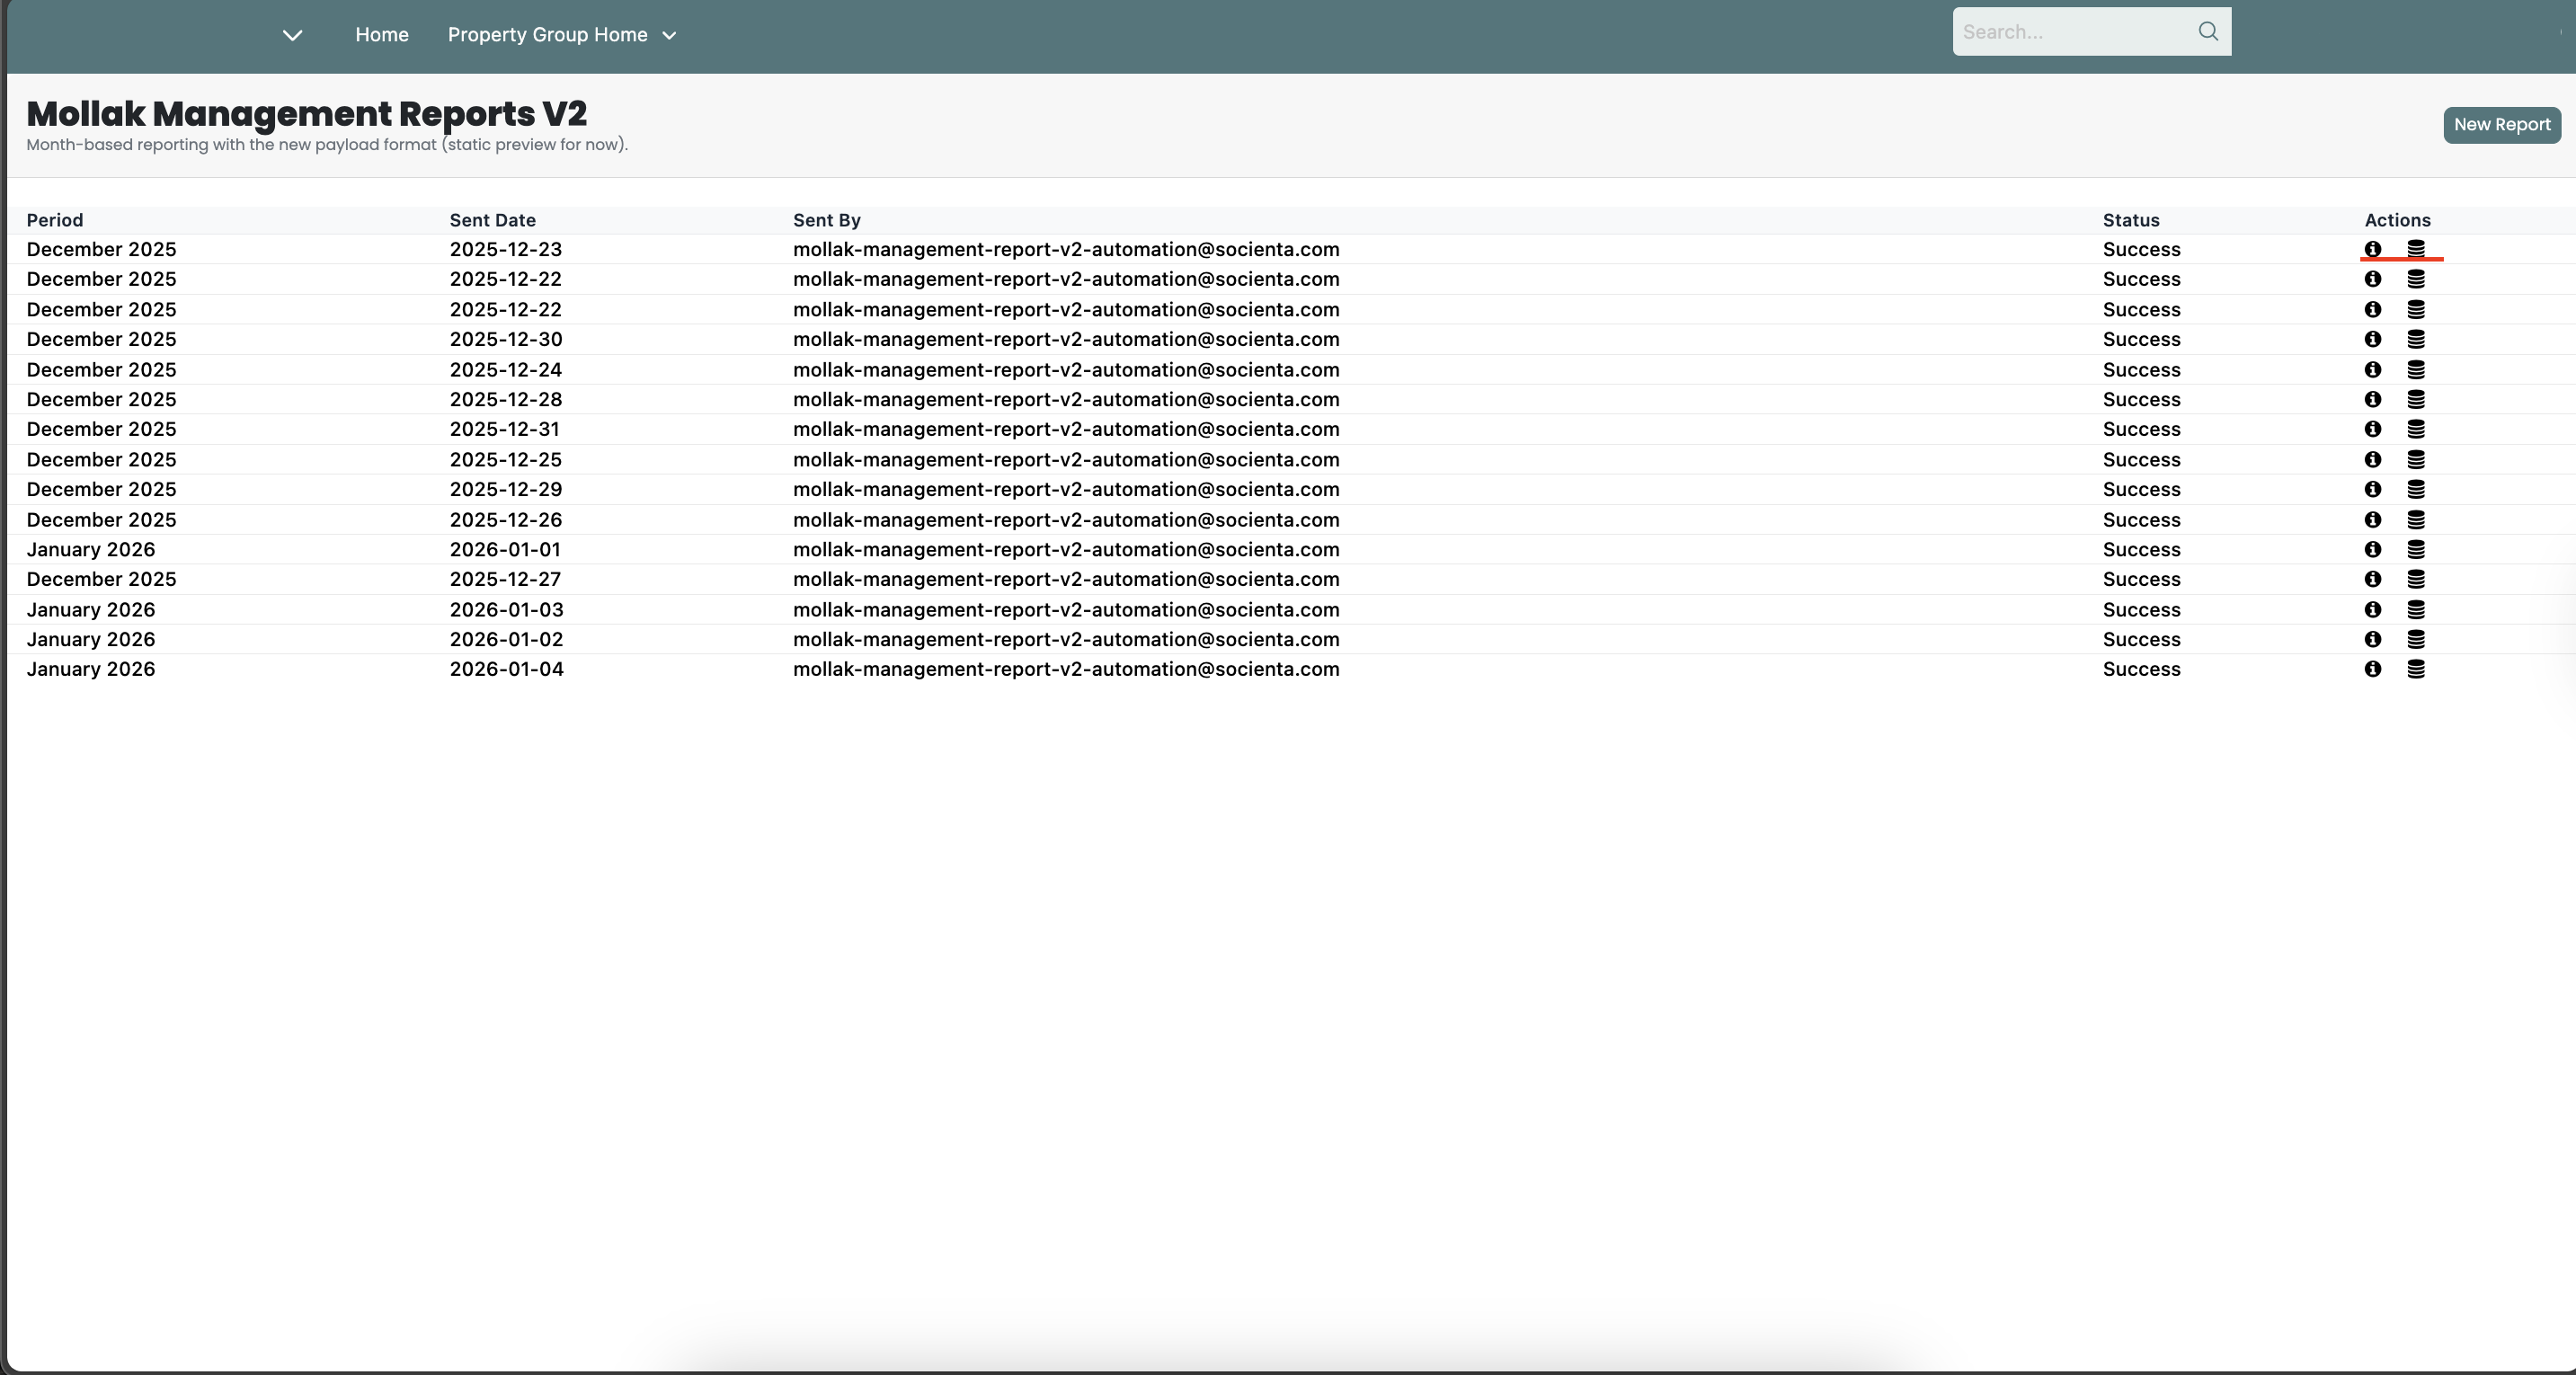
Check Submission Logs
You can review the submission log to confirm whether the report was sent successfully.
Common reasons for failure:
The vendor does not have a trade license number in their profile in vendor profile.
The vendor is not registered with Mollak.
If a report fails or does not submit, contact the IT team via Freshdesk:
https://socienta.freshdesk.com/
Provide the report details and log information for investigation.
Best Practices & Tips:
- Automation first: Keep the automation enabled at all times. This eliminates the need for daily manual submissions.
Only use manual submission if automation is intentionally disabled.
Always check the submission log for failed reports to identify issues early.
Ensure all vendor profiles are complete (trade license number), and Mollak registration is completed from their side to avoid failures.
Was this article helpful?
That’s Great!
Thank you for your feedback
Sorry! We couldn't be helpful
Thank you for your feedback
Feedback sent
We appreciate your effort and will try to fix the article